Managing Balances & Transactions (QBO)
FISPAN Sync connects your accounting system directly to your bank, providing a single view for cash management and the reporting of balances and transactions. Follow this guide to learn about the Cash Management product and how to use the Reporting features to import balances and transactions into QuickBooks Online.
View Balances & Transactions
Follow these steps to view and export your bank account Balances and Transactions using FISPAN Sync.
Navigate to Balances and Txns.
From anywhere in FISPAN Sync, select Balances and Txns.

View Balances & Transactions
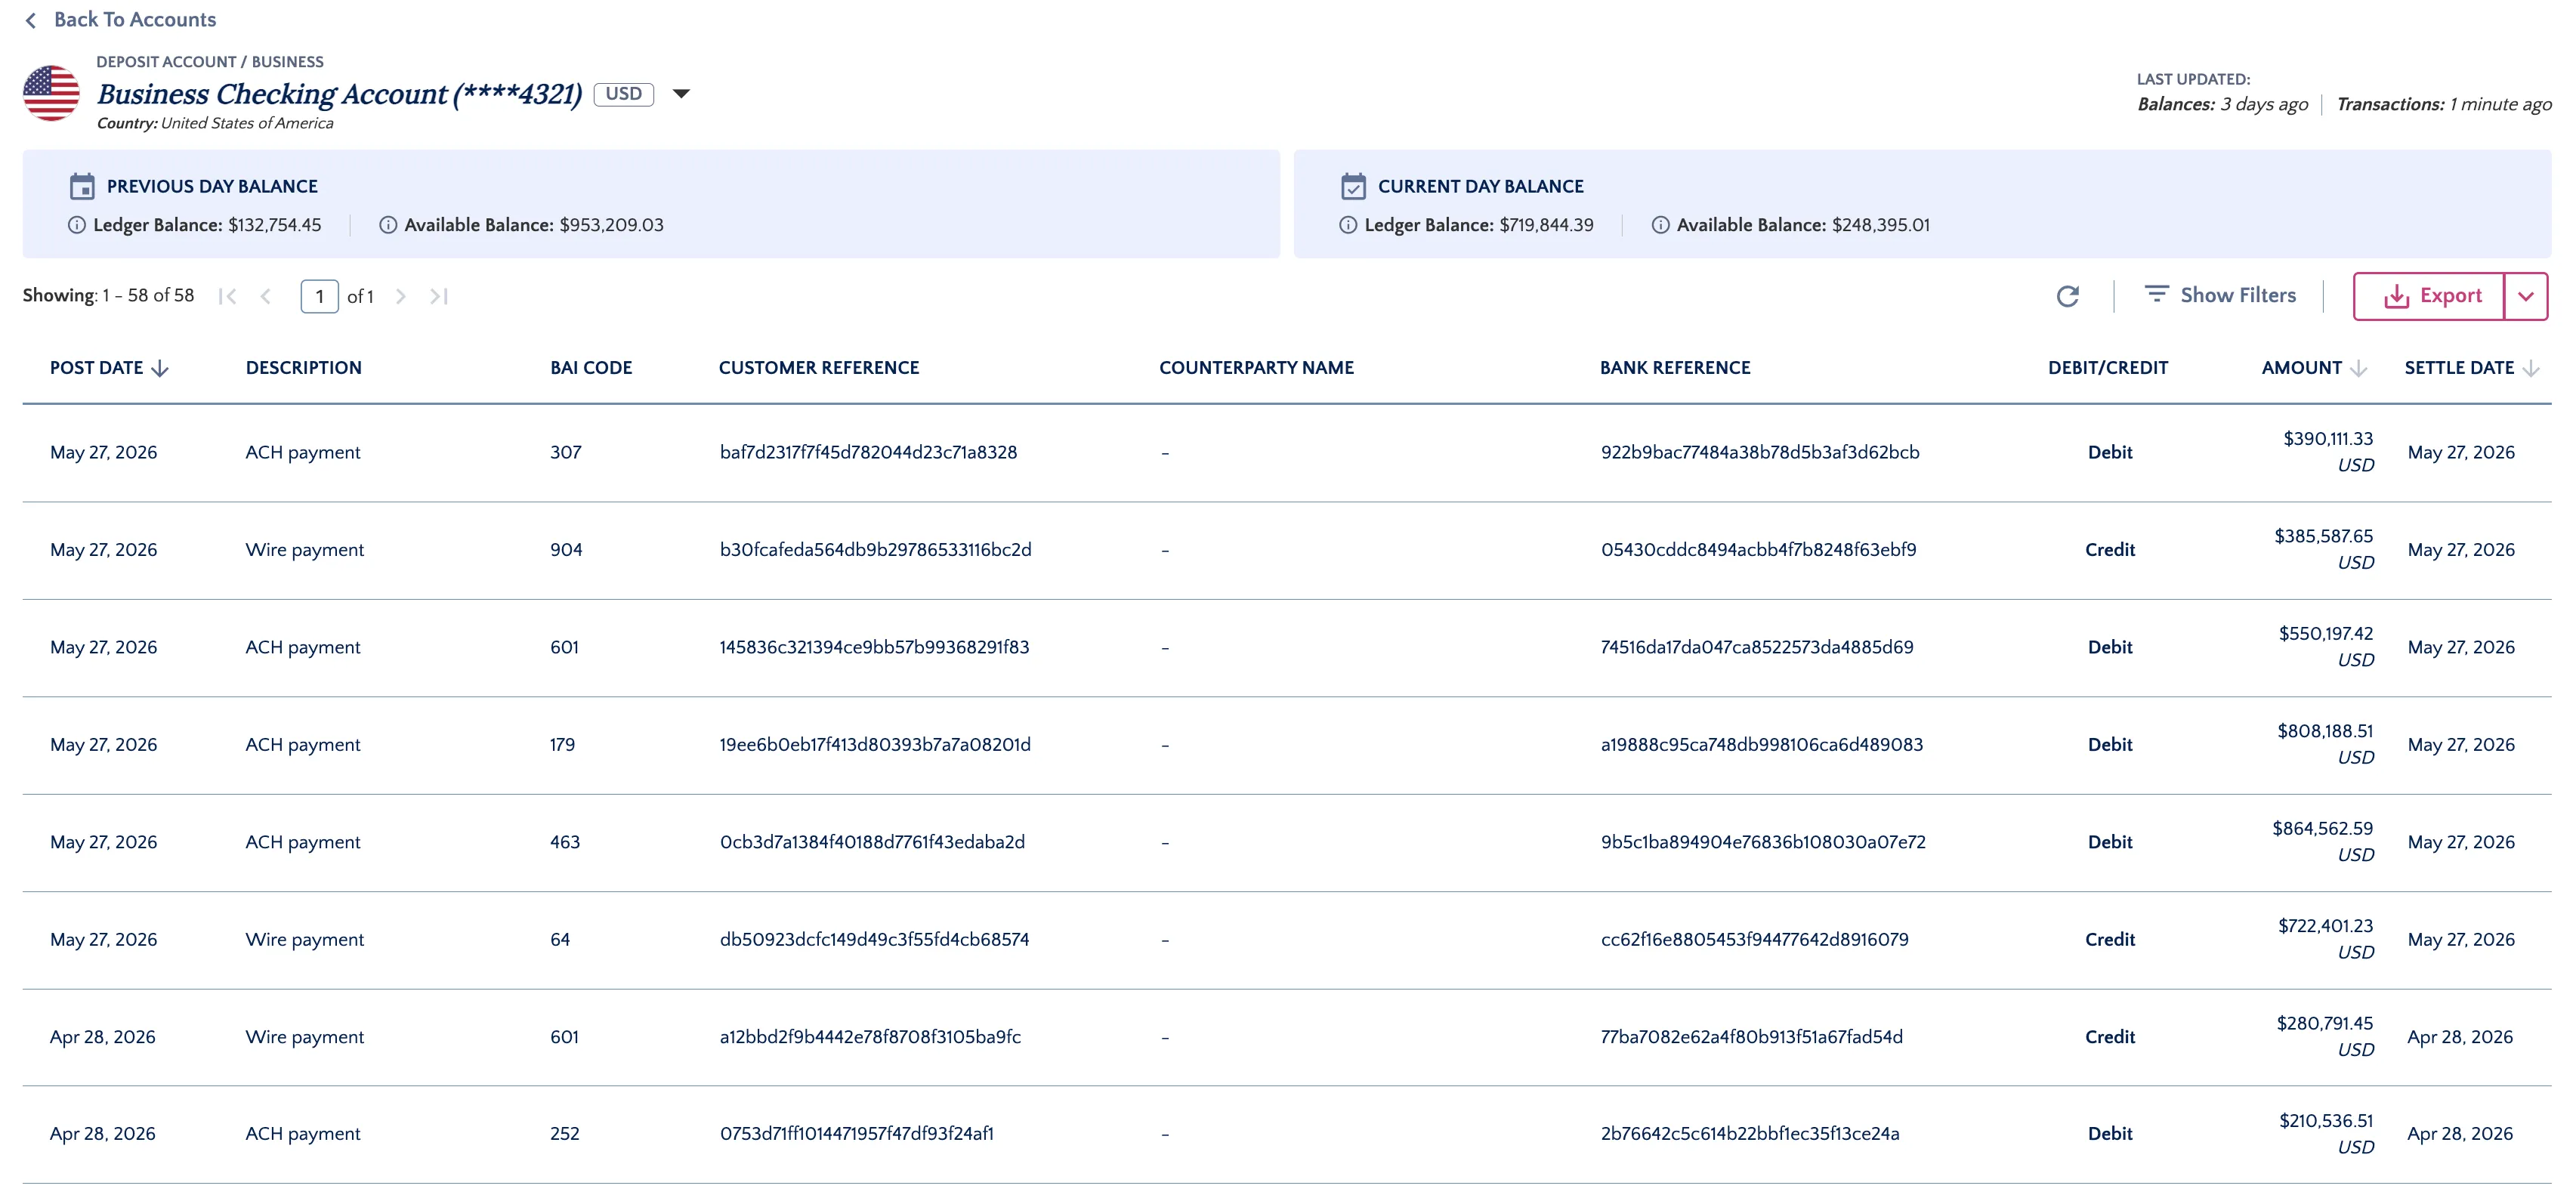
Go to the Balances page to see your balance information, where you can also filter it by Currency.

You can see previous day, intraday, and near real-time transaction information for your in-scope accounts, sourced directly from your bank.
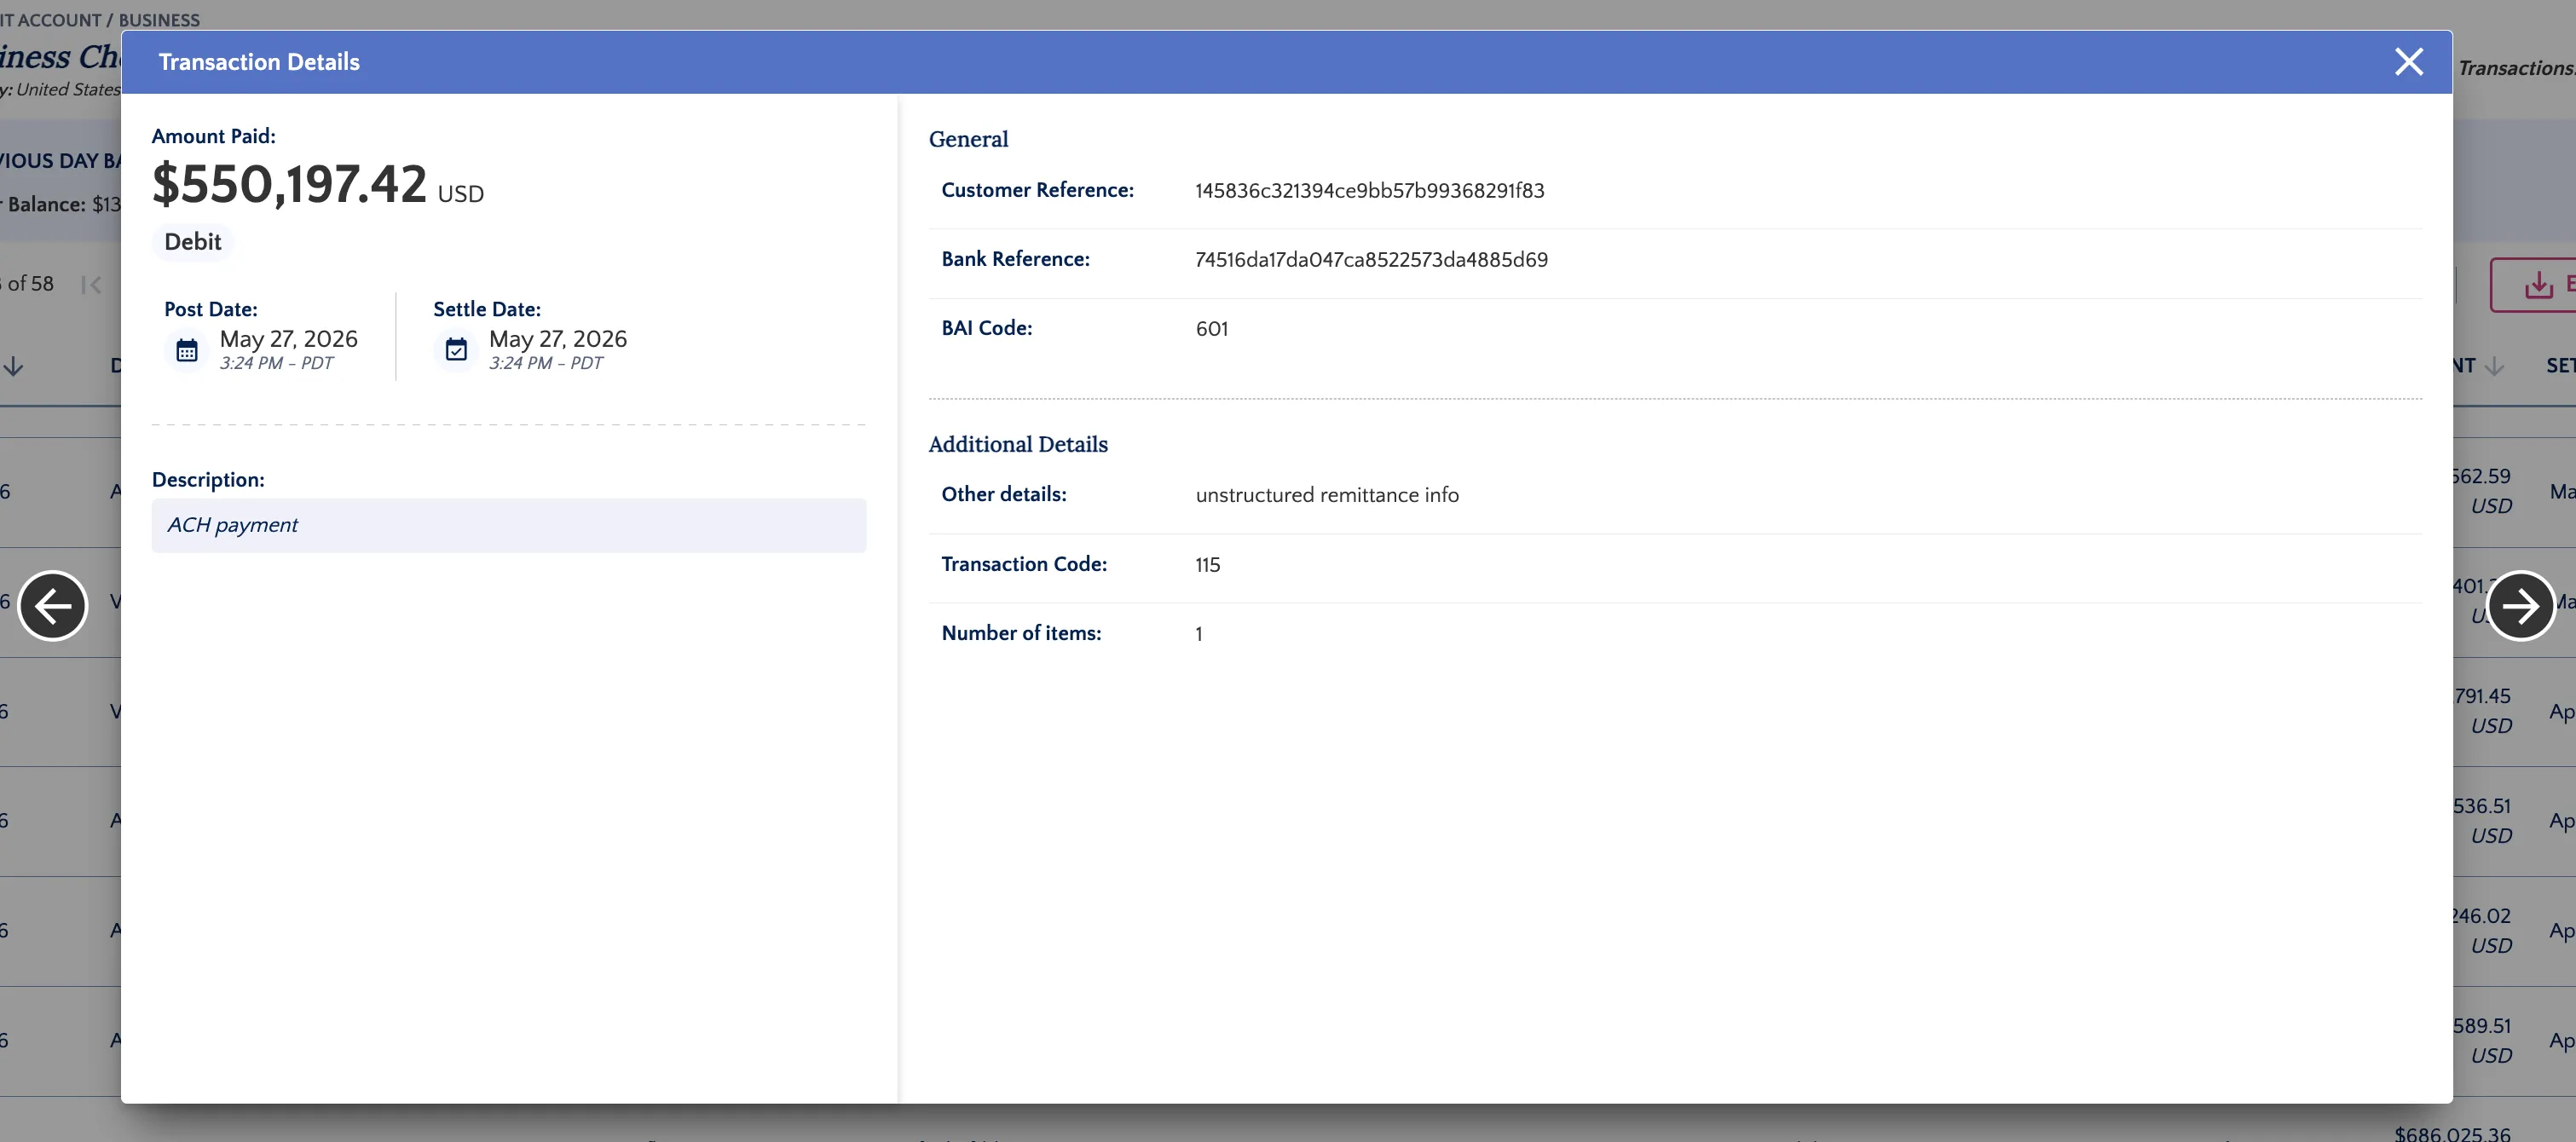
You can also select a transaction to view further details, such as the description.
Export Balances
Balances can be exported in CSV file format by clicking Export.
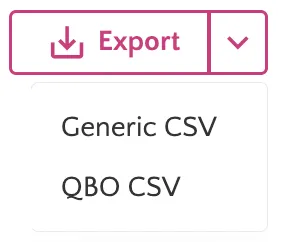
NOTE: If the file does not download, make sure your pop-up blocker is disabled.
Import Transactions into QuickBooks Online
Once you have saved your transactions from FISPAN Sync to your computer, follow these steps to upload them to QuickBooks Online:
Upload the File
Log in to QuickBooks Online and click on Accounting, then select Bank transactions.
In the top-right corner, click at the dropdown arrow right next to "Link account", and
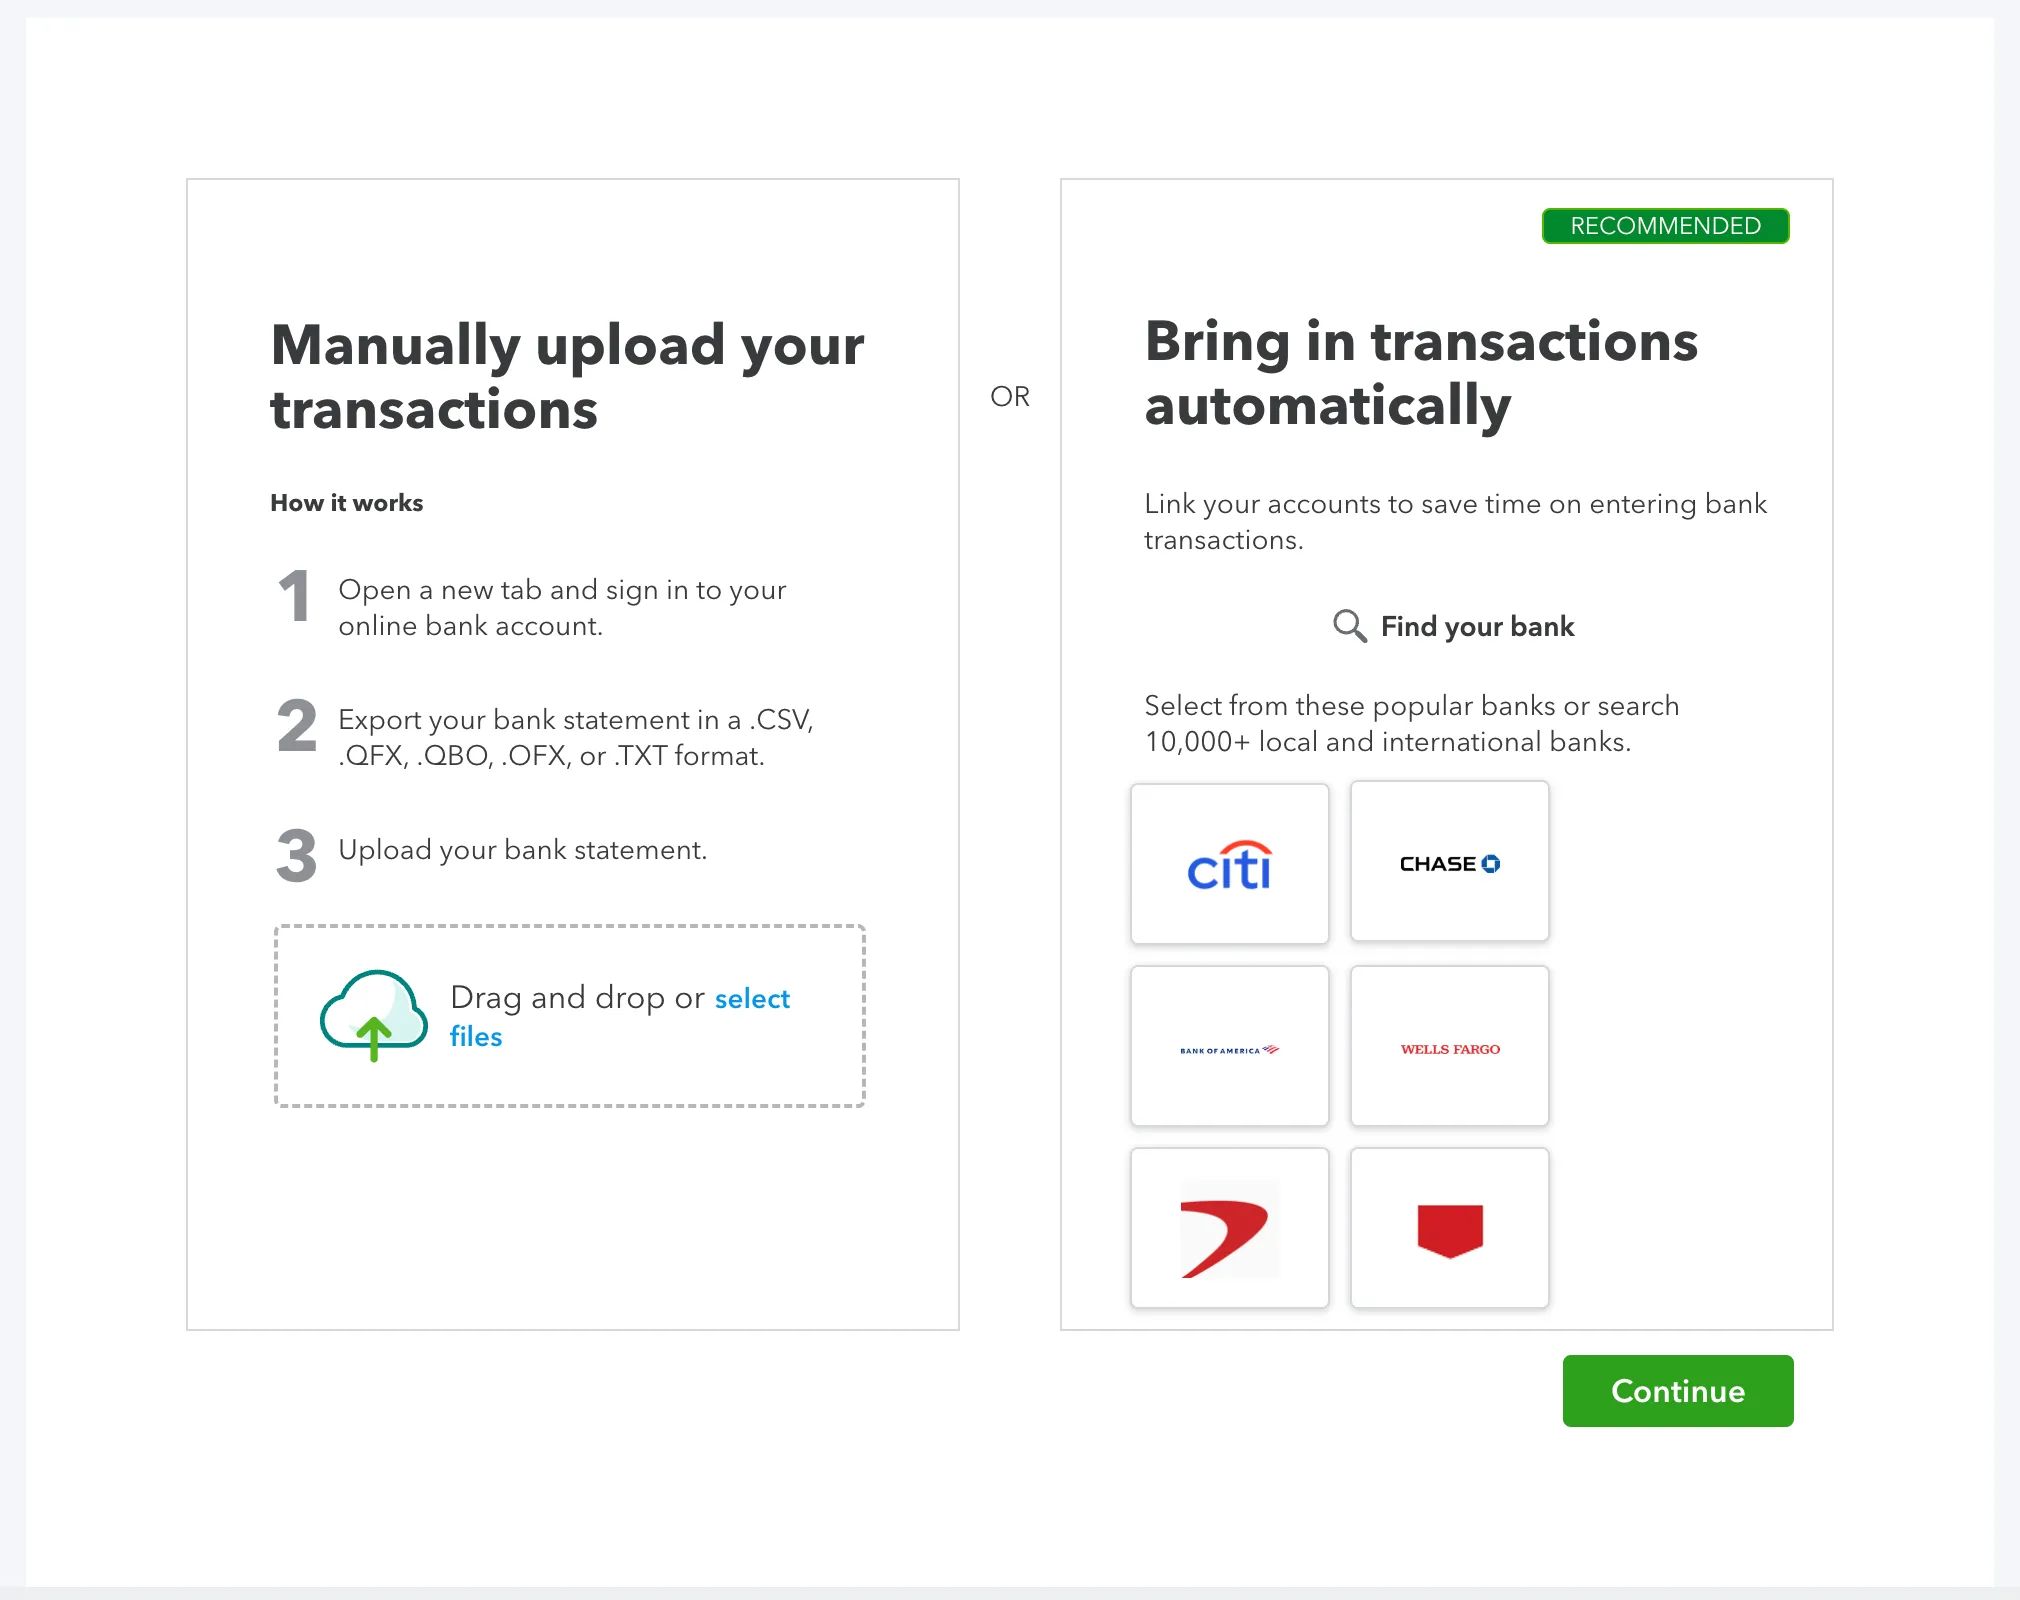
select Upload from file.

Select the transaction file you exported from FISPAN Sync and click Continue in the bottom-right corner.
Select the account you want to reconcile and click Continue.
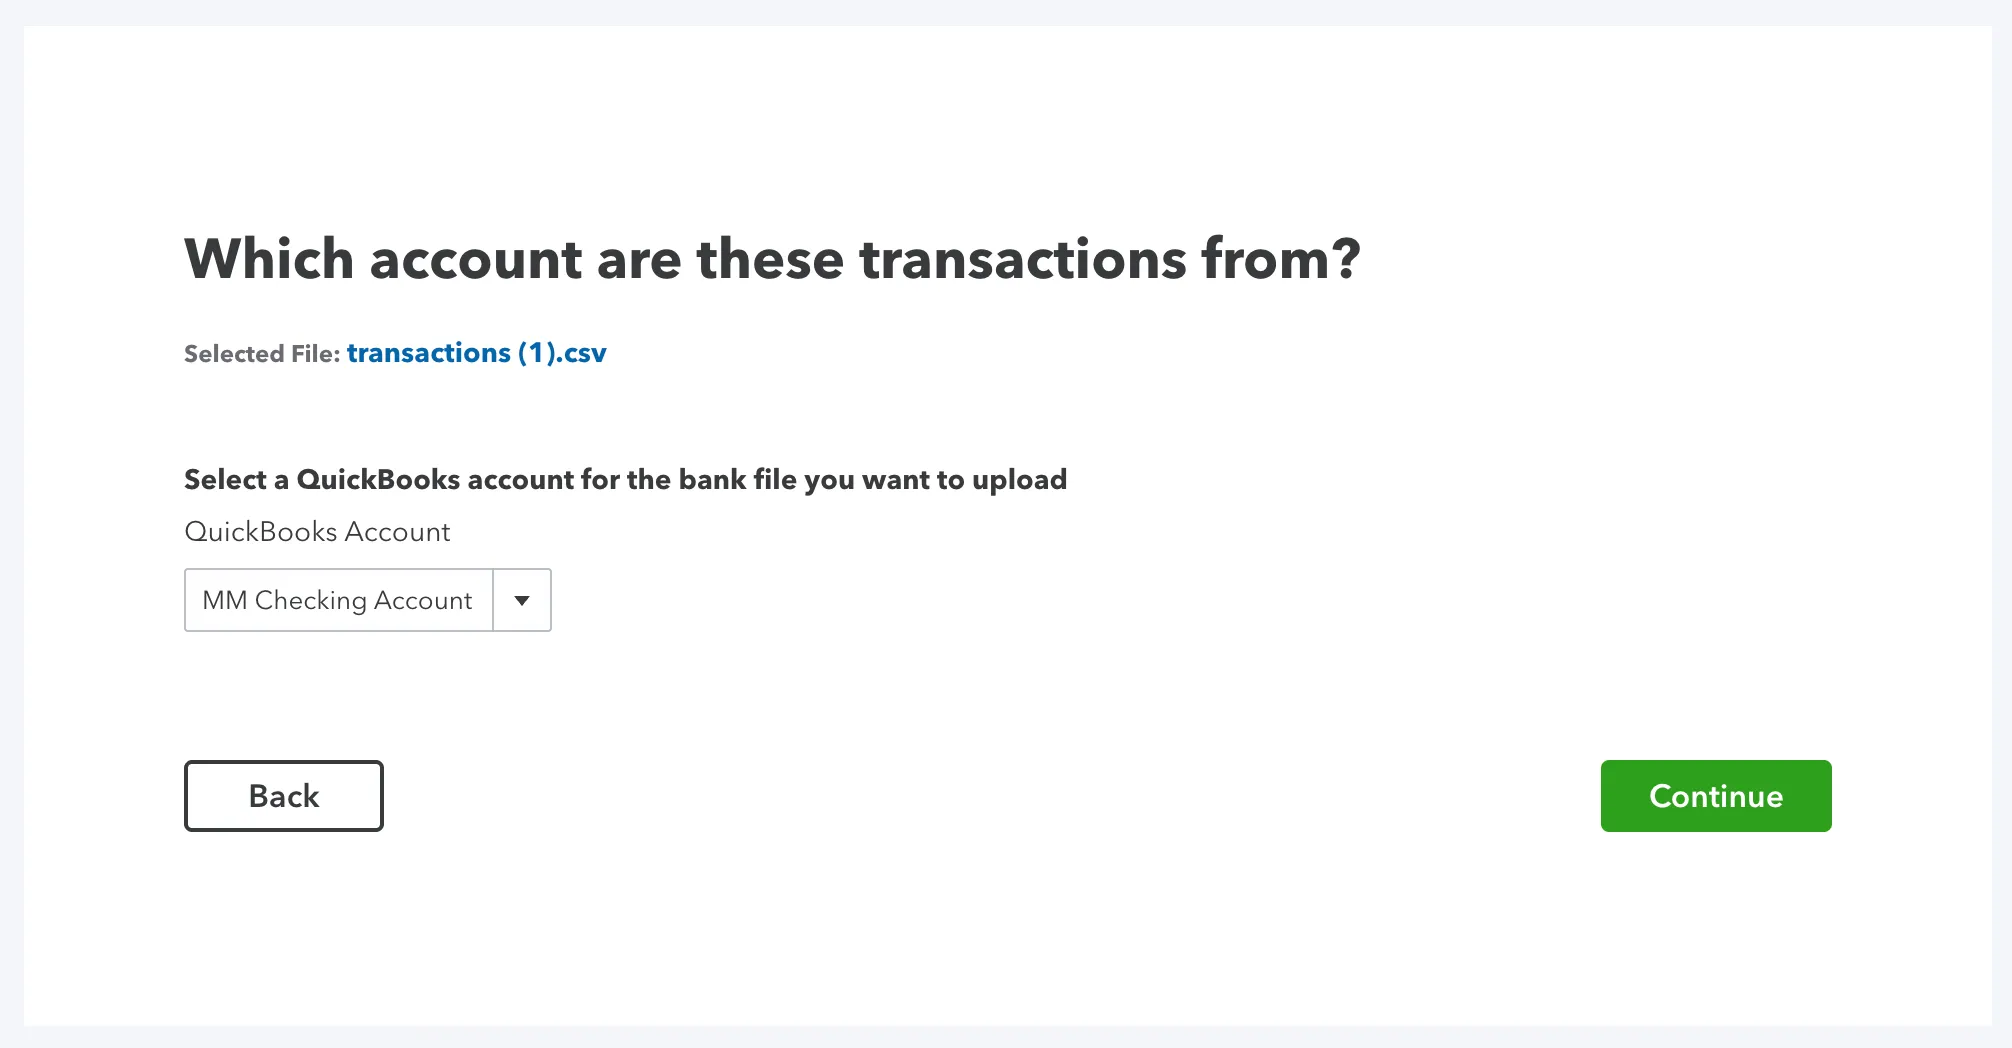
Map the Data
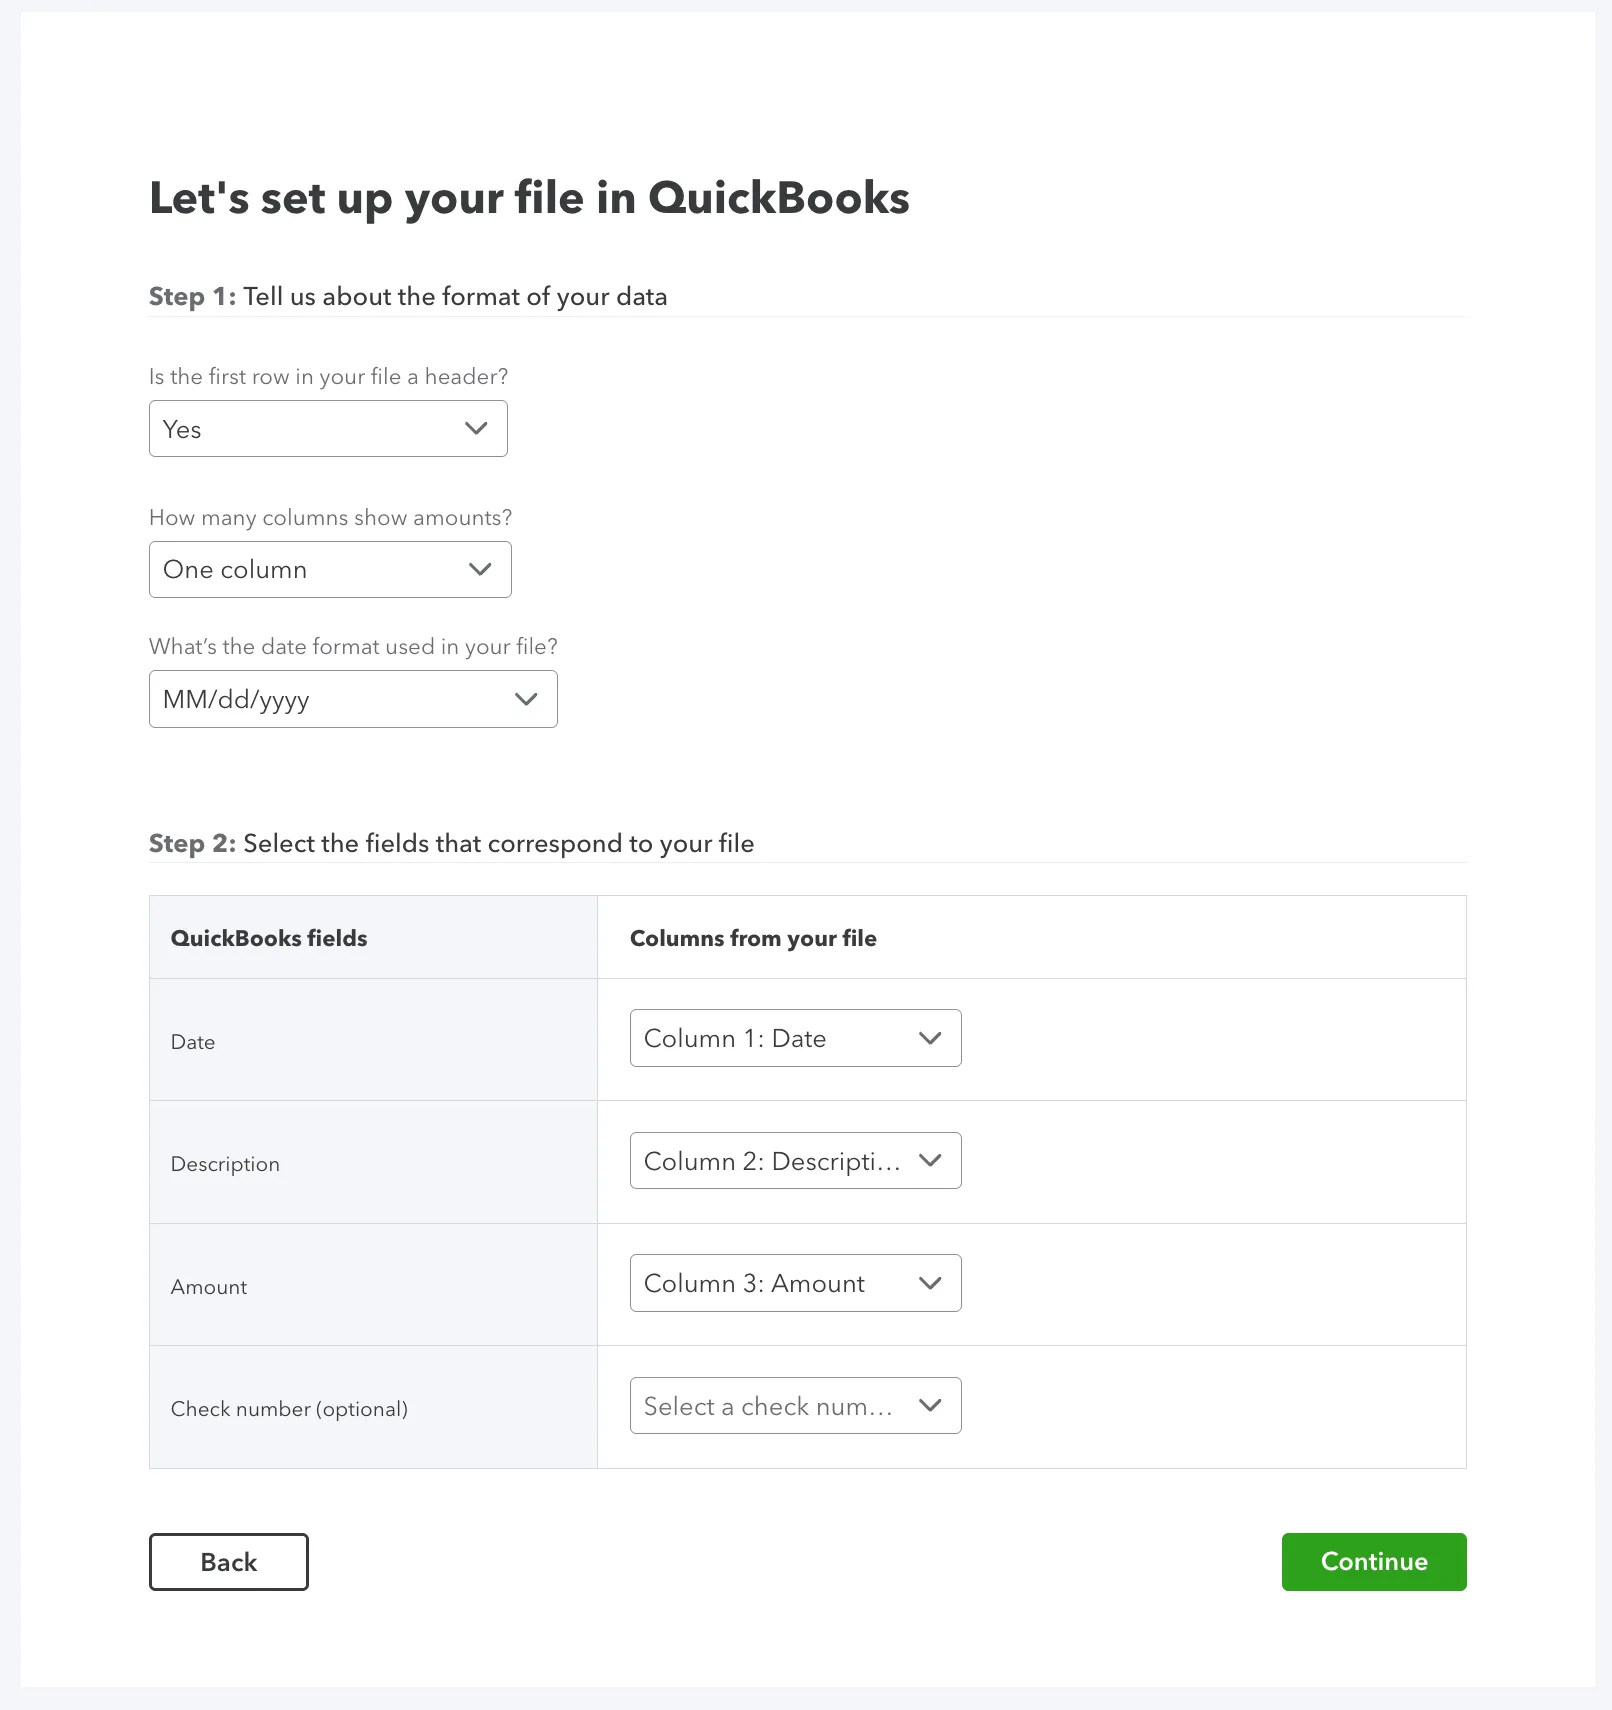
Map the fields from your imported file to the corresponding QuickBooks Online fields.
For Step 1, you will need to add the format settings for the data. Since your file uses a single column for both debit and credit amounts, use the following settings:
Setting | Selection |
|---|---|
Is the first row in your file a header? | Yes |
How many columns show amounts? | One Column |
What's the date format used in your file? | MM/DD/YYYY |
For Step 2, you will need to map the QuickBooks fields to your file's specific columns:
QuickBooks Field | Your File Column |
|---|---|
Date | Column 1: Date |
Description | Column 2: Description |
Amount | Column 3: Amount |
Verify the Values and Select Transactions
Use the checkboxes on the left to select which transactions you want to pull into QuickBooks Online.
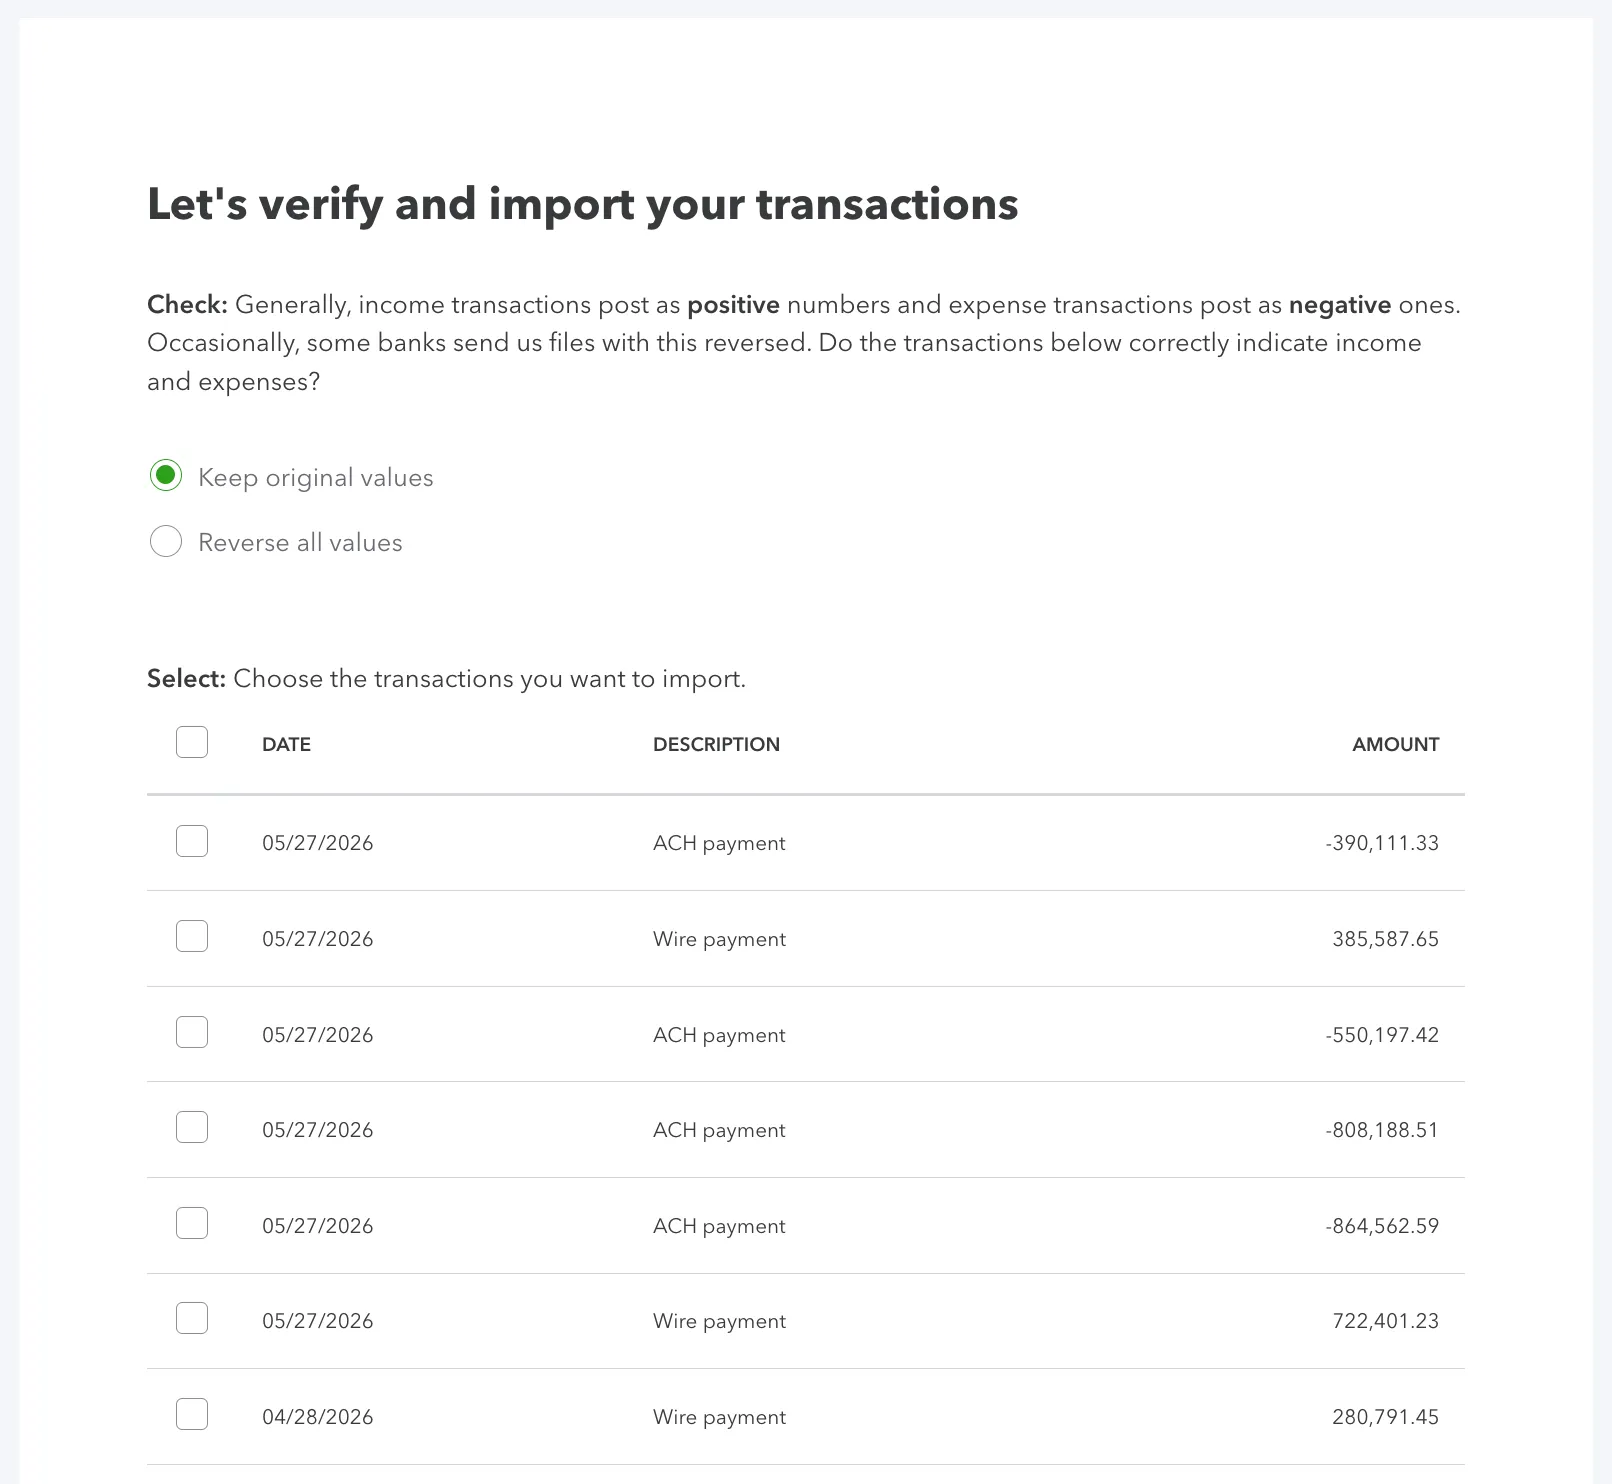
Scroll to the bottom of the list and click Continue.
Finalize the Import
Confirm the import by selecting Yes.
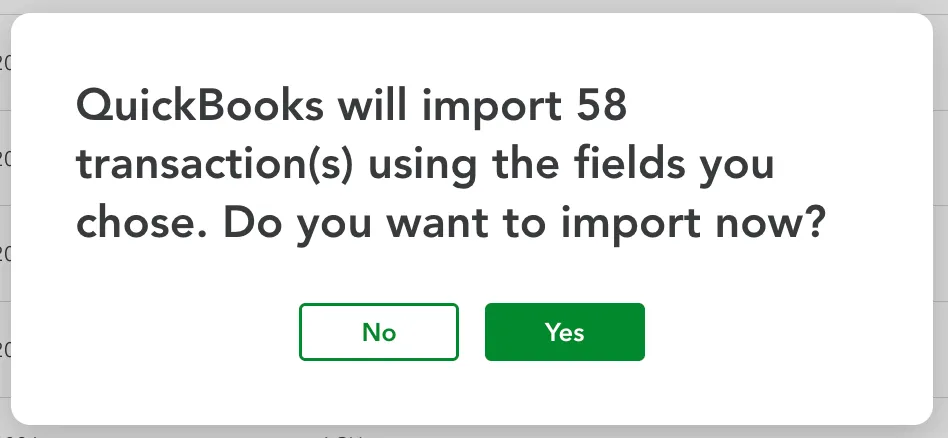
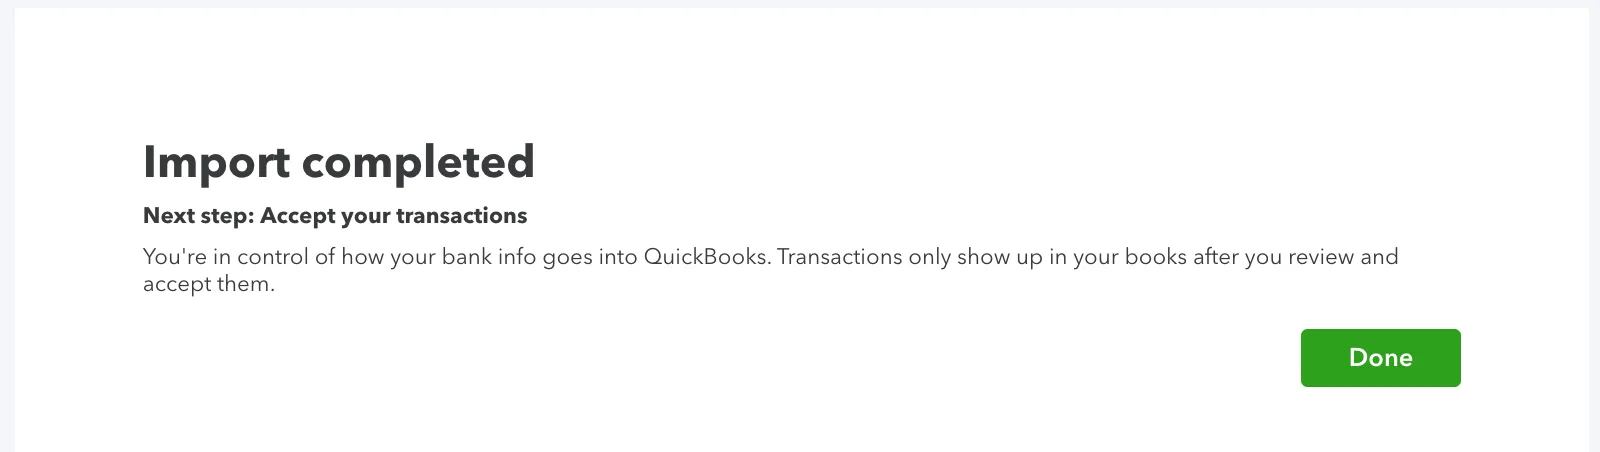
After the import is complete, QuickBooks Online will show a confirmation screen.
Categorize and Reconcile Transactions
The imported transactions are now ready for action.
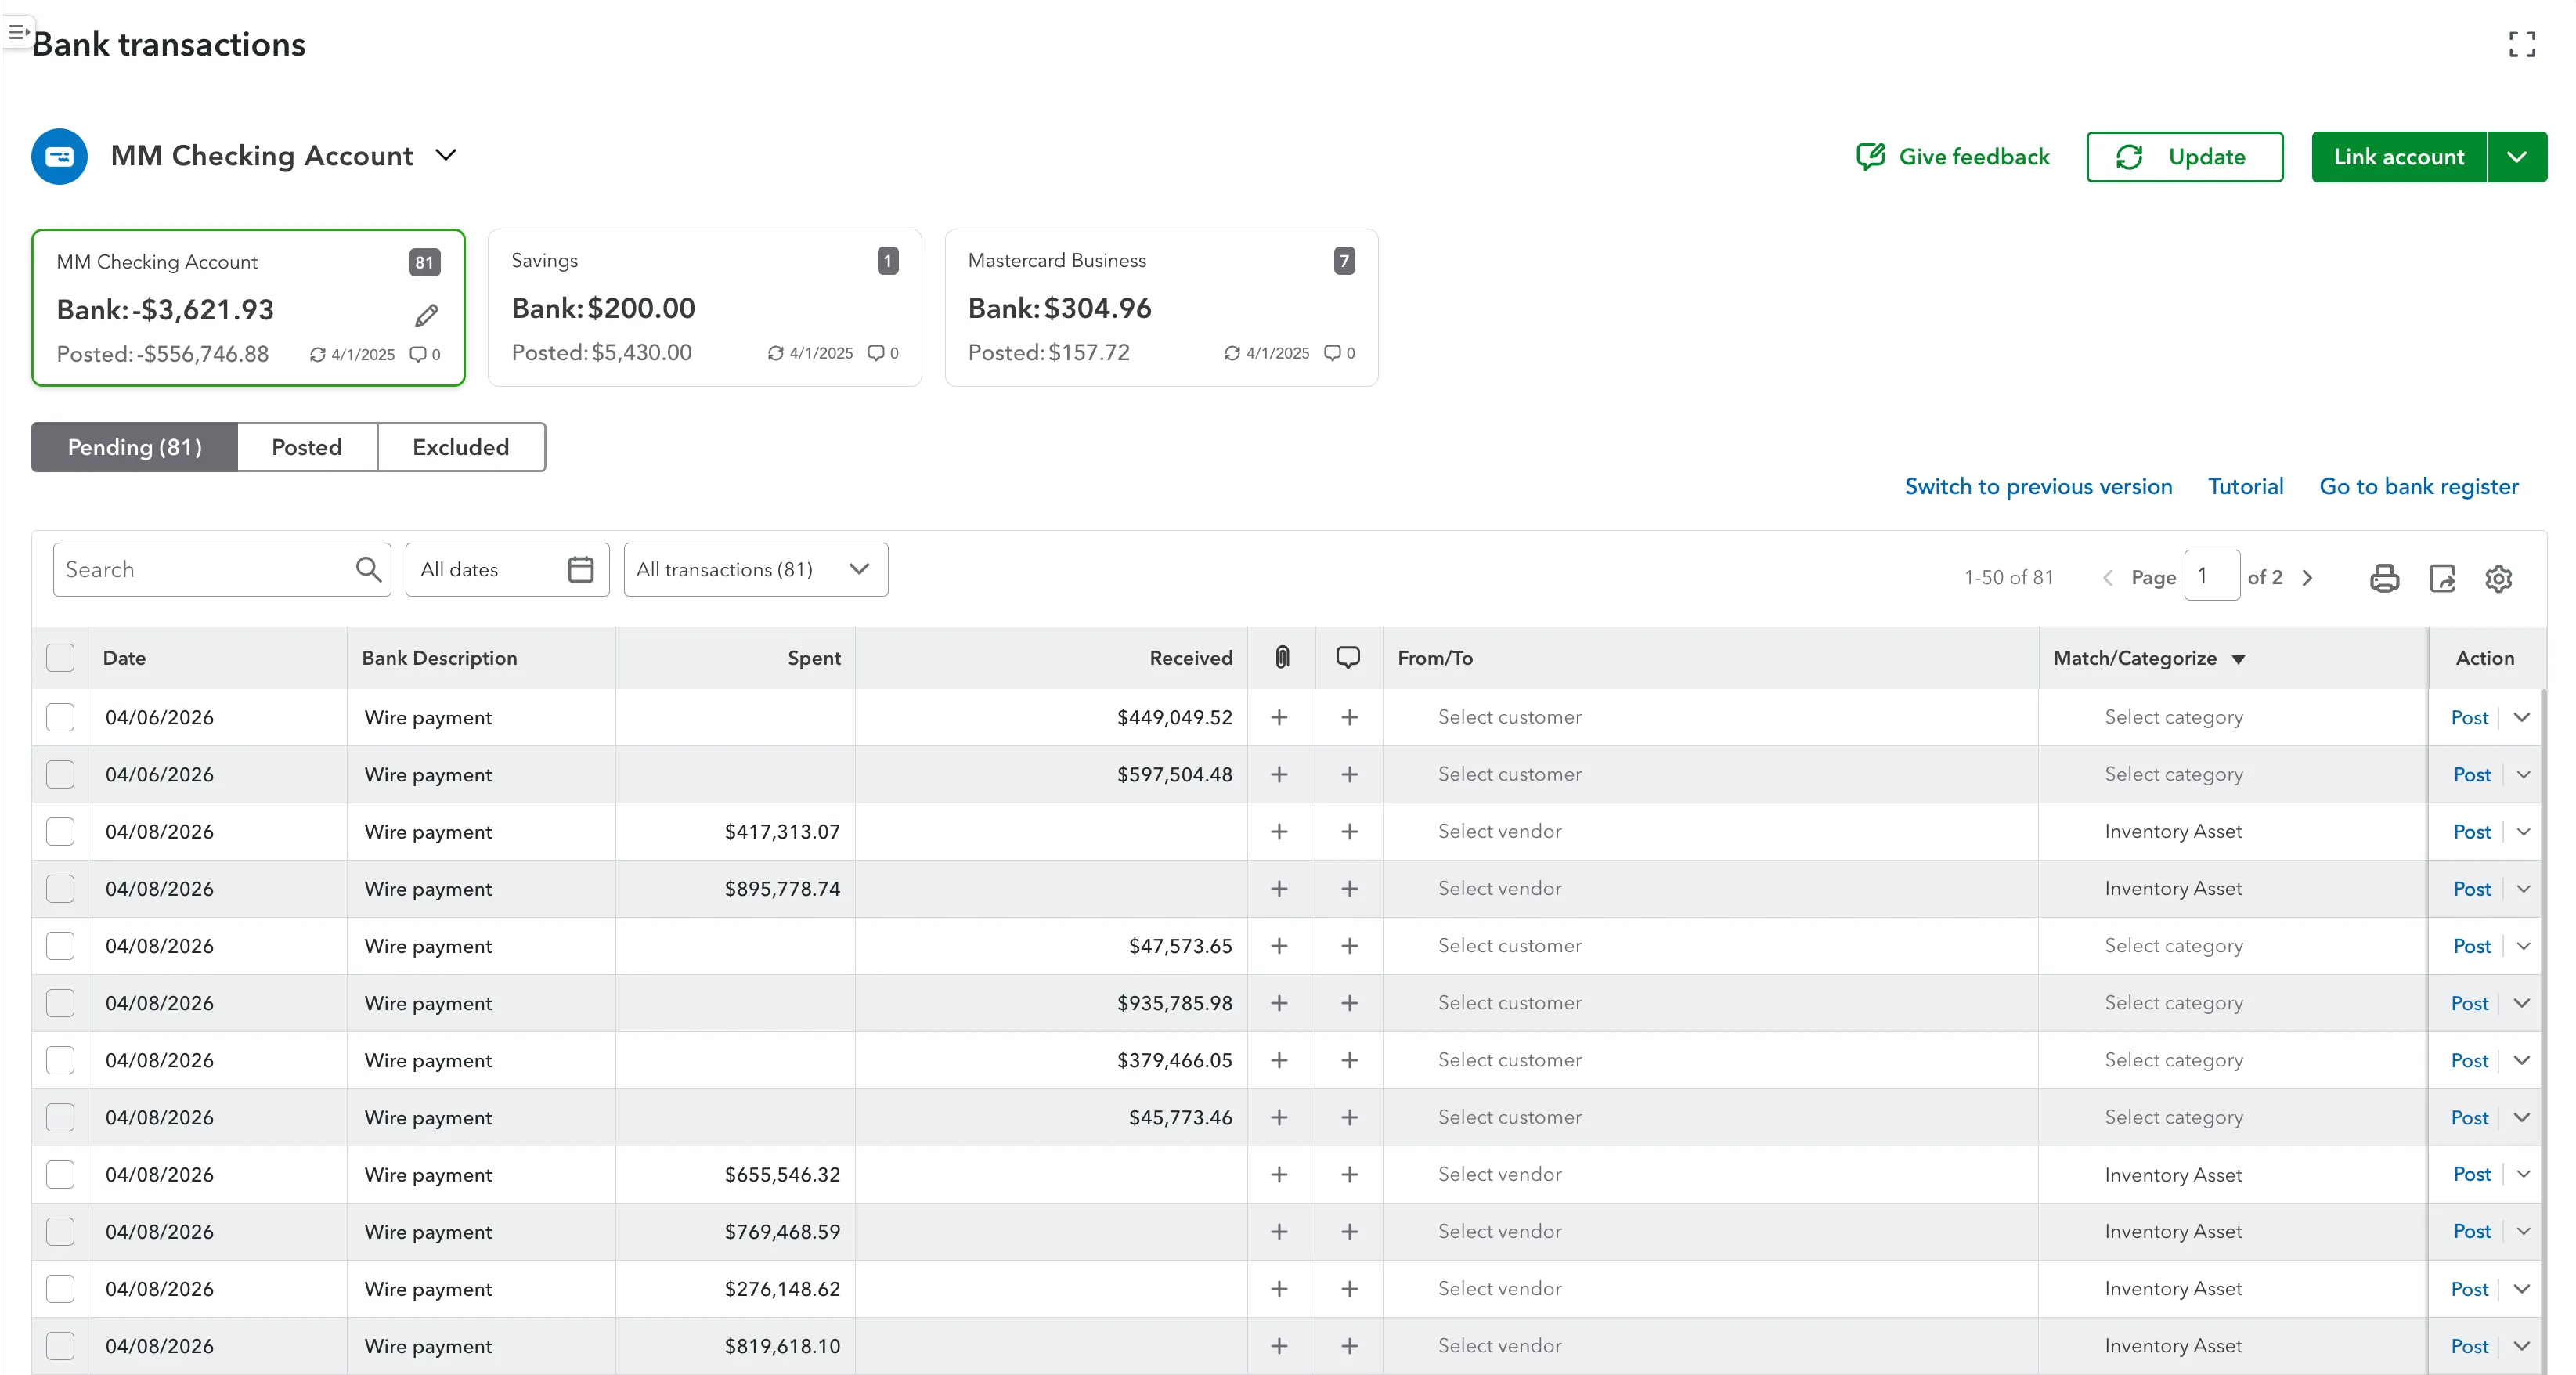
You must categorize these transactions to officially add them to your books. (You can refer to this video for guidance on categorization.)
Over time, QuickBooks Online will recognize and automatically categorize transactions from the same vendors. For more control, you can create custom automation rules within the Rules tab.
If you are looking for additional assistance with how to reconcile your accounts, this video will outline some best practices.