Account Transfers (QBO)
The Account Transfers feature within FISPAN Sync supports transferring funds between two accounts within the same entity.
Before You Begin
To ensure a successful transfer, confirm that the following requirements are met:
Your Bank Accounts are Connected
Your accounts must be linked (matched) through the onboarding wizard. Only connected accounts are available for transfers.
Account Transfers is Enabled
Your bank must enable the Account Transfers feature for your accounts. If you don't see the option, contact your bank representative.
Both Accounts Use the Same Currency
For example, you can transfer USD → USD, but not USD → CAD. Cross-currency transfers are not supported at this time.
Making a Transfer
Before you begin, confirm that your FISPAN Sync bank accounts are correctly mapped to the appropriate bank accounts.
Open the Accounts Transfers Page
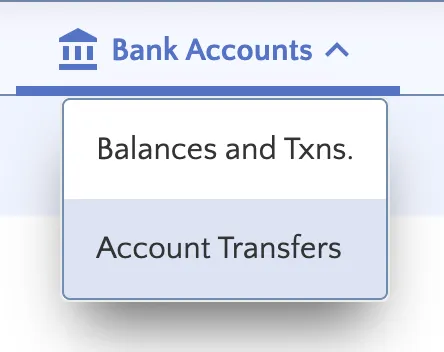
To make account transfers in the FISPAN Sync, navigate to the Bank Accounts menu and select Account Transfers.
Enter the Transfer Details
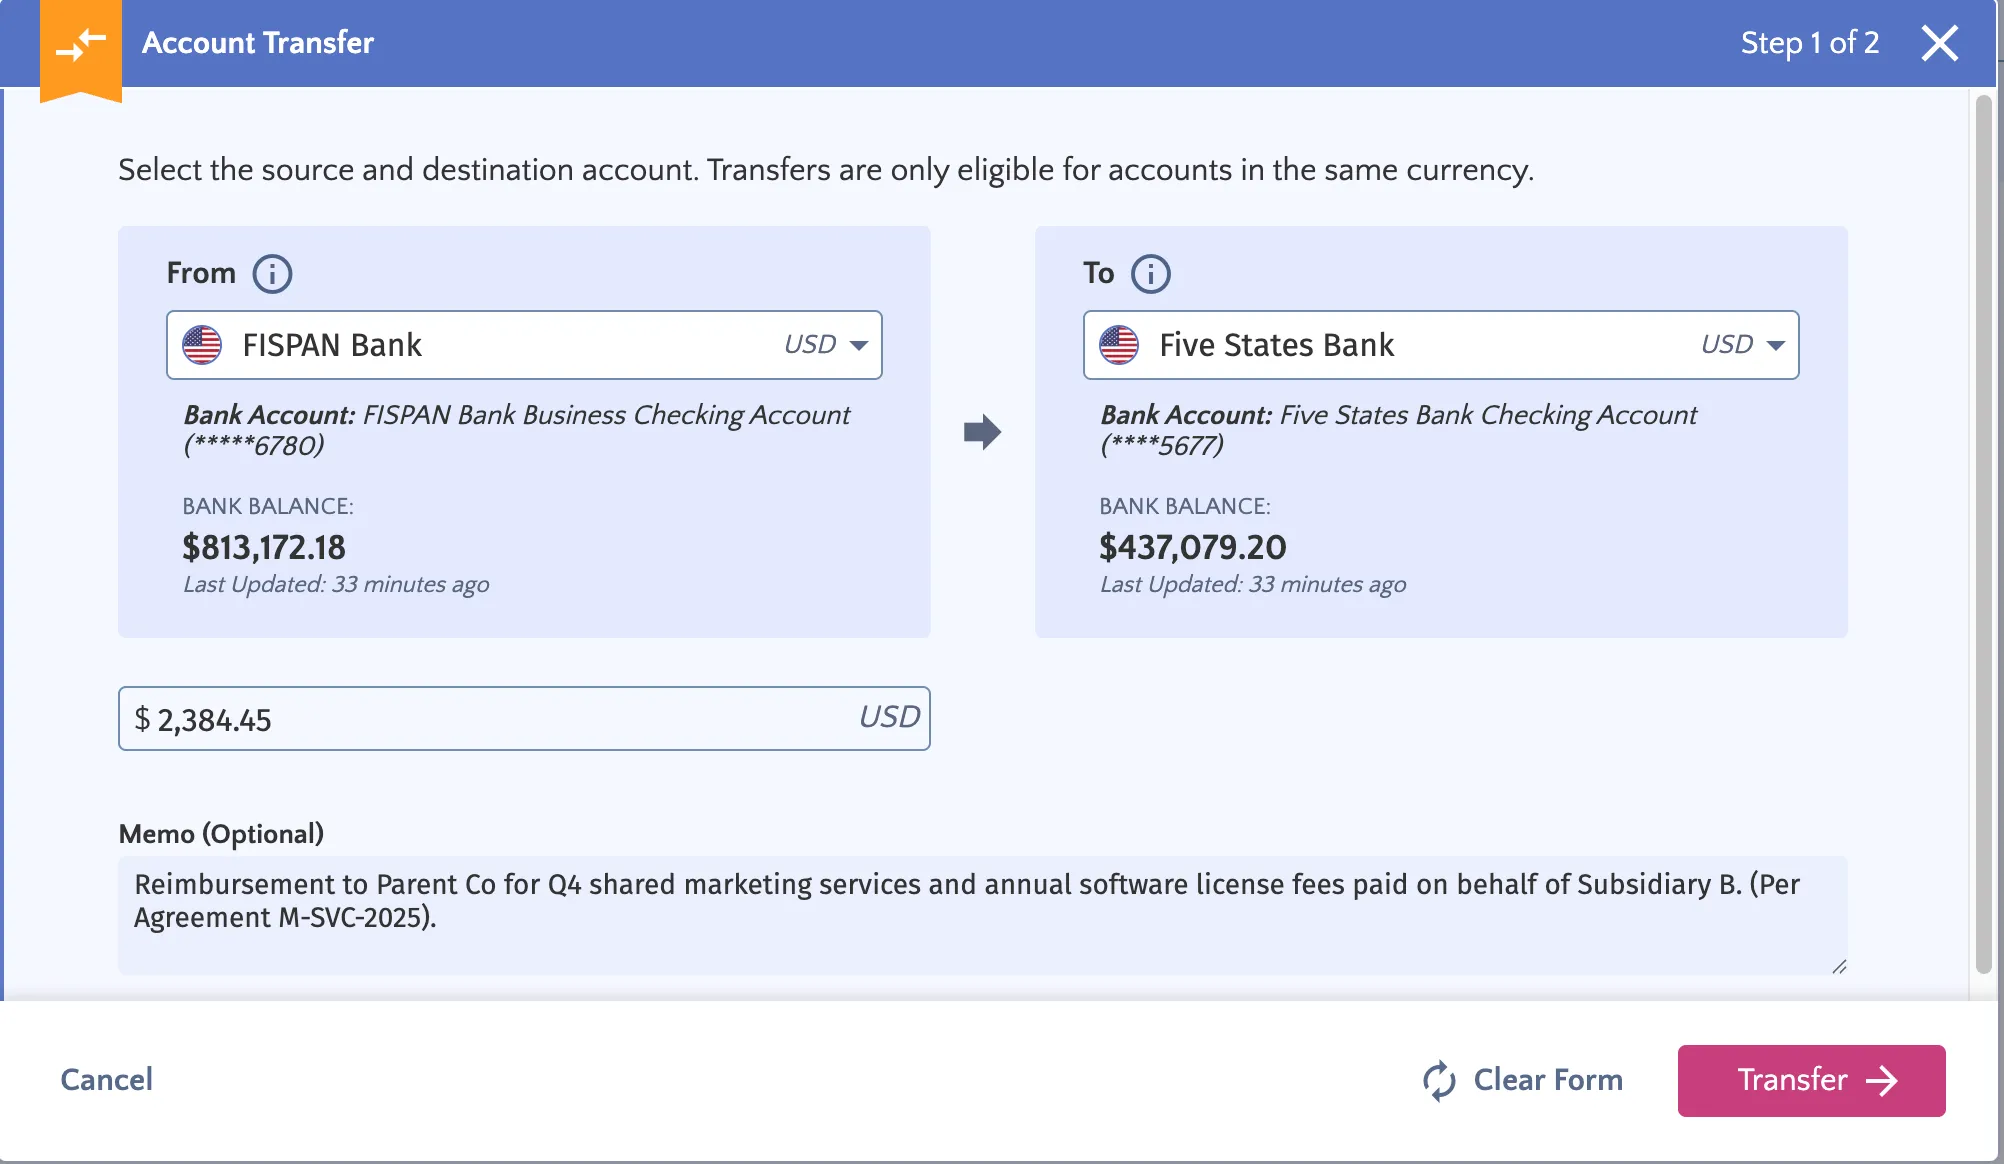
The transfer form has two sections: the From (source) account and the To (destination) account. When you select an account, you'll see both its Book Balance (from your accounting records) and Bank Balance (from your bank), along with the time each balance was last updated.
Complete the following fields:
- From Account: Select the source bank account from the dropdown.
- To Account: Select the receiving bank account from the dropdown. Only accounts in the same currency as your From account will appear.
- Amount: Enter the amount to transfer. If the amount exceeds your current balance, a warning appears, but the transfer is not blocked. Proceed only if this is intentional.
- Memo (optional): Add a note for your records. If you leave it blank, the system will automatically add: "From [Source Account] to [Destination Account]."
When all fields are complete, select Transfer to continue.
TIP: To start over, select Clean Form. This clears all entries while keeping the Account Transfer window open.
Review and Confirm
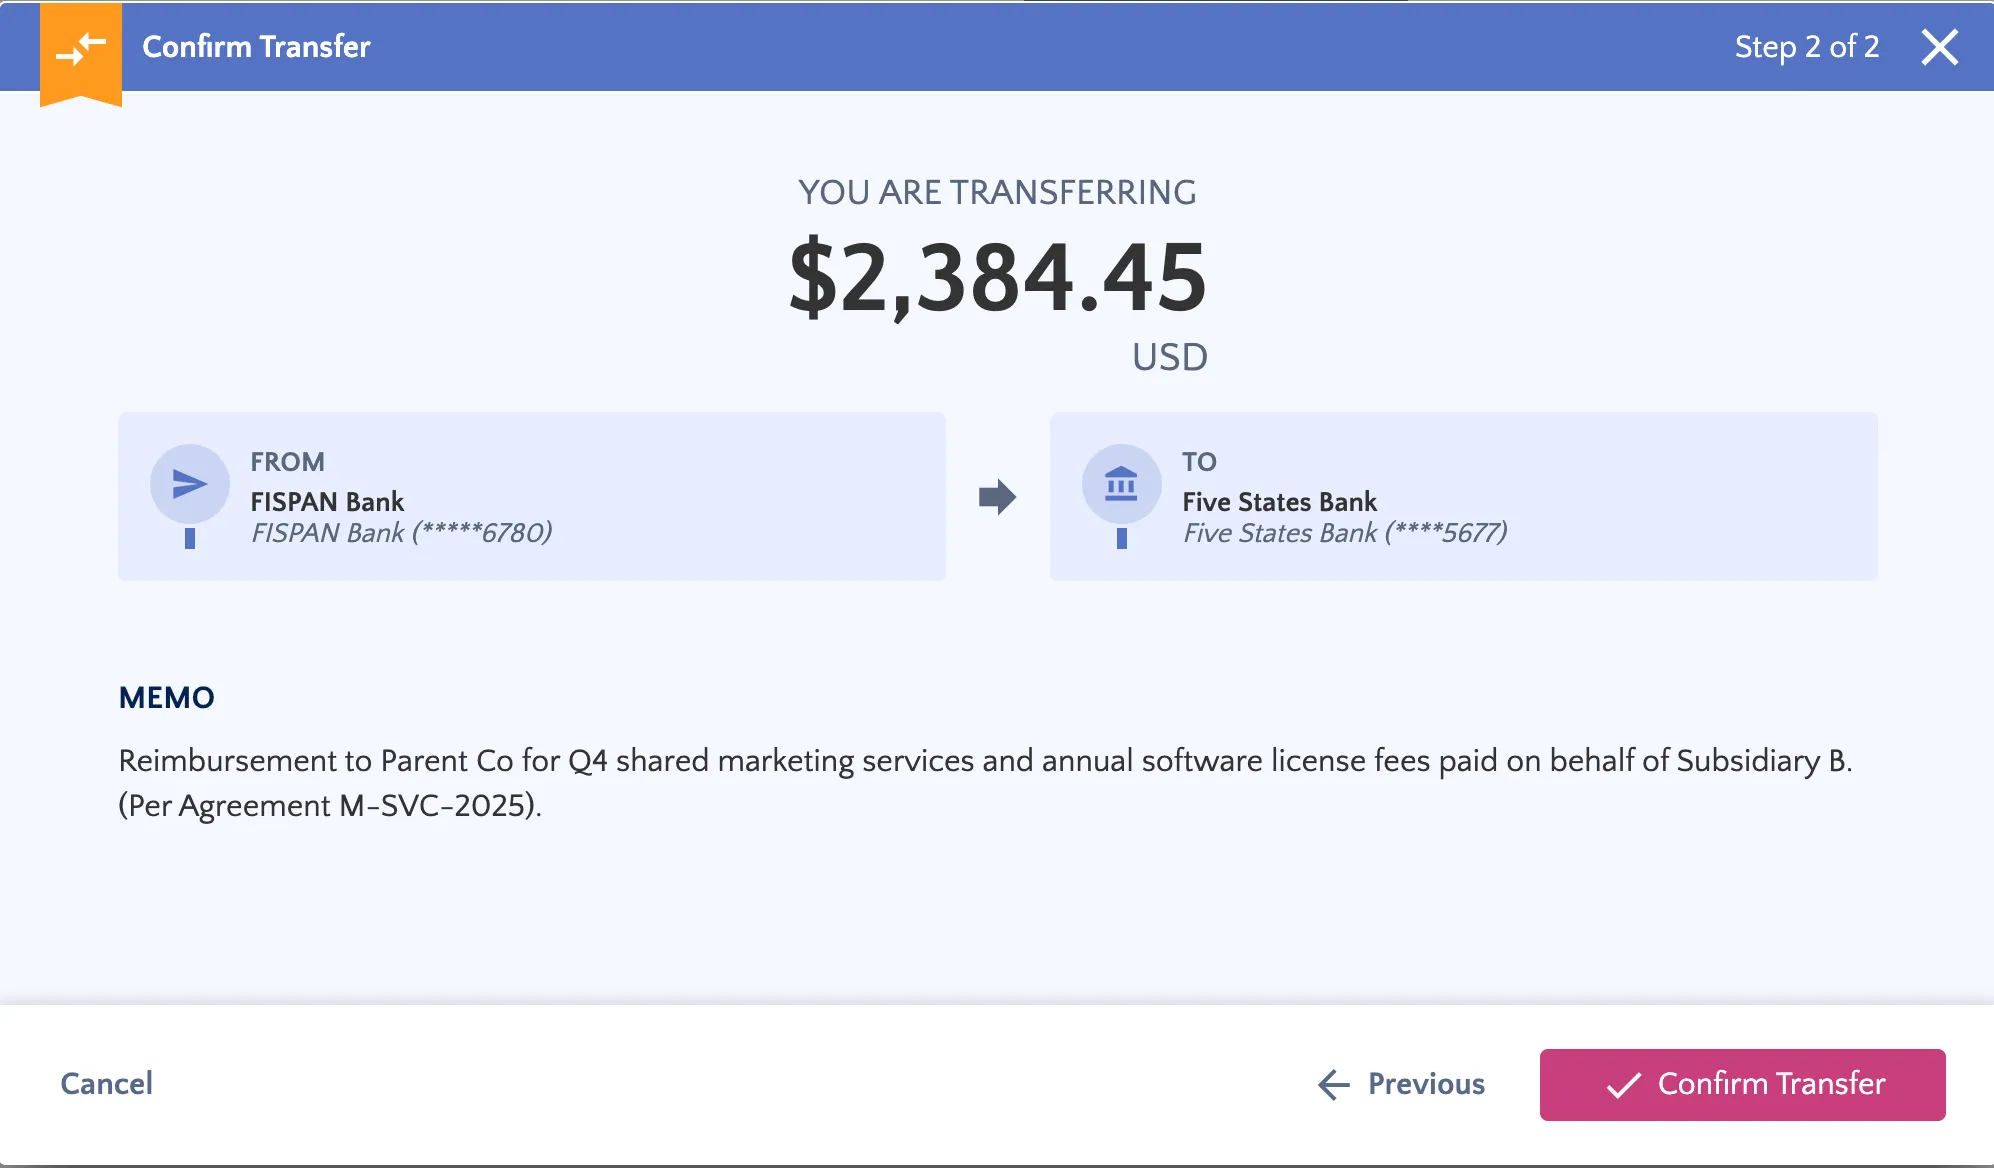
A summary of your transfer will display:
- From and To accounts
- Transfer amount and currency
- Your memo (or the auto-generated one)
- A warning banner, if the amount exceeds your balance
If everything looks correct, select Confirm Transfer.
Transfer Submitted
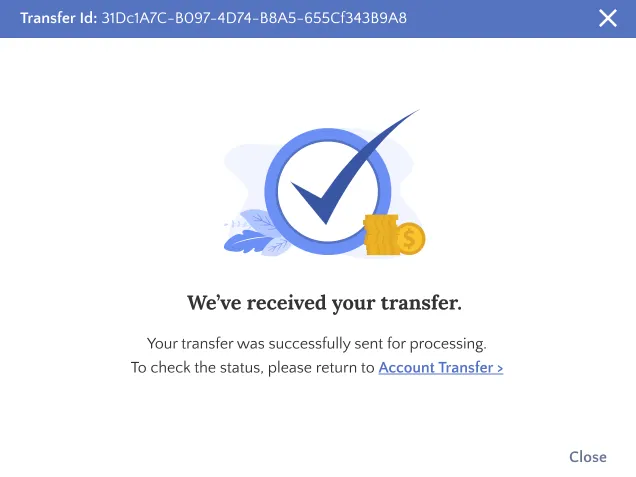
A brief loading screen appears while your transfer is submitted. If successful, a confirmation screen displays your unique Transfer ID for reference.
Viewing Your Transfer History
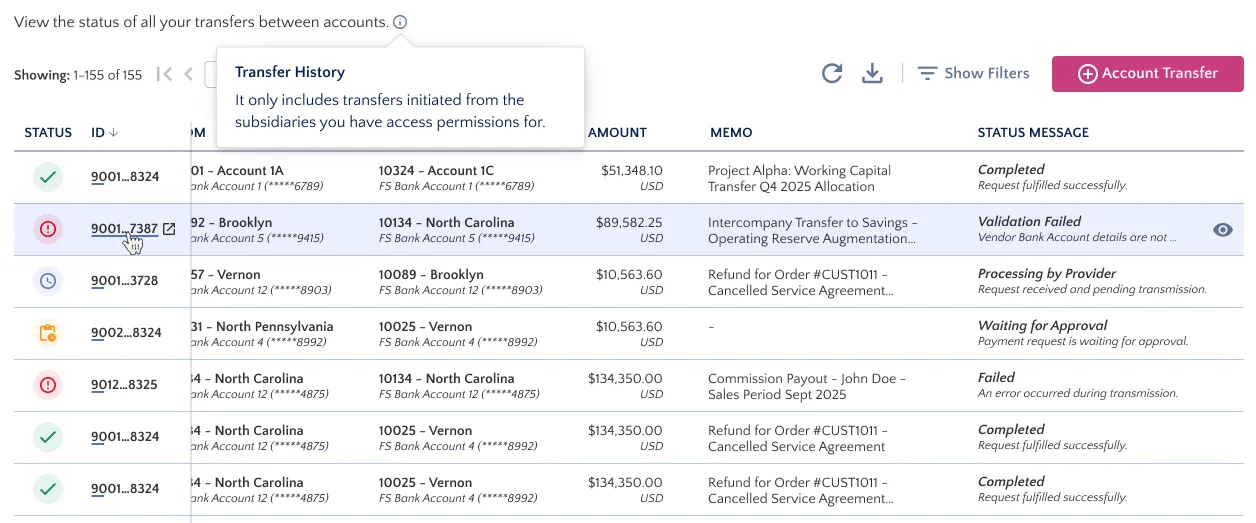
You can track the status and details of every transfer on the Account Transfers page. Each record includes:
- Status: Whether the transfer completed, is still processing, or failed.
- ID: Your unique transfer reference number.
- Date: When the transfer was initiated.
- From: The sending account.
- To: The receiving account.
- Amount: The amount transferred
- Memo: Your note, if one was added (or the auto-generated one)
- Status Message: Additional details, particularly if something went wrong
Filtering and Exporting
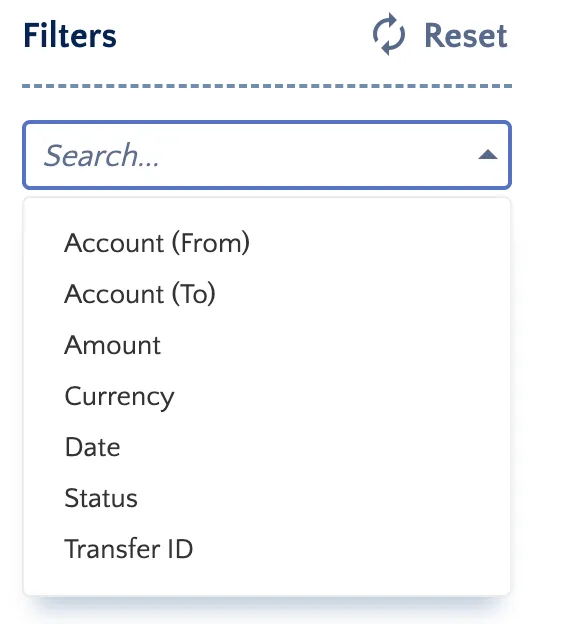
- Use the filters at the top to narrow results by account, amount, date range, status, or Transfer ID.
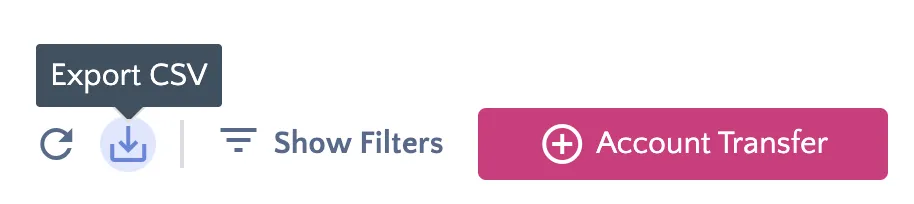
- Select the download icon to export your transfer history as a CSV file.
Viewing Transfer Details
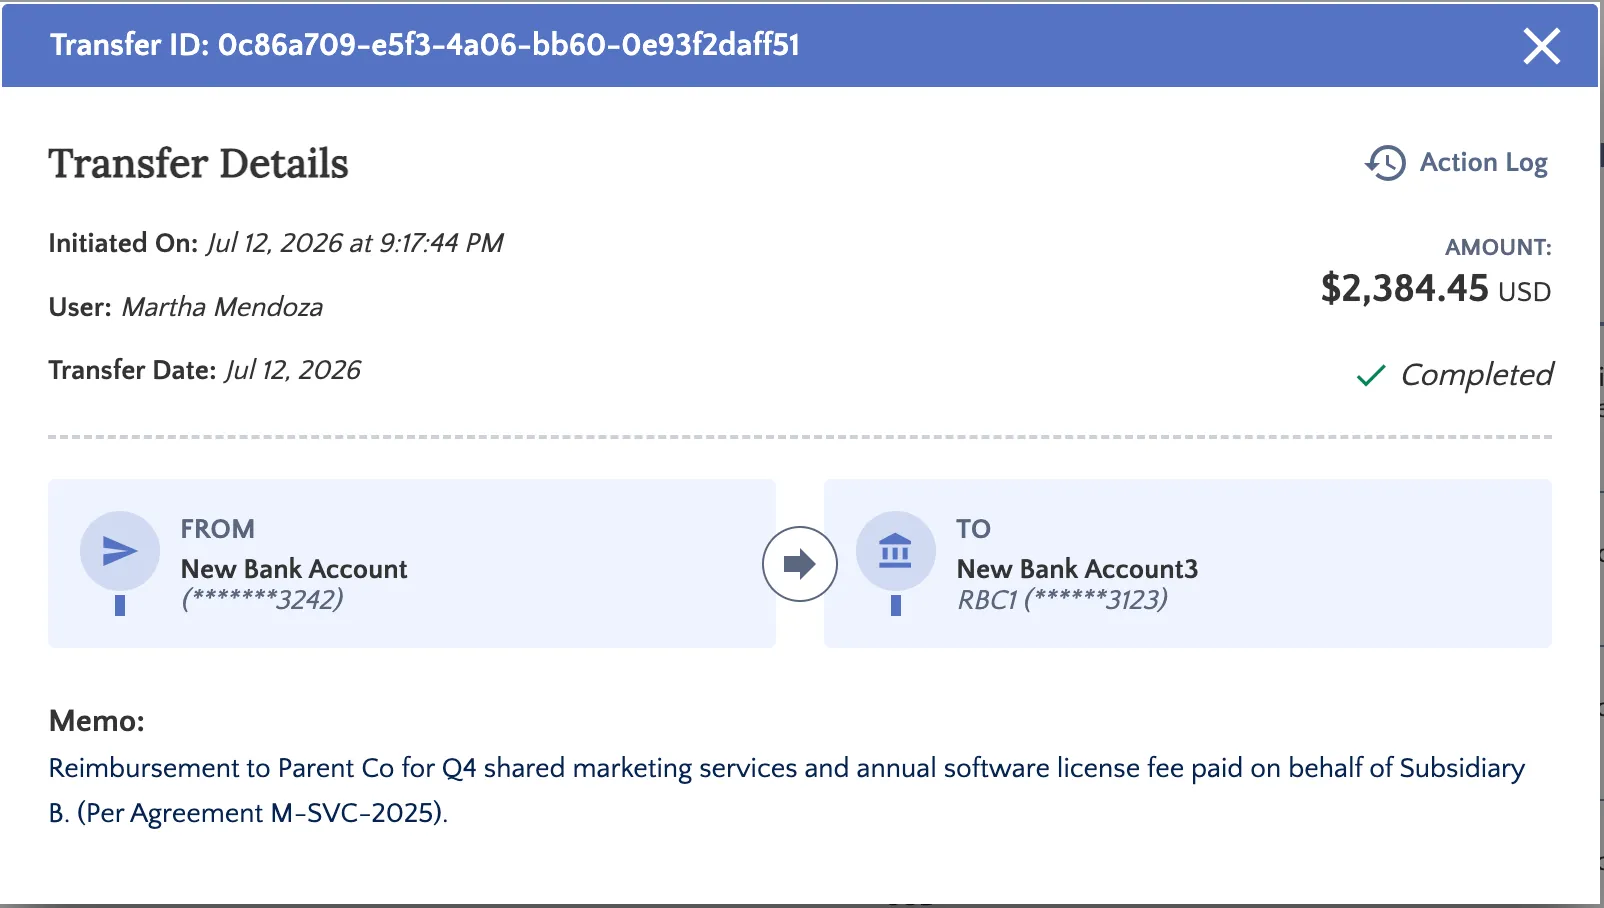
Select any row to open a detailed view, which includes:
- Full transfer information: Accounts, amount, memo, and who initiated the transfer.
- Action Log: A timeline showing every step of the transfer:
- When the request was received
- When the instruction was sent to your bank
- When the transfer was completed (or why it failed)
Transfer Statuses
Status | What It Means |
|---|---|
Completed | The bank processed the transfer and the transaction was recorded in your accounting software. |
Processing | The transfer instruction has been sent to your bank. Waiting for confirmation. |
Validation Failed | Something prevented the transfer from going through; for example, a configuration issue or missing account details. Check the Status Message or Action Log for specifics. |