Check Requirements
Check Print Payments involve checks that are printed and cut by the Bank rather than processed in-house. The user submits check print files, and the Bank handles printing and distribution to vendors.
NetSuite Specific Requirements
Installing the Entity Bank Details bundle is highly recommended for processing check payments through the NetSuite plugin.
For vendors with Check Payments Only, ensure there are no blank Entity Bank Details records.
Vendor Record & Bill Requirements
To avoid Payment delays or returns, please include the following required information for all Payments.
Vendor Record
The Entity's full name and address must be accurately populated on the Vendor record.
NOTE: The bill address is only pulled from the main Address field on the Vendor record. For Intacct users, this would be any additional addresses stored in areas such as the Contact List. For NetSuite users, this would be any additional addresses below the Address tab that are not marked as the Default Billing address.
Billing Address and Location
The Billing Addresses for the Entity and Bill (if applicable) must be located in the country of destination and must match the country specified in the Vendor Entity Bank Details record.
Vendor Billing Address
Ensure the address on the bill matches the address in the vendor profile, as the plugin uses the bill address to determine where the payment is sent.
NOTE: If you encounter errors, first verify that a complete address exists on the Entity Profile. Then, update the bill using these steps:
- Navigate to the bill and click Edit.
- Select the Billing subtab.
- In the Entity Select dropdown, choose the address linked to the entity profile.
- Ensure the full address is correct (add it if necessary) and click Save.
Disabling Remittance for Check
Commerce Payment Hub already sends remittances for this payment rail. To ensure your vendor does not receive duplicated remittance advice, you can disable remittance by following these steps:
NetSuite
Go to Lists → Relationships → Vendors.
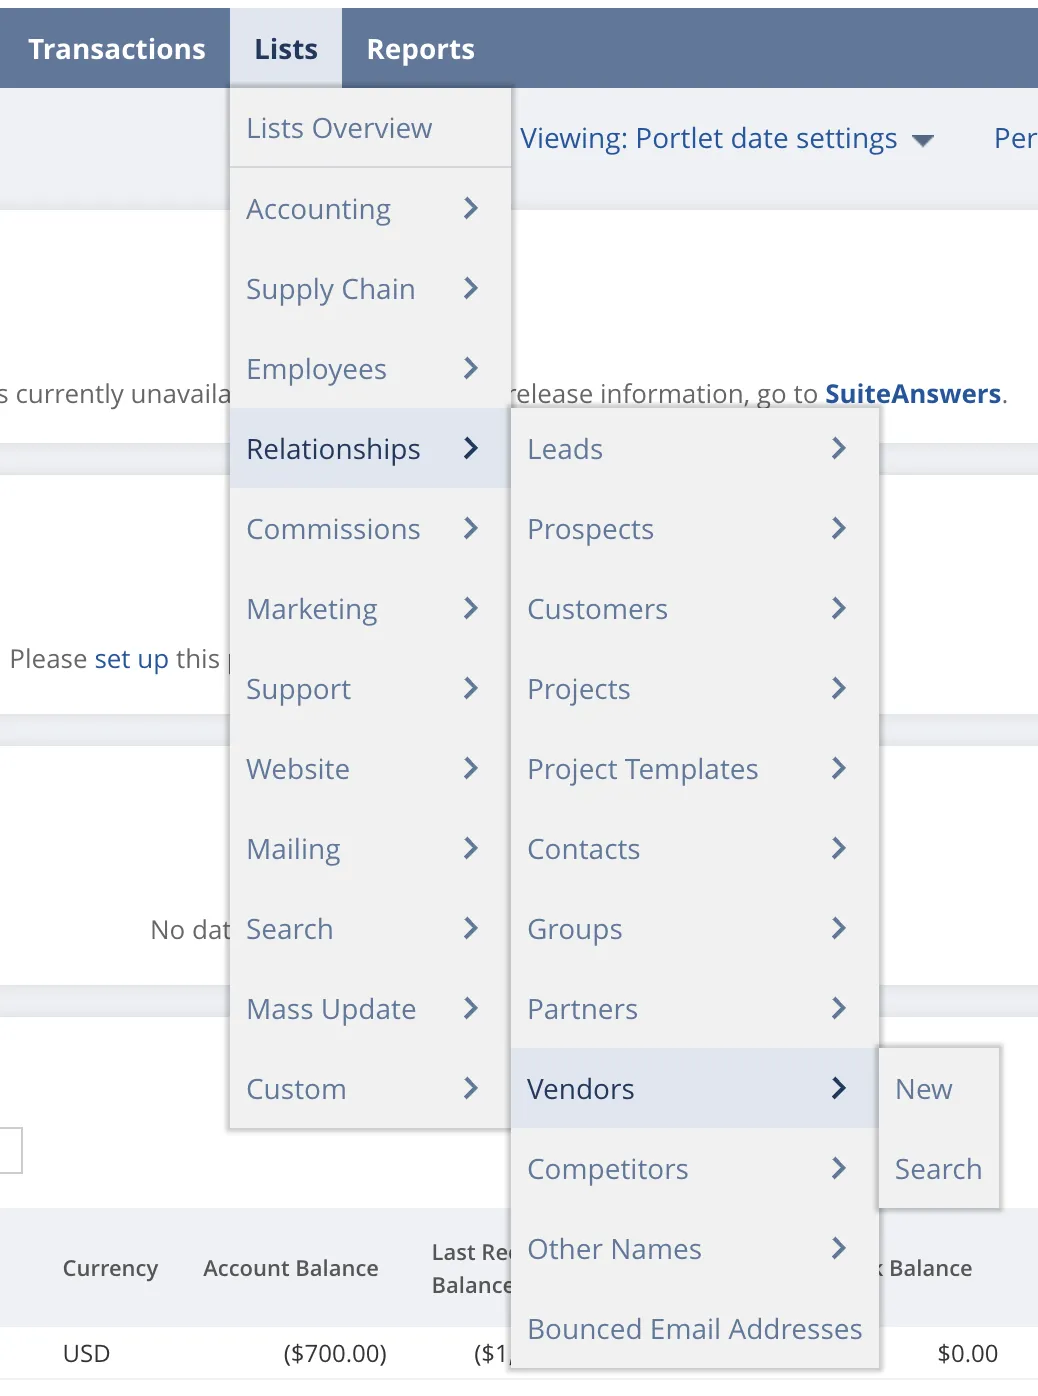
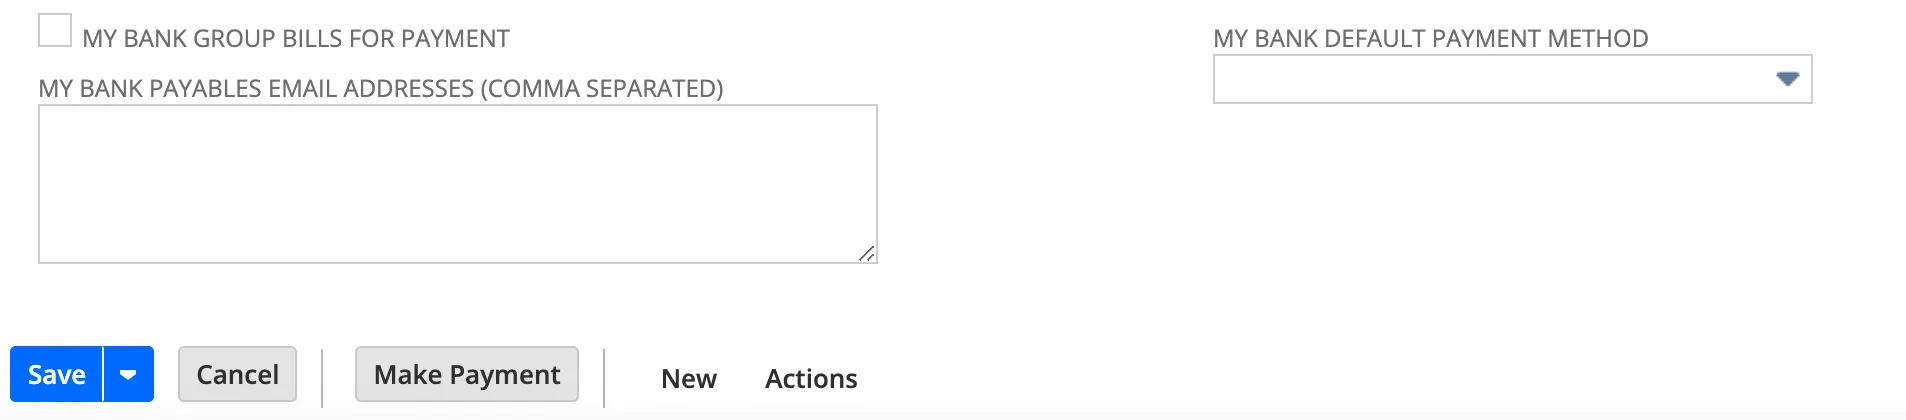
On the Vendor’s page, turn on the Edit option, then select the Commerce Bank tab.
If you have vendors that you would not like to send remittances to, leave the box empty.
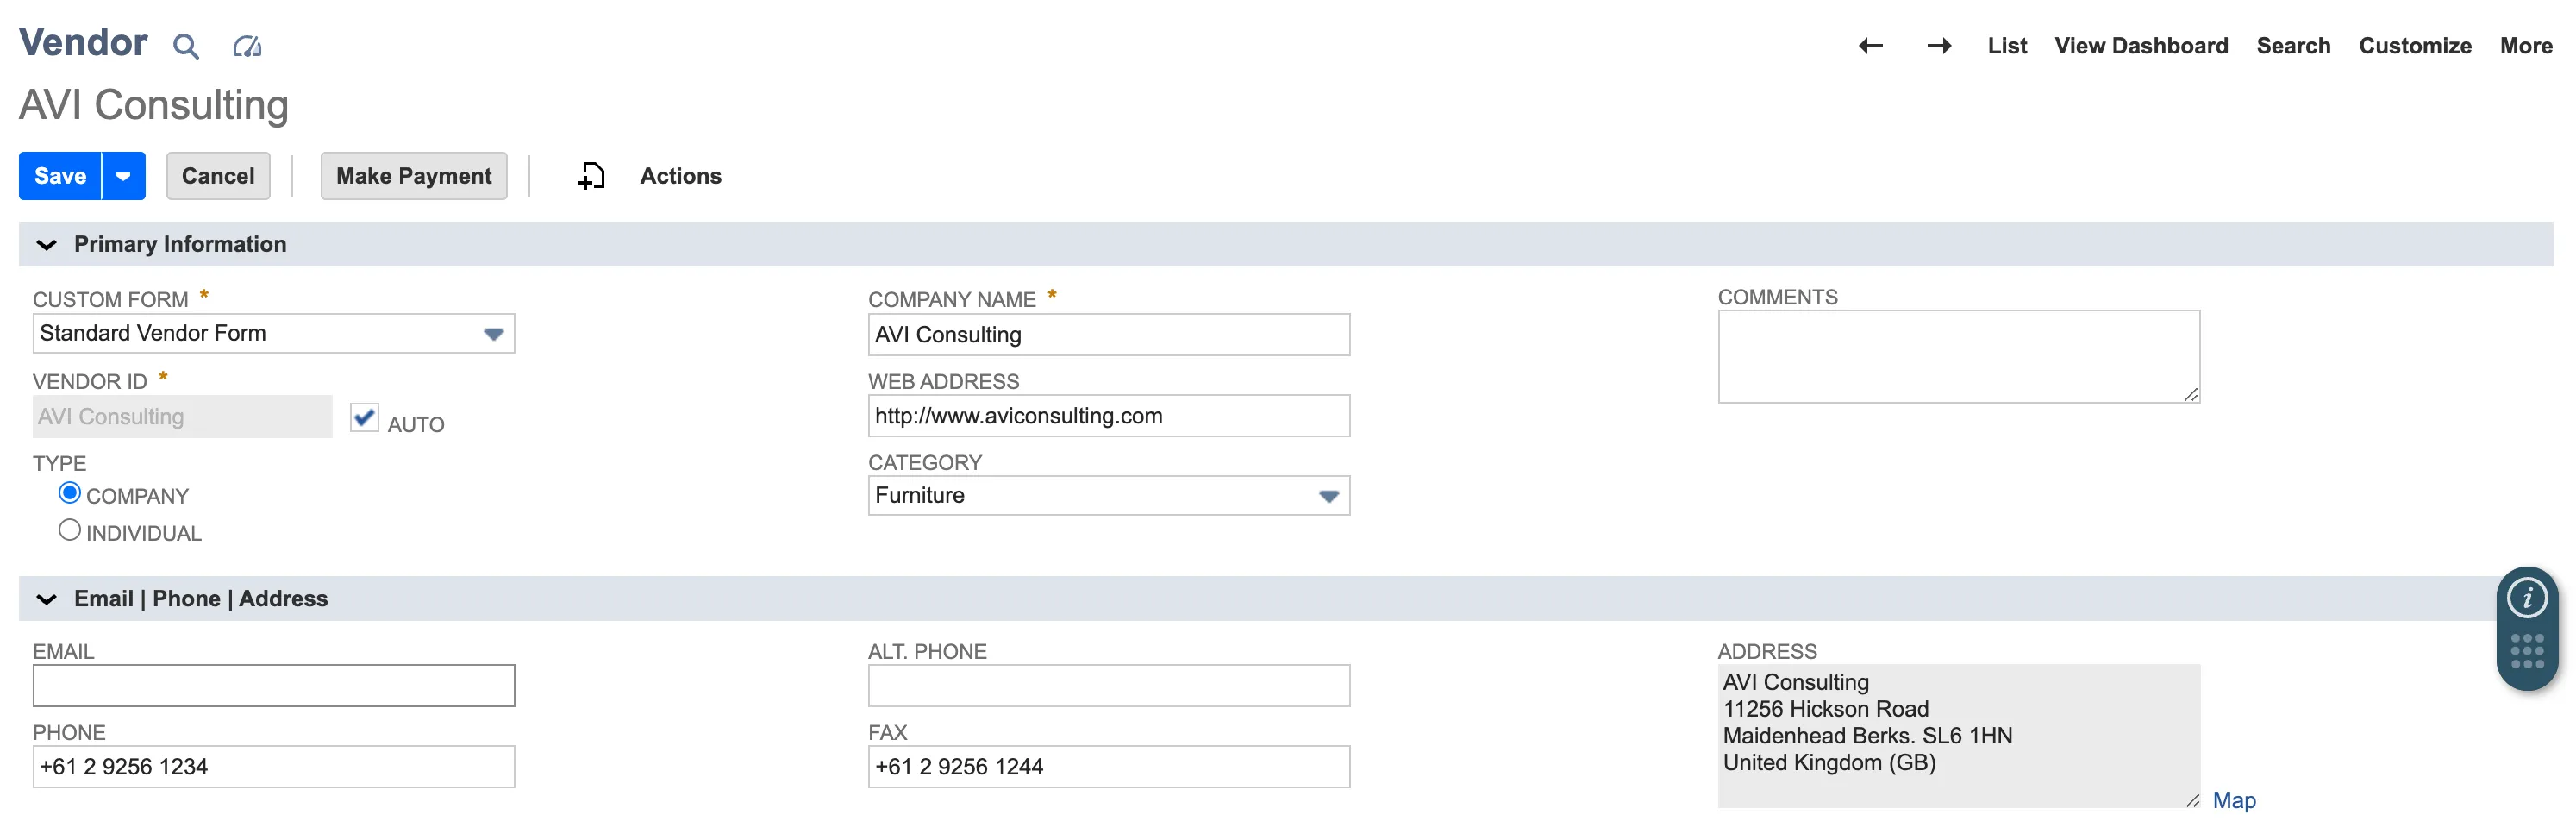
Secondly, you will need to remove the email address on the vendor card.
Intacct
Navigate to the Payment Methods tab of the plugin.
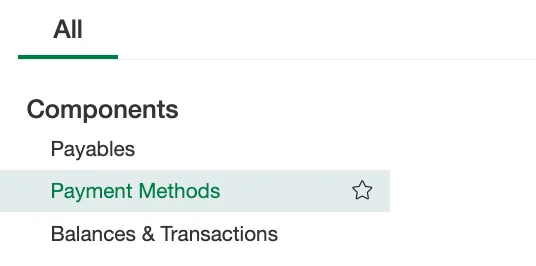
The Payment Method page enables you to manage payment information for each vendor. Click on the vendor row you would like to manage by clicking on the Edit button for the row.

The Payment Method pop-up will appear which allows you to manage payment information as well as Remittance Advice configurations.
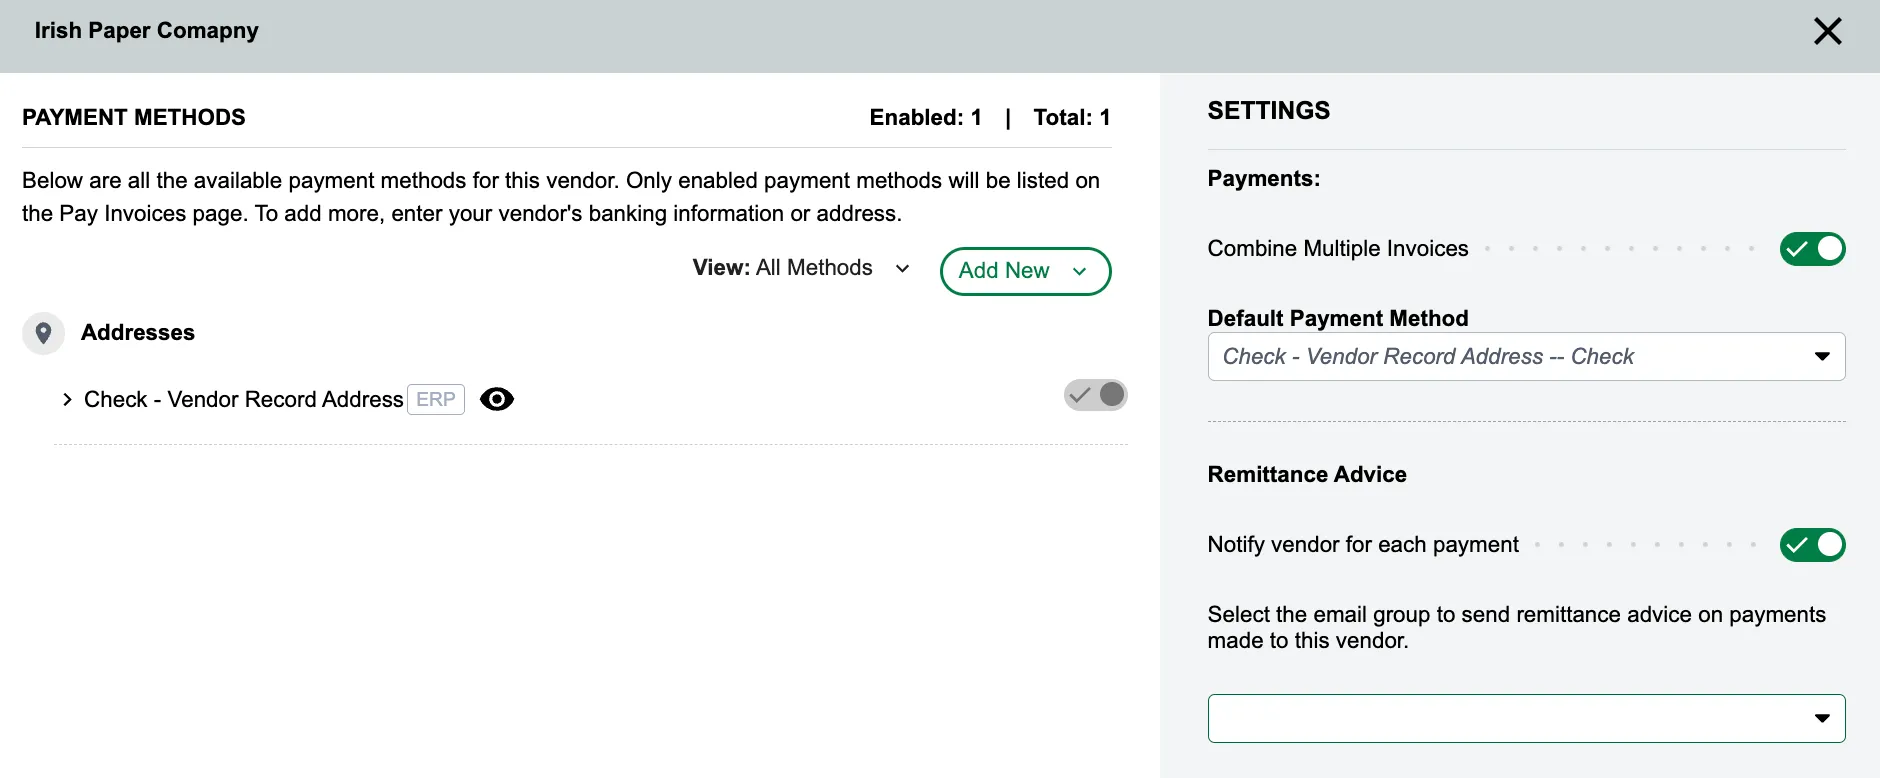
If you would like to turn off Remittance for a vendor or not send remittance to a vendor, you can leave this field empty or toggle it off.
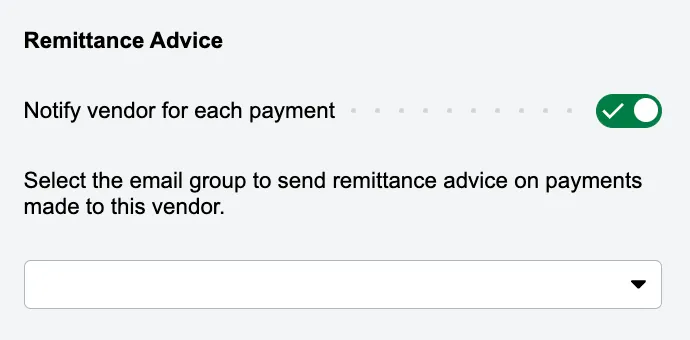
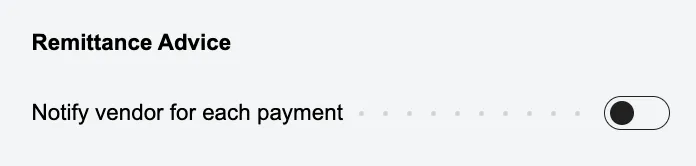
If you have multiple vendors you would like to do this with, you can filter the Payment Method page by the default payment method. You can then select the gear icon in the column to open the pop-up.

You will now be prompted to select which option you would like. Please note, if disabling for all vendors, you will have to update for any new vendors created in the future. Once the option has been selected, click Yes.
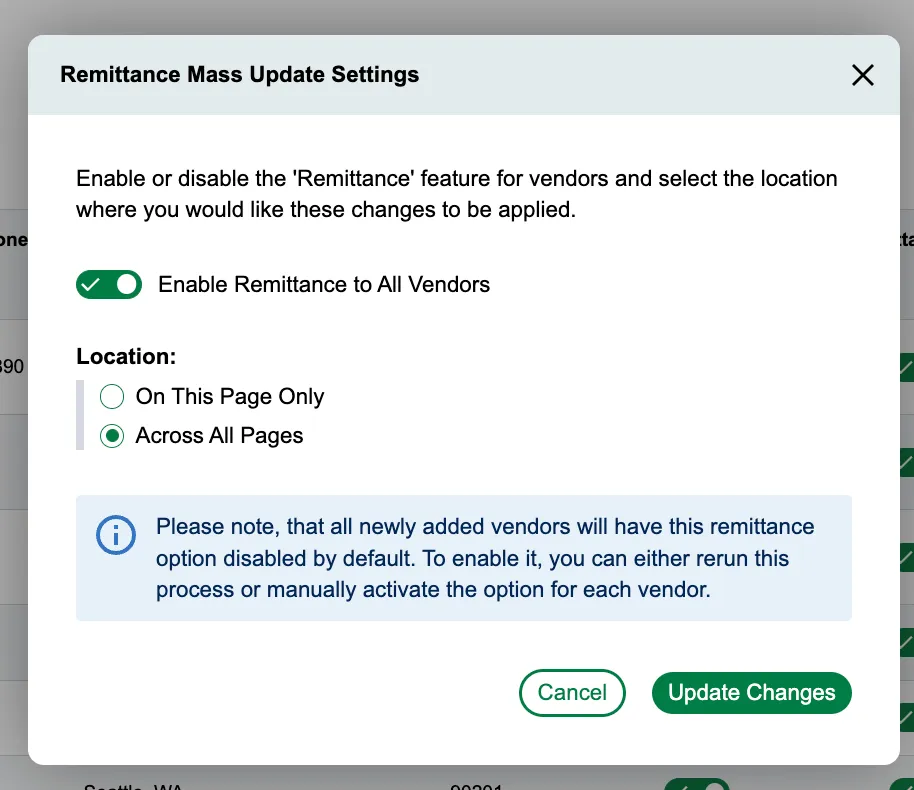
The screen will then reload and all the toggles will be updated to match the status you selected. From here, you can modify specific vendors.

Business Central
Navigate to the Payment Methods tab of the plugin.

The Payment Method page enables you to manage payment information for each vendor. Click on the vendor you would like to manage by hovering over the vendor and selecting the Eye icon.
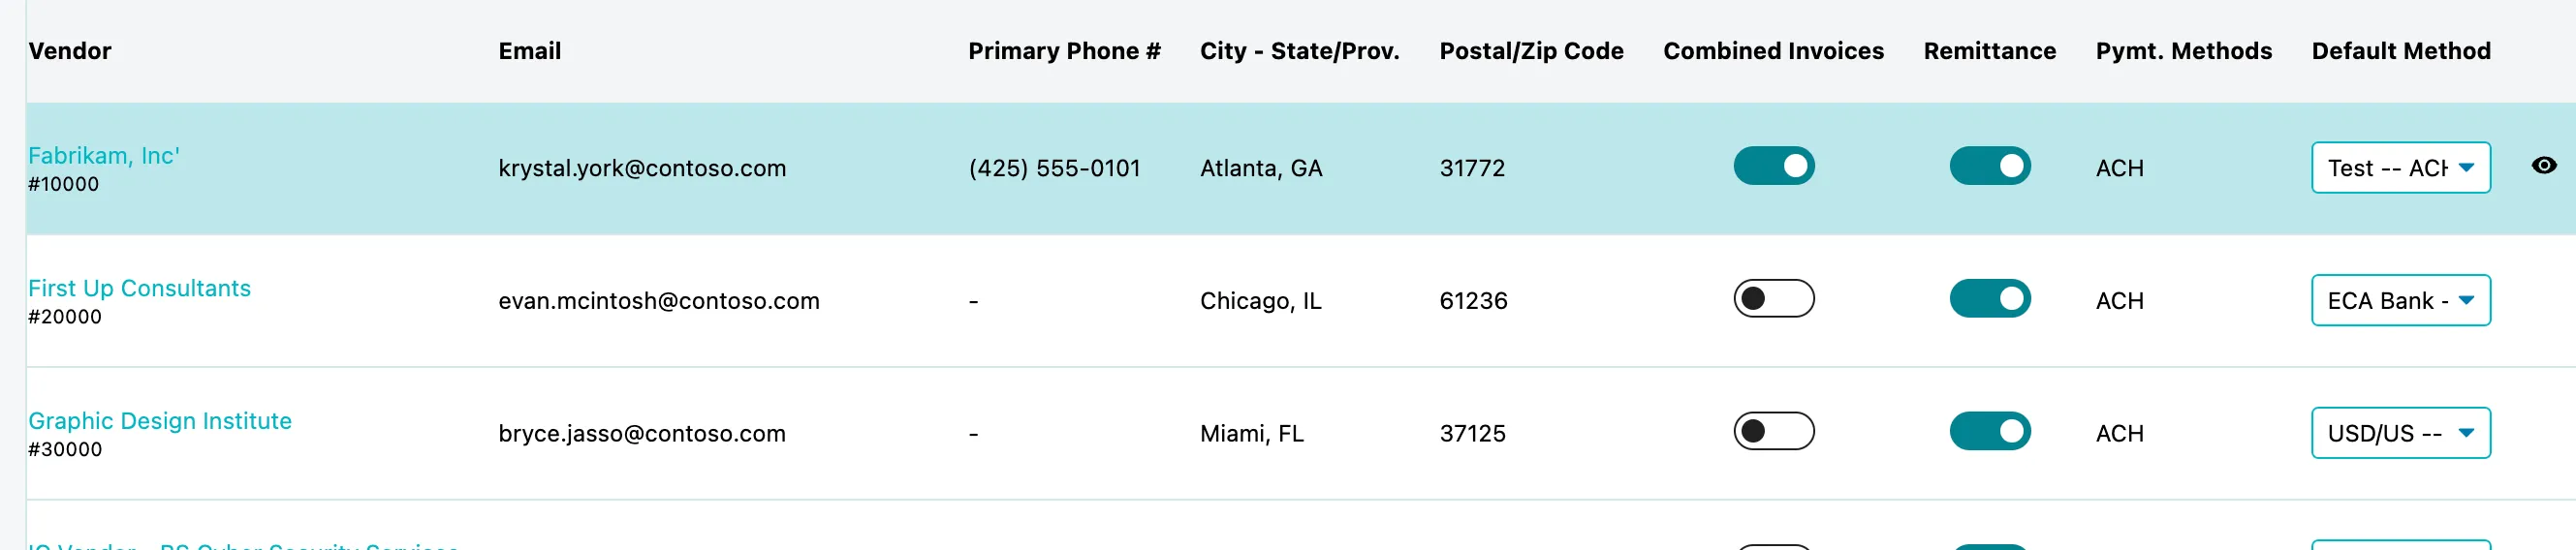
The Payment Method pop-up will appear which allows you to manage payment information as well as Remittance Advice configurations.
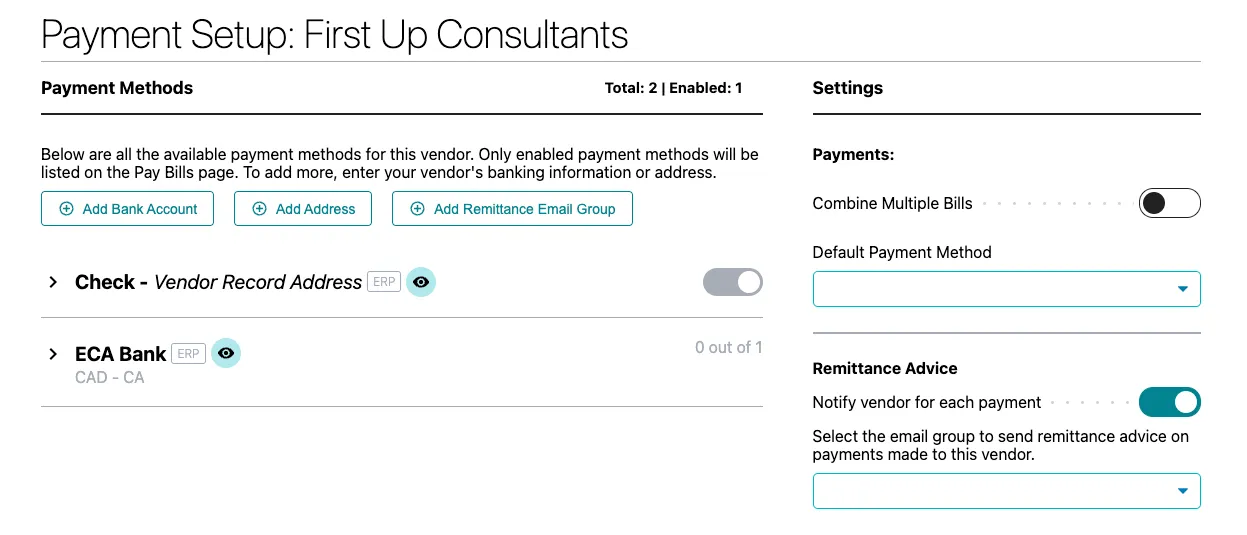
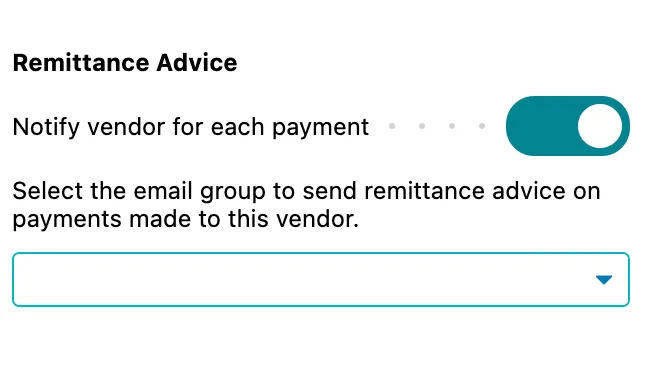
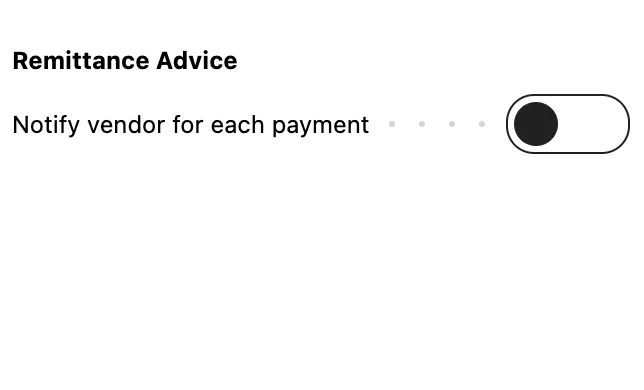
If you would like to turn off Remittance for a vendor or not send remittance to a vendor, you can leave this field empty or toggle it off.
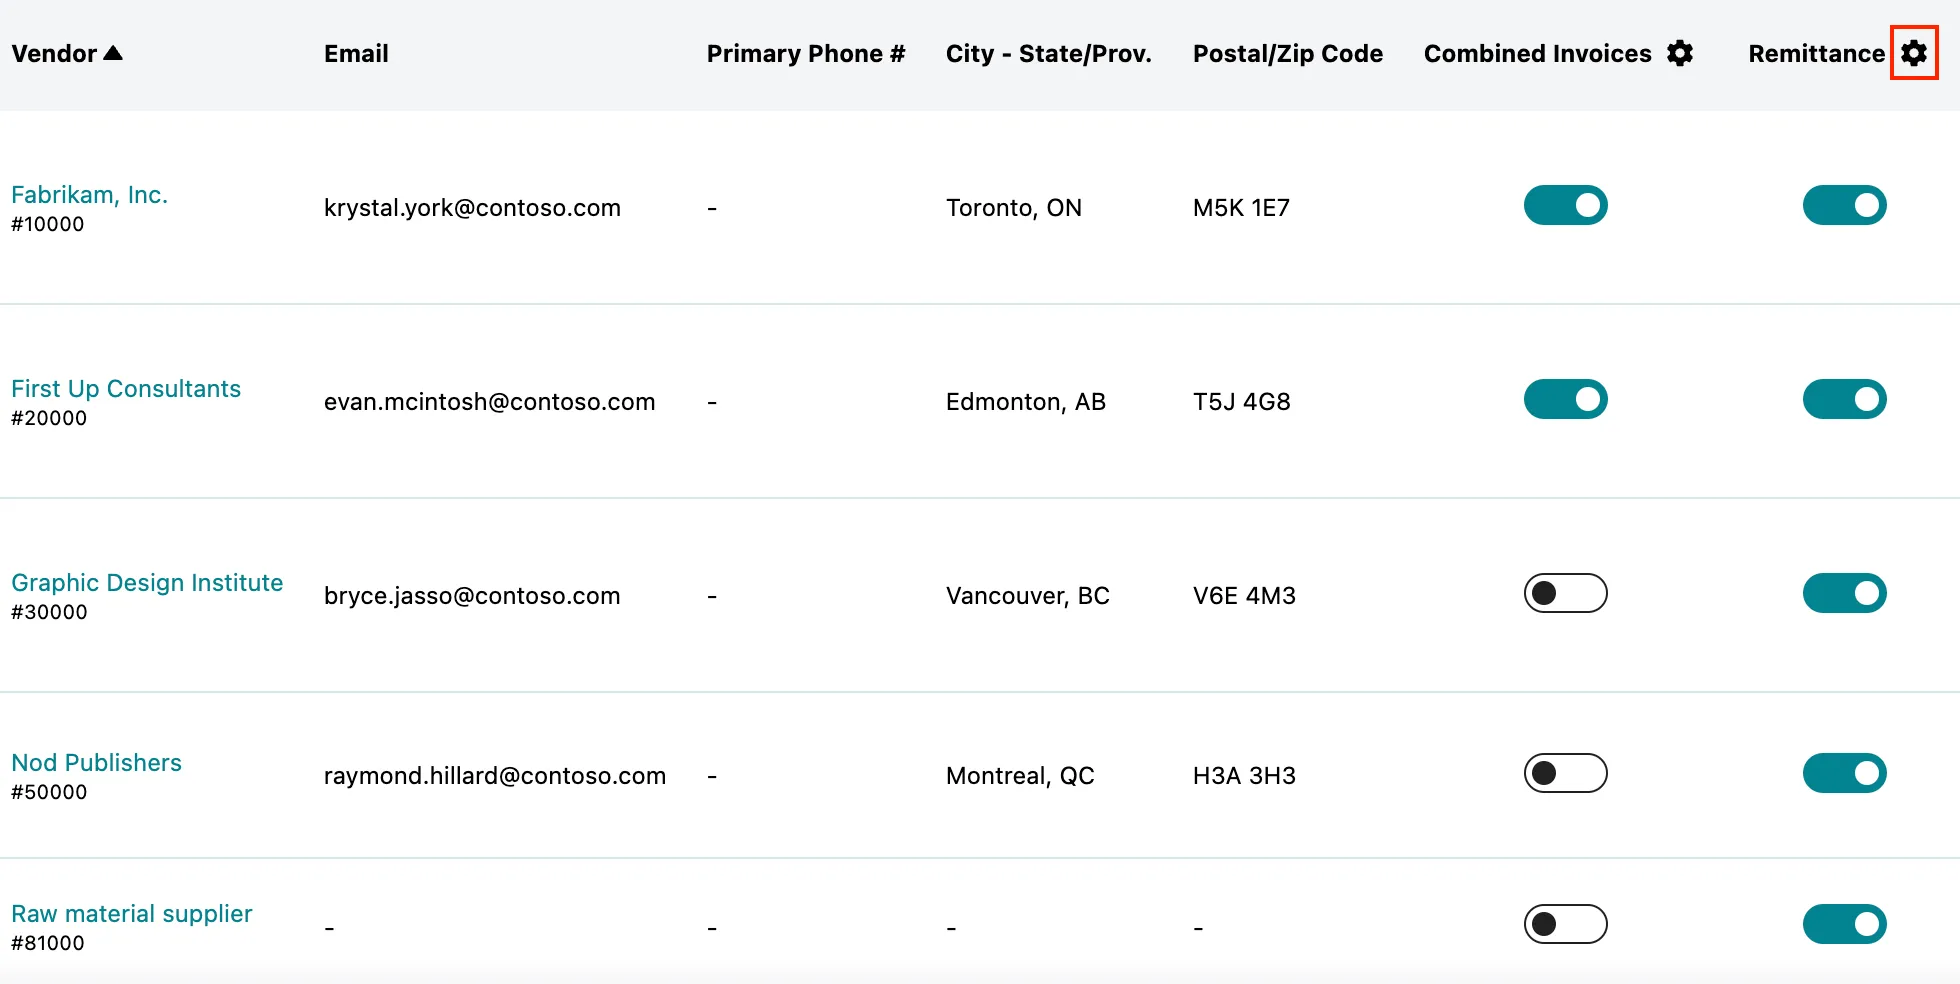
If you have multiple vendors you would like to do this with, you can filter the Payment Method page by the default payment method. You can then select the gear icon in the column to open the pop-up.
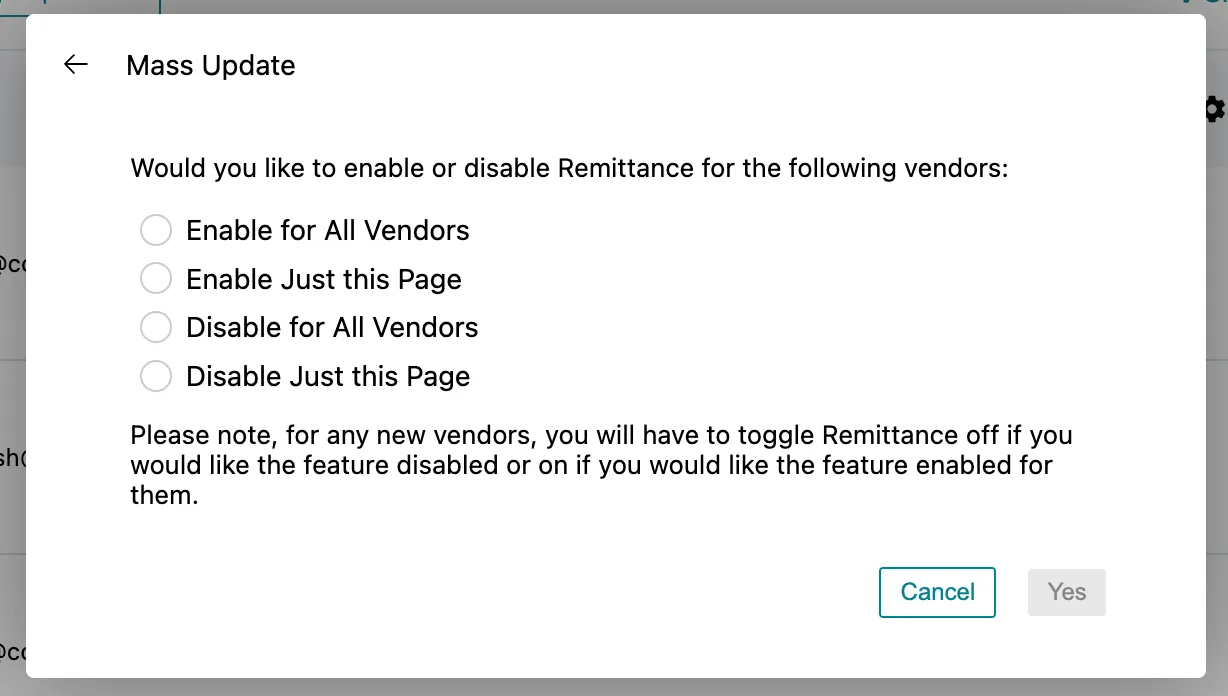
You will now be prompted to select which option you would like.
Please note, if disabling for all vendors, you will have to update for any new vendors created in the future.
Once the option has been selected, click Yes.
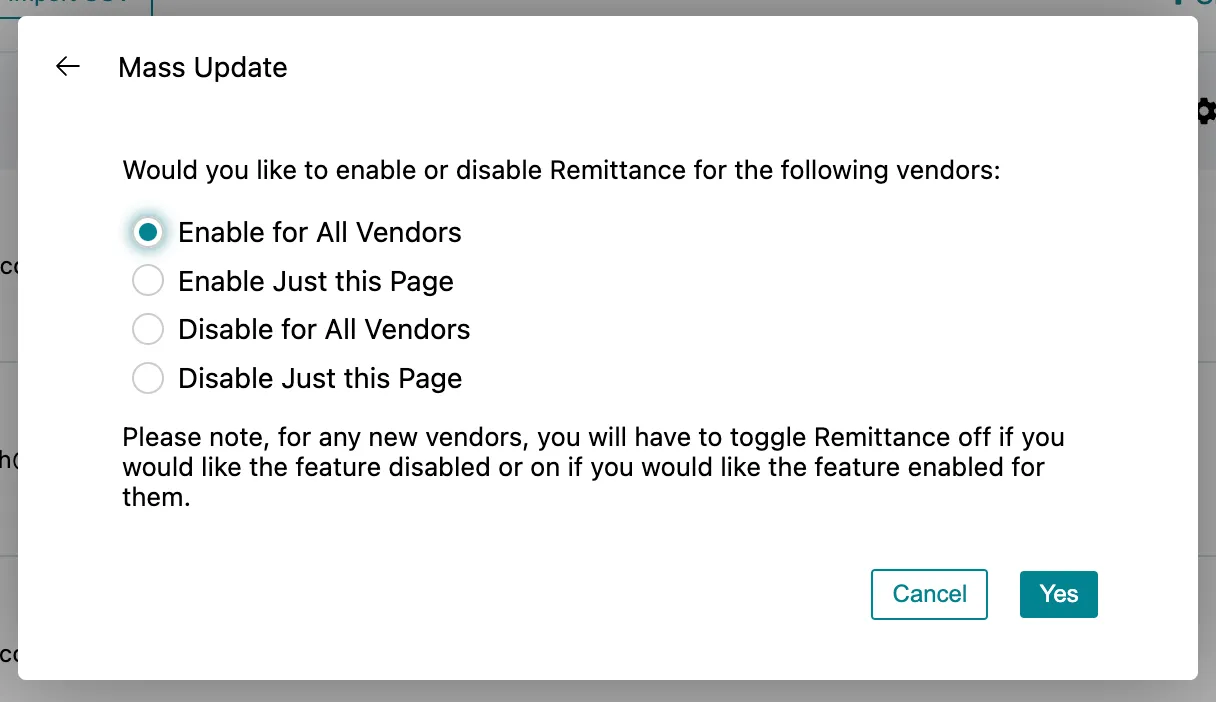
The screen will then reload and all the toggles will be updated to match the status you selected. From here, you can modify specific vendors.
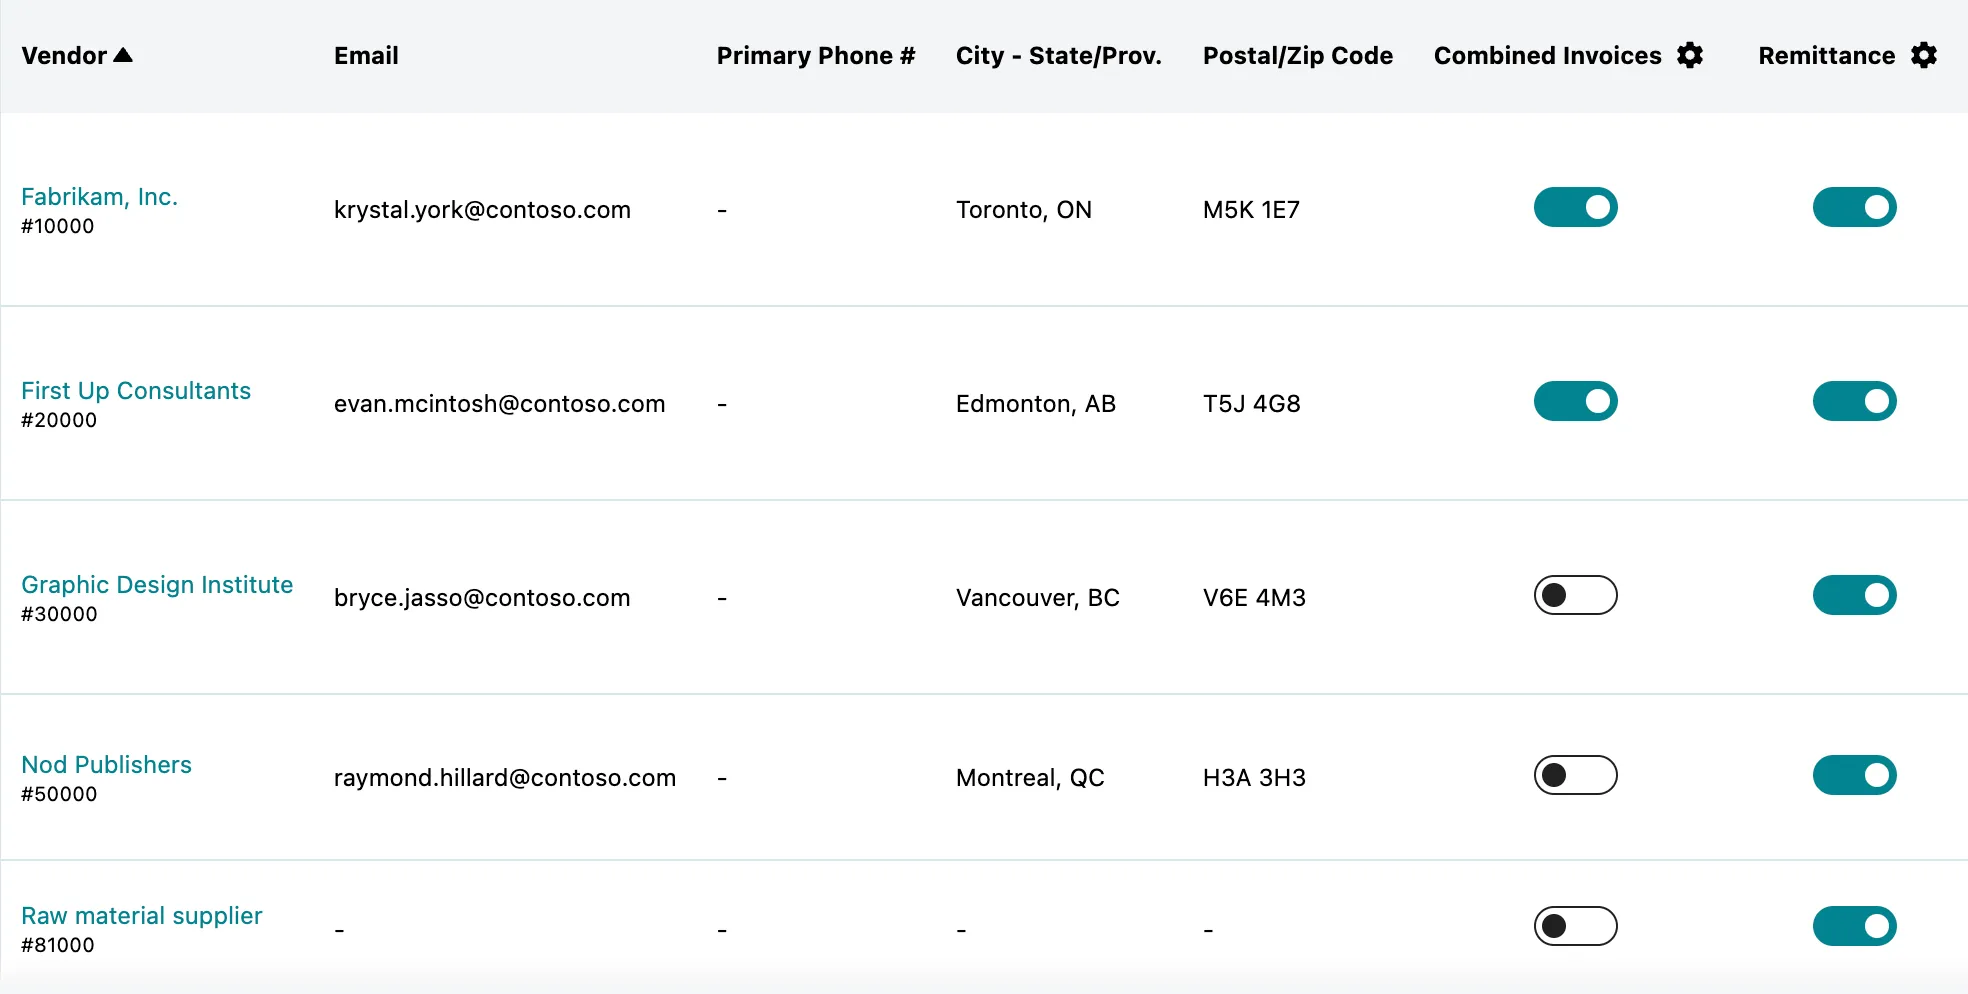
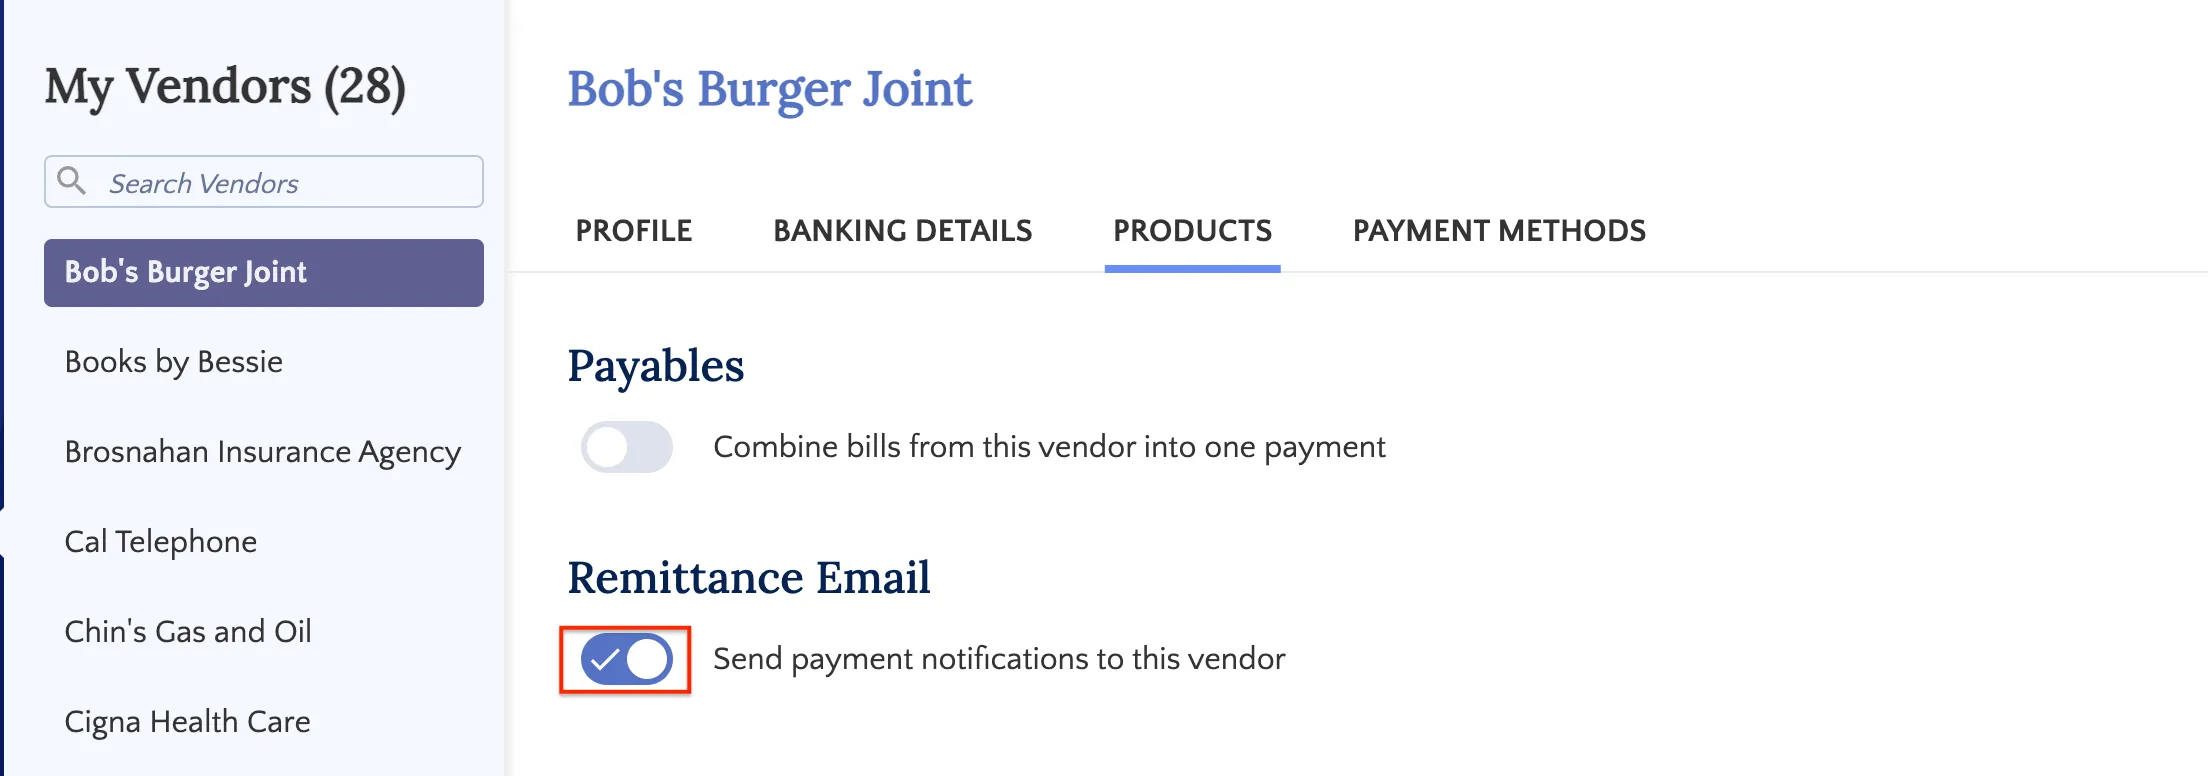
Quickbooks Online
Log into the Online Companion App.
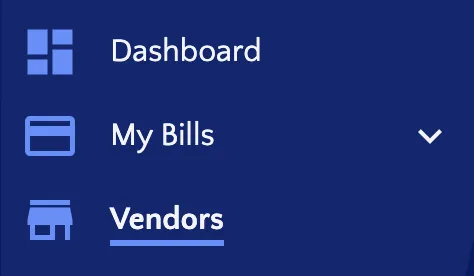
On the sidebar, select Vendors.
Use the slider under the Remittance Email section to turn on or off the remittance email feature for each of the vendors.