Paying Bills (Intacct)
If your Payables Page looks different than the screenshots below, you may be running an outdated version of the plugin. Please update the plugin to use the plugin's latest features.
Step 1: Go To Payables
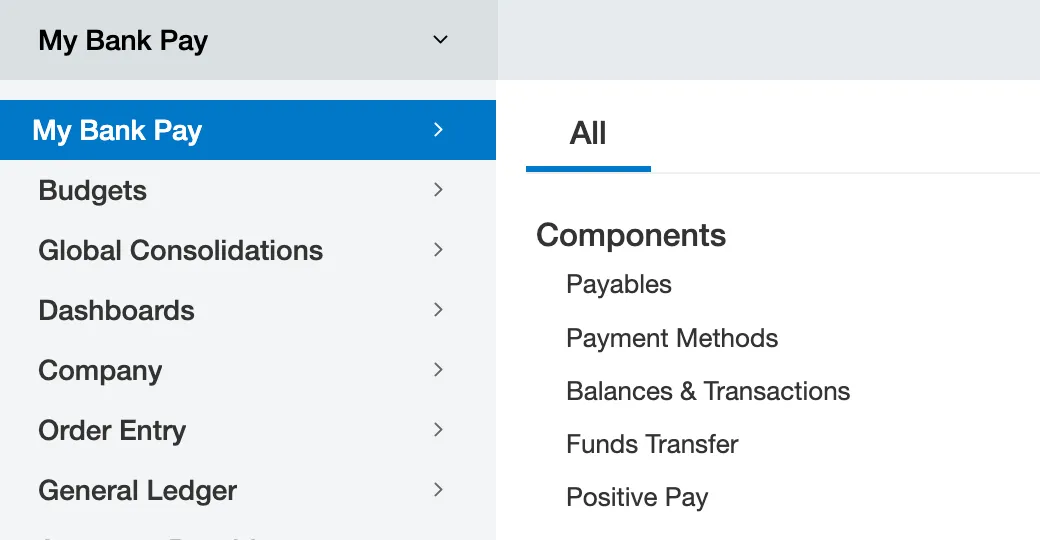
Go to Payables.
Step 2: Select Bills To Pay
If you delete an open bill from the plugin (by hitting the 'bin' button on the right side of the page), it will disappear and will not re-sync. However, an open bill that was removed can only be reprocessed if an edit is made to the invoice in native Intacct (outside of the bank plugin) and resubmitted for approval.
Please ensure that any bills to be paid have not been created by duplicating bills that were previously paid through the bank plugin.
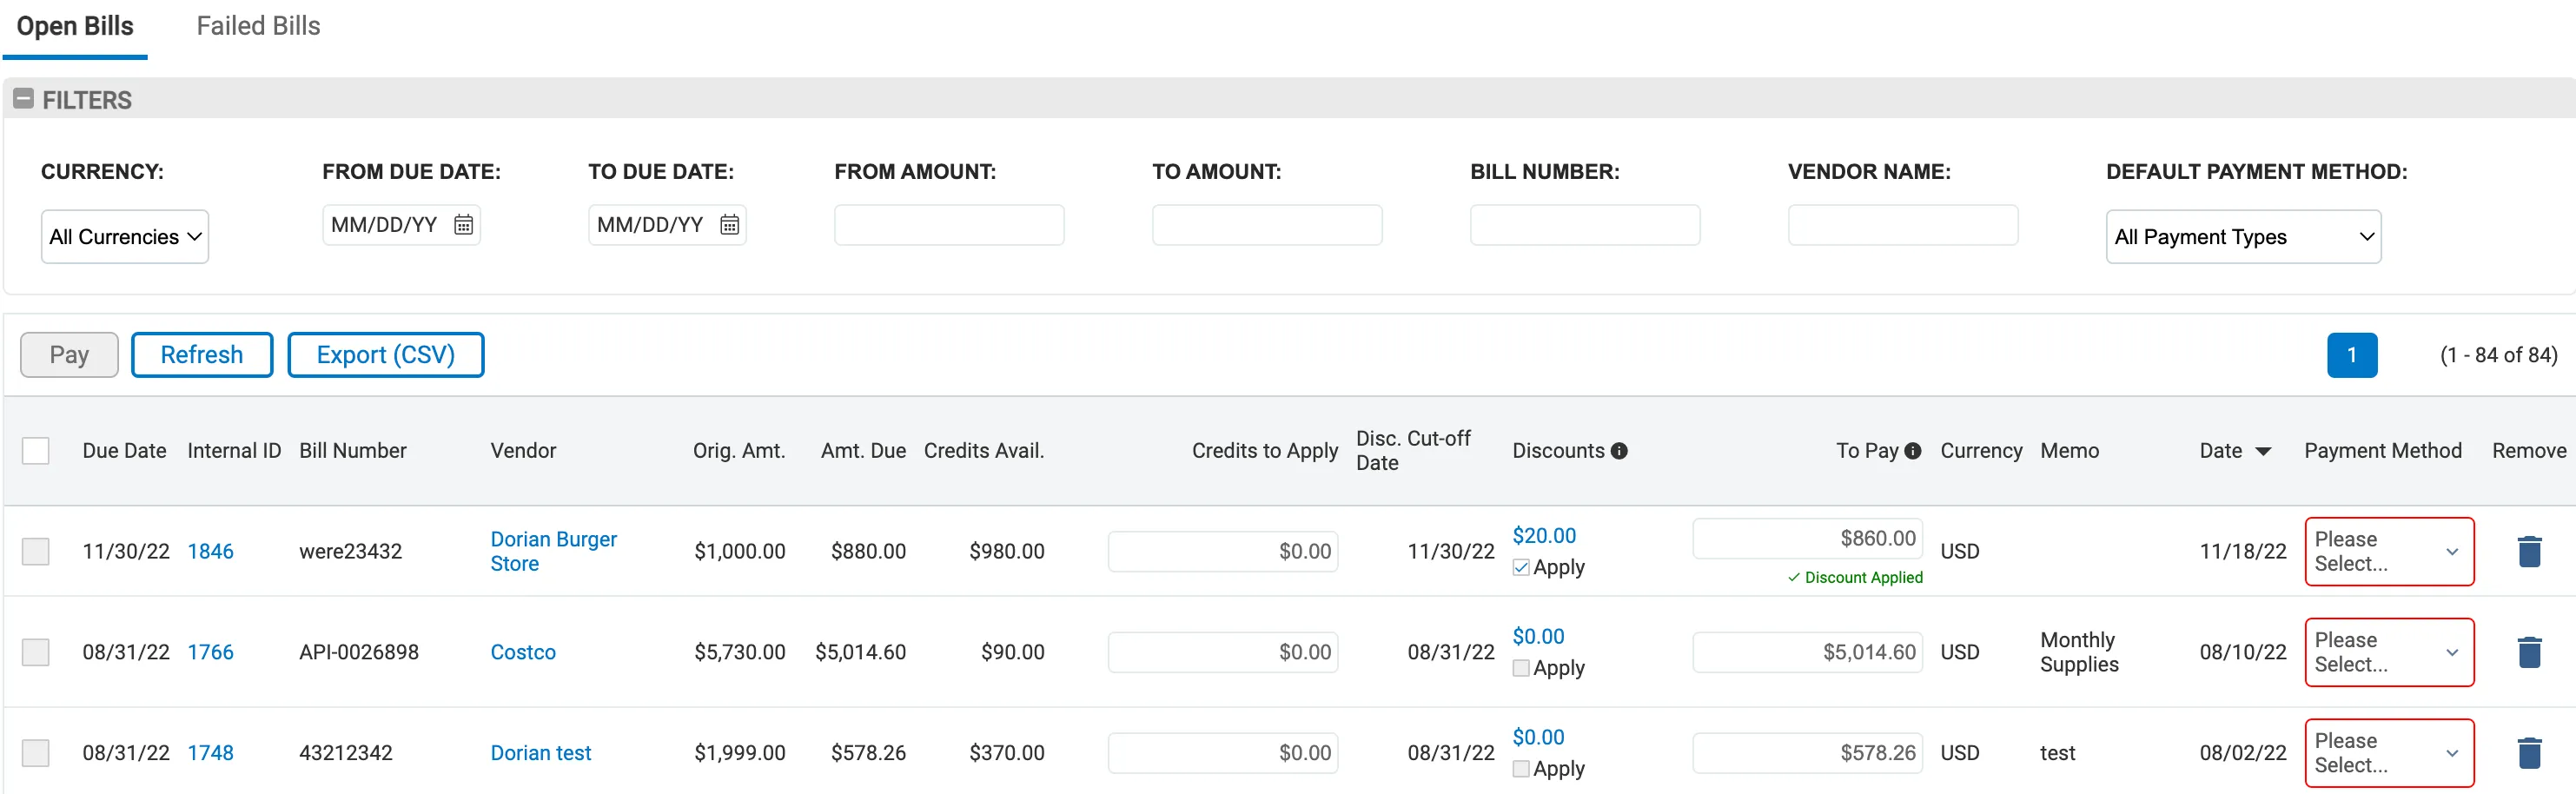
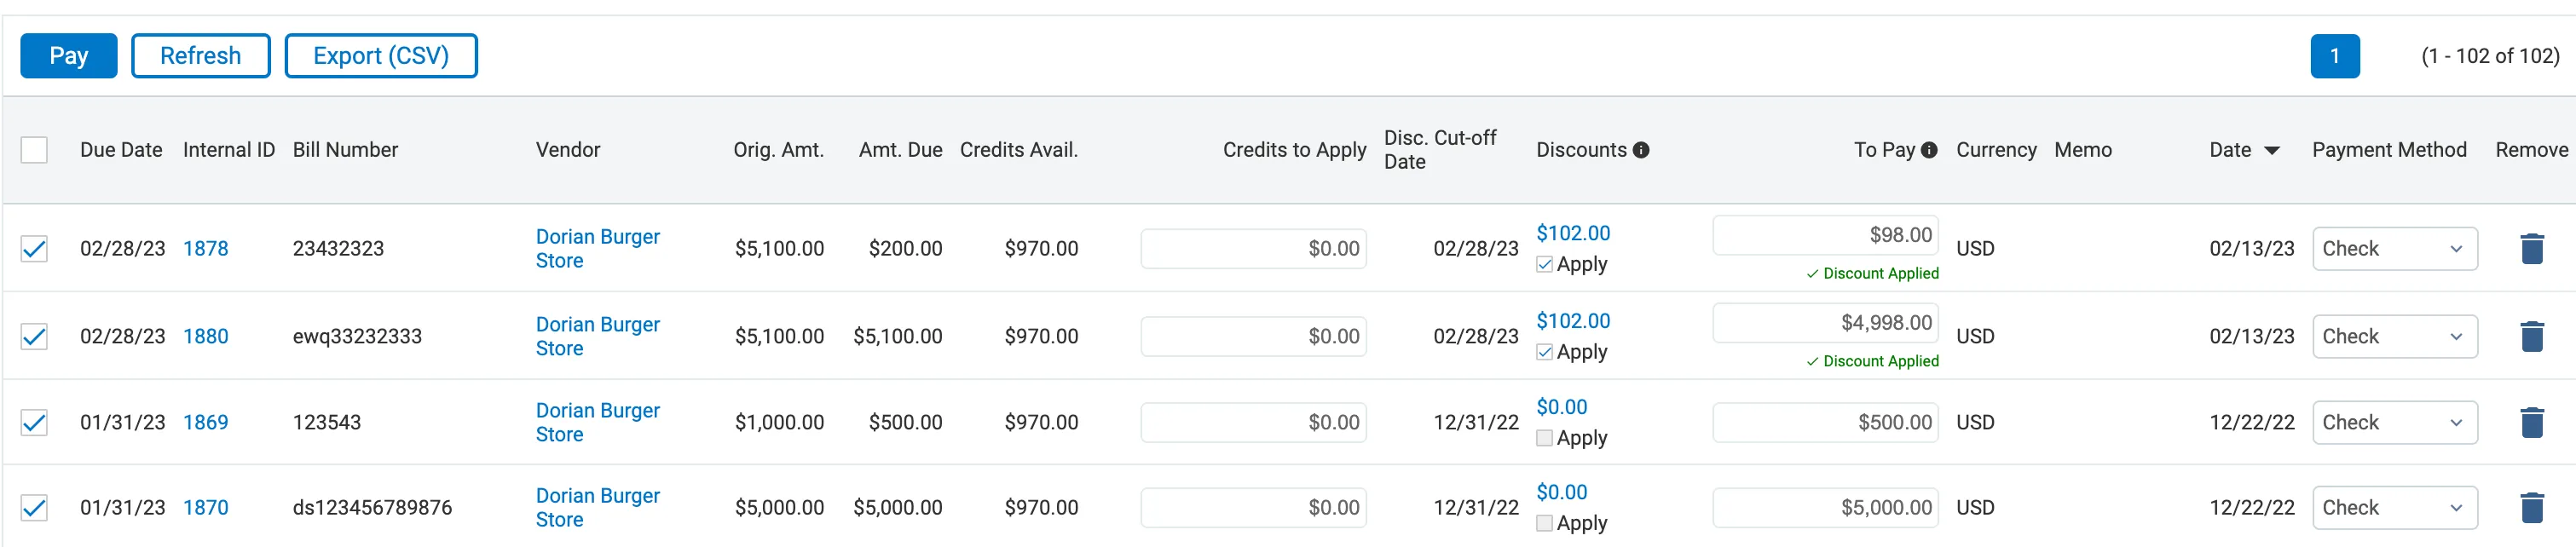
Use the filters to find the bills you would like to pay. If a default payment method has not yet been set for the vendor, choose your payment method from the respective column. Then, select the bills you would like to pay using the boxes on the left and select Pay.
Step 3: Confirm Payment(s)
NOTICE: If you have forgotten to apply a credit or a discount to a bill after clicking "Confirm" DO NOT attempt to reverse this payment and re-pay it as it may cause duplicate payments. Please contact FISPAN Support to check if the payment has already left Intacct before attempting reversal and repayment.
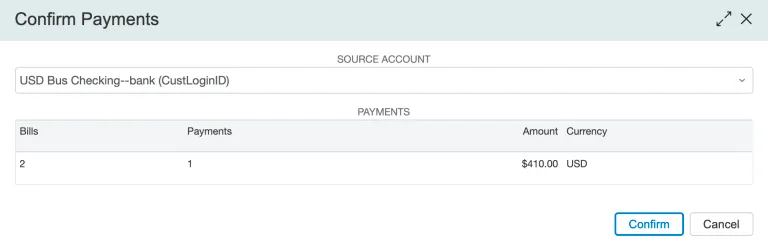
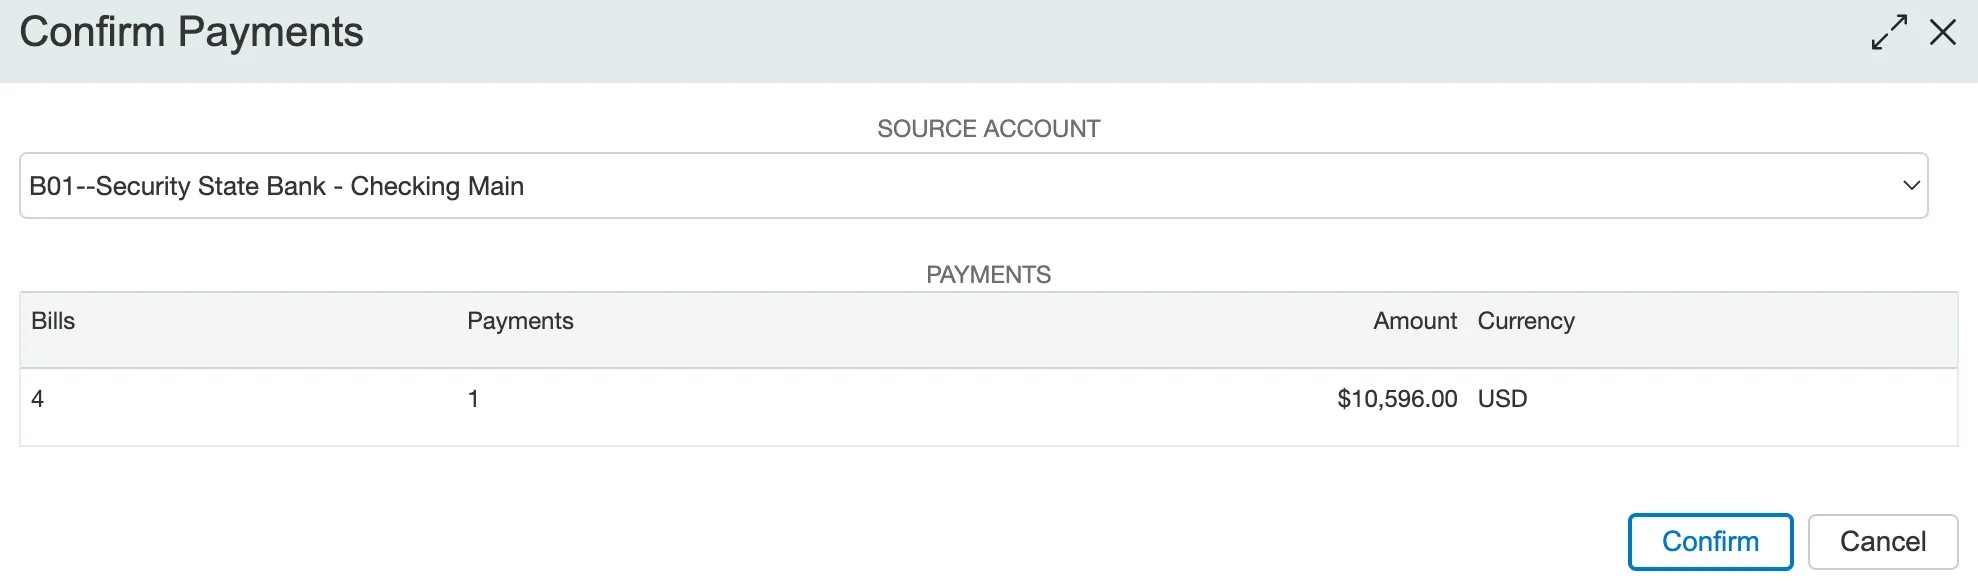
Select the account from the dropdown and confirm the number of bills, payments, and amounts are correct. Please ensure all applicable credits and discounts have been applied.
Once you have validated your bills to be paid, select Confirm.
Step 4: Check the Payment Status
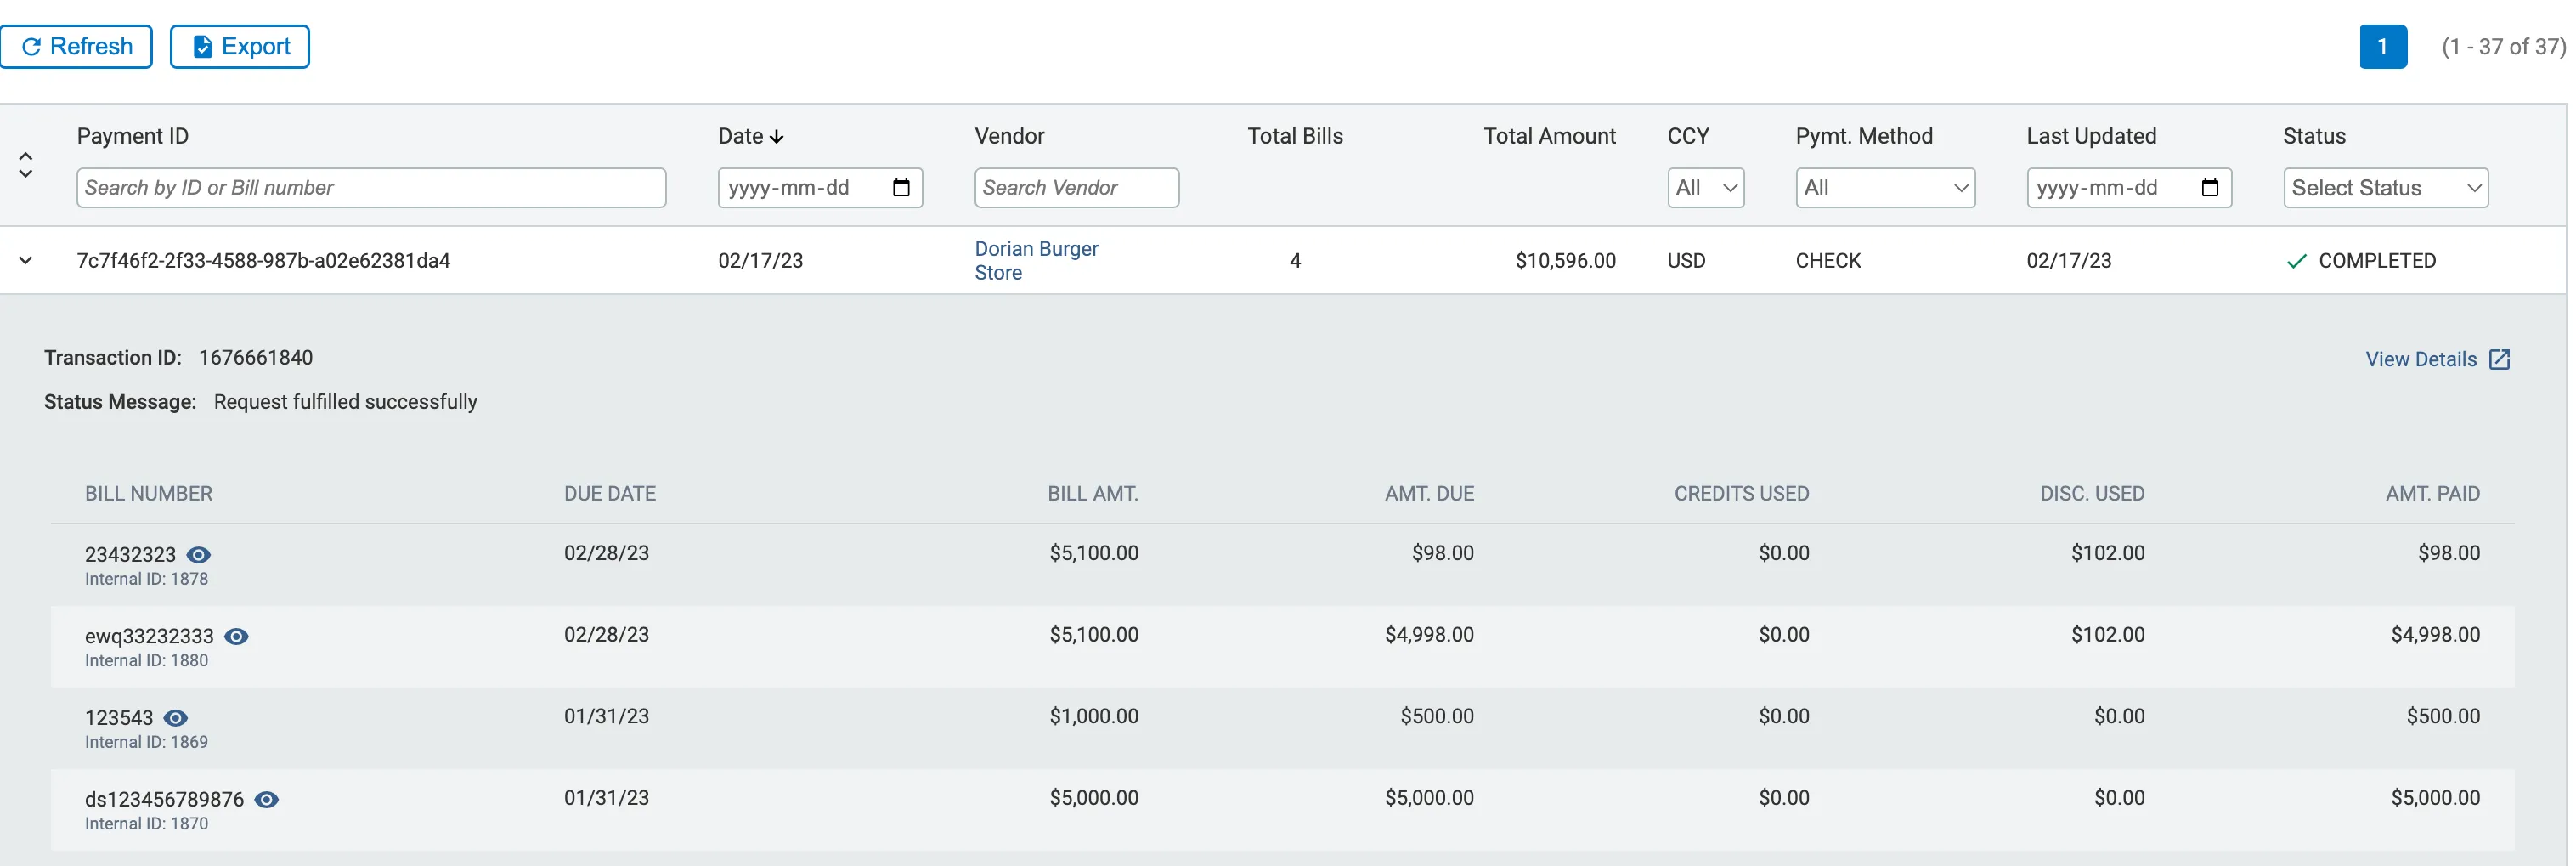
Go to Payables → History.
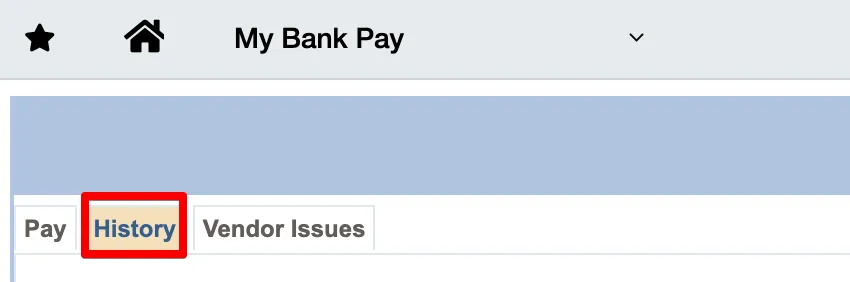
The status will appear as Received until the payment has been cleared. Once the payment is complete, the status will display as Completed.

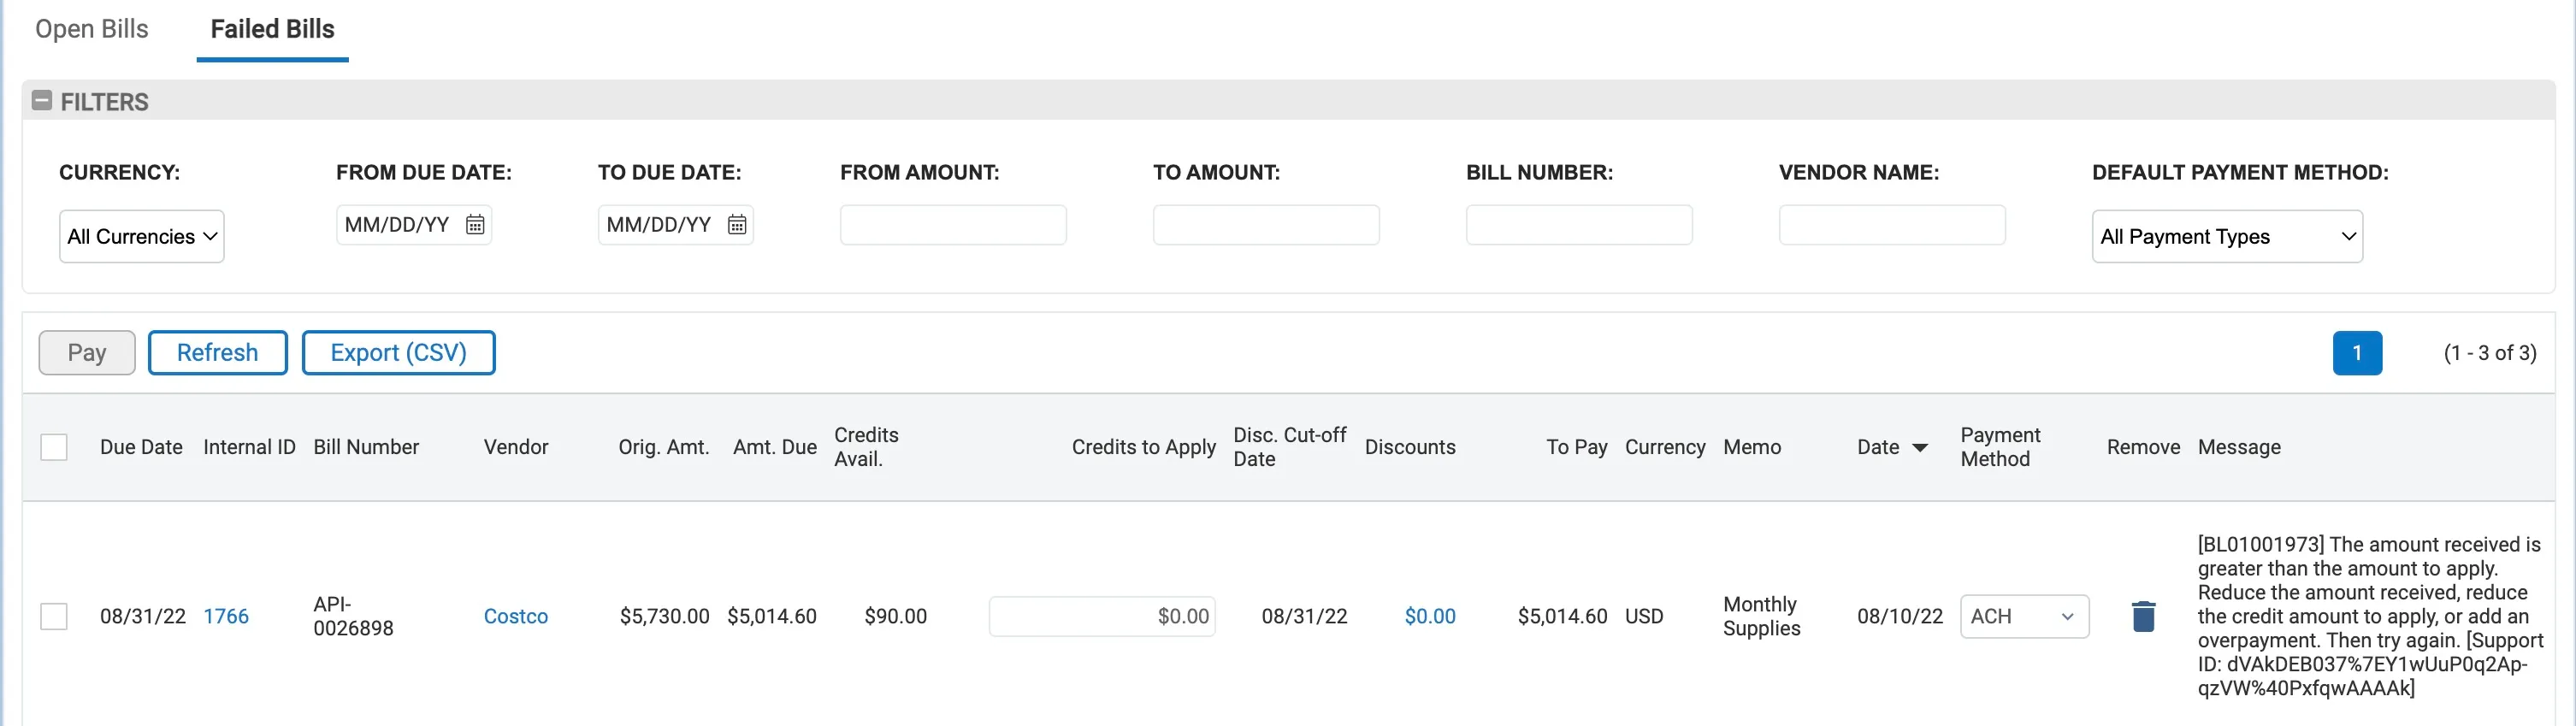
We recommend checking the Failed Bills tab after sending a payment to confirm the payment was successful. To do so, go to Payables → Failed Bills.
A failed bill would look like the following:
A failed bill remains open on the Pay Page and can be sent for payment again.
Paying Grouped Bills
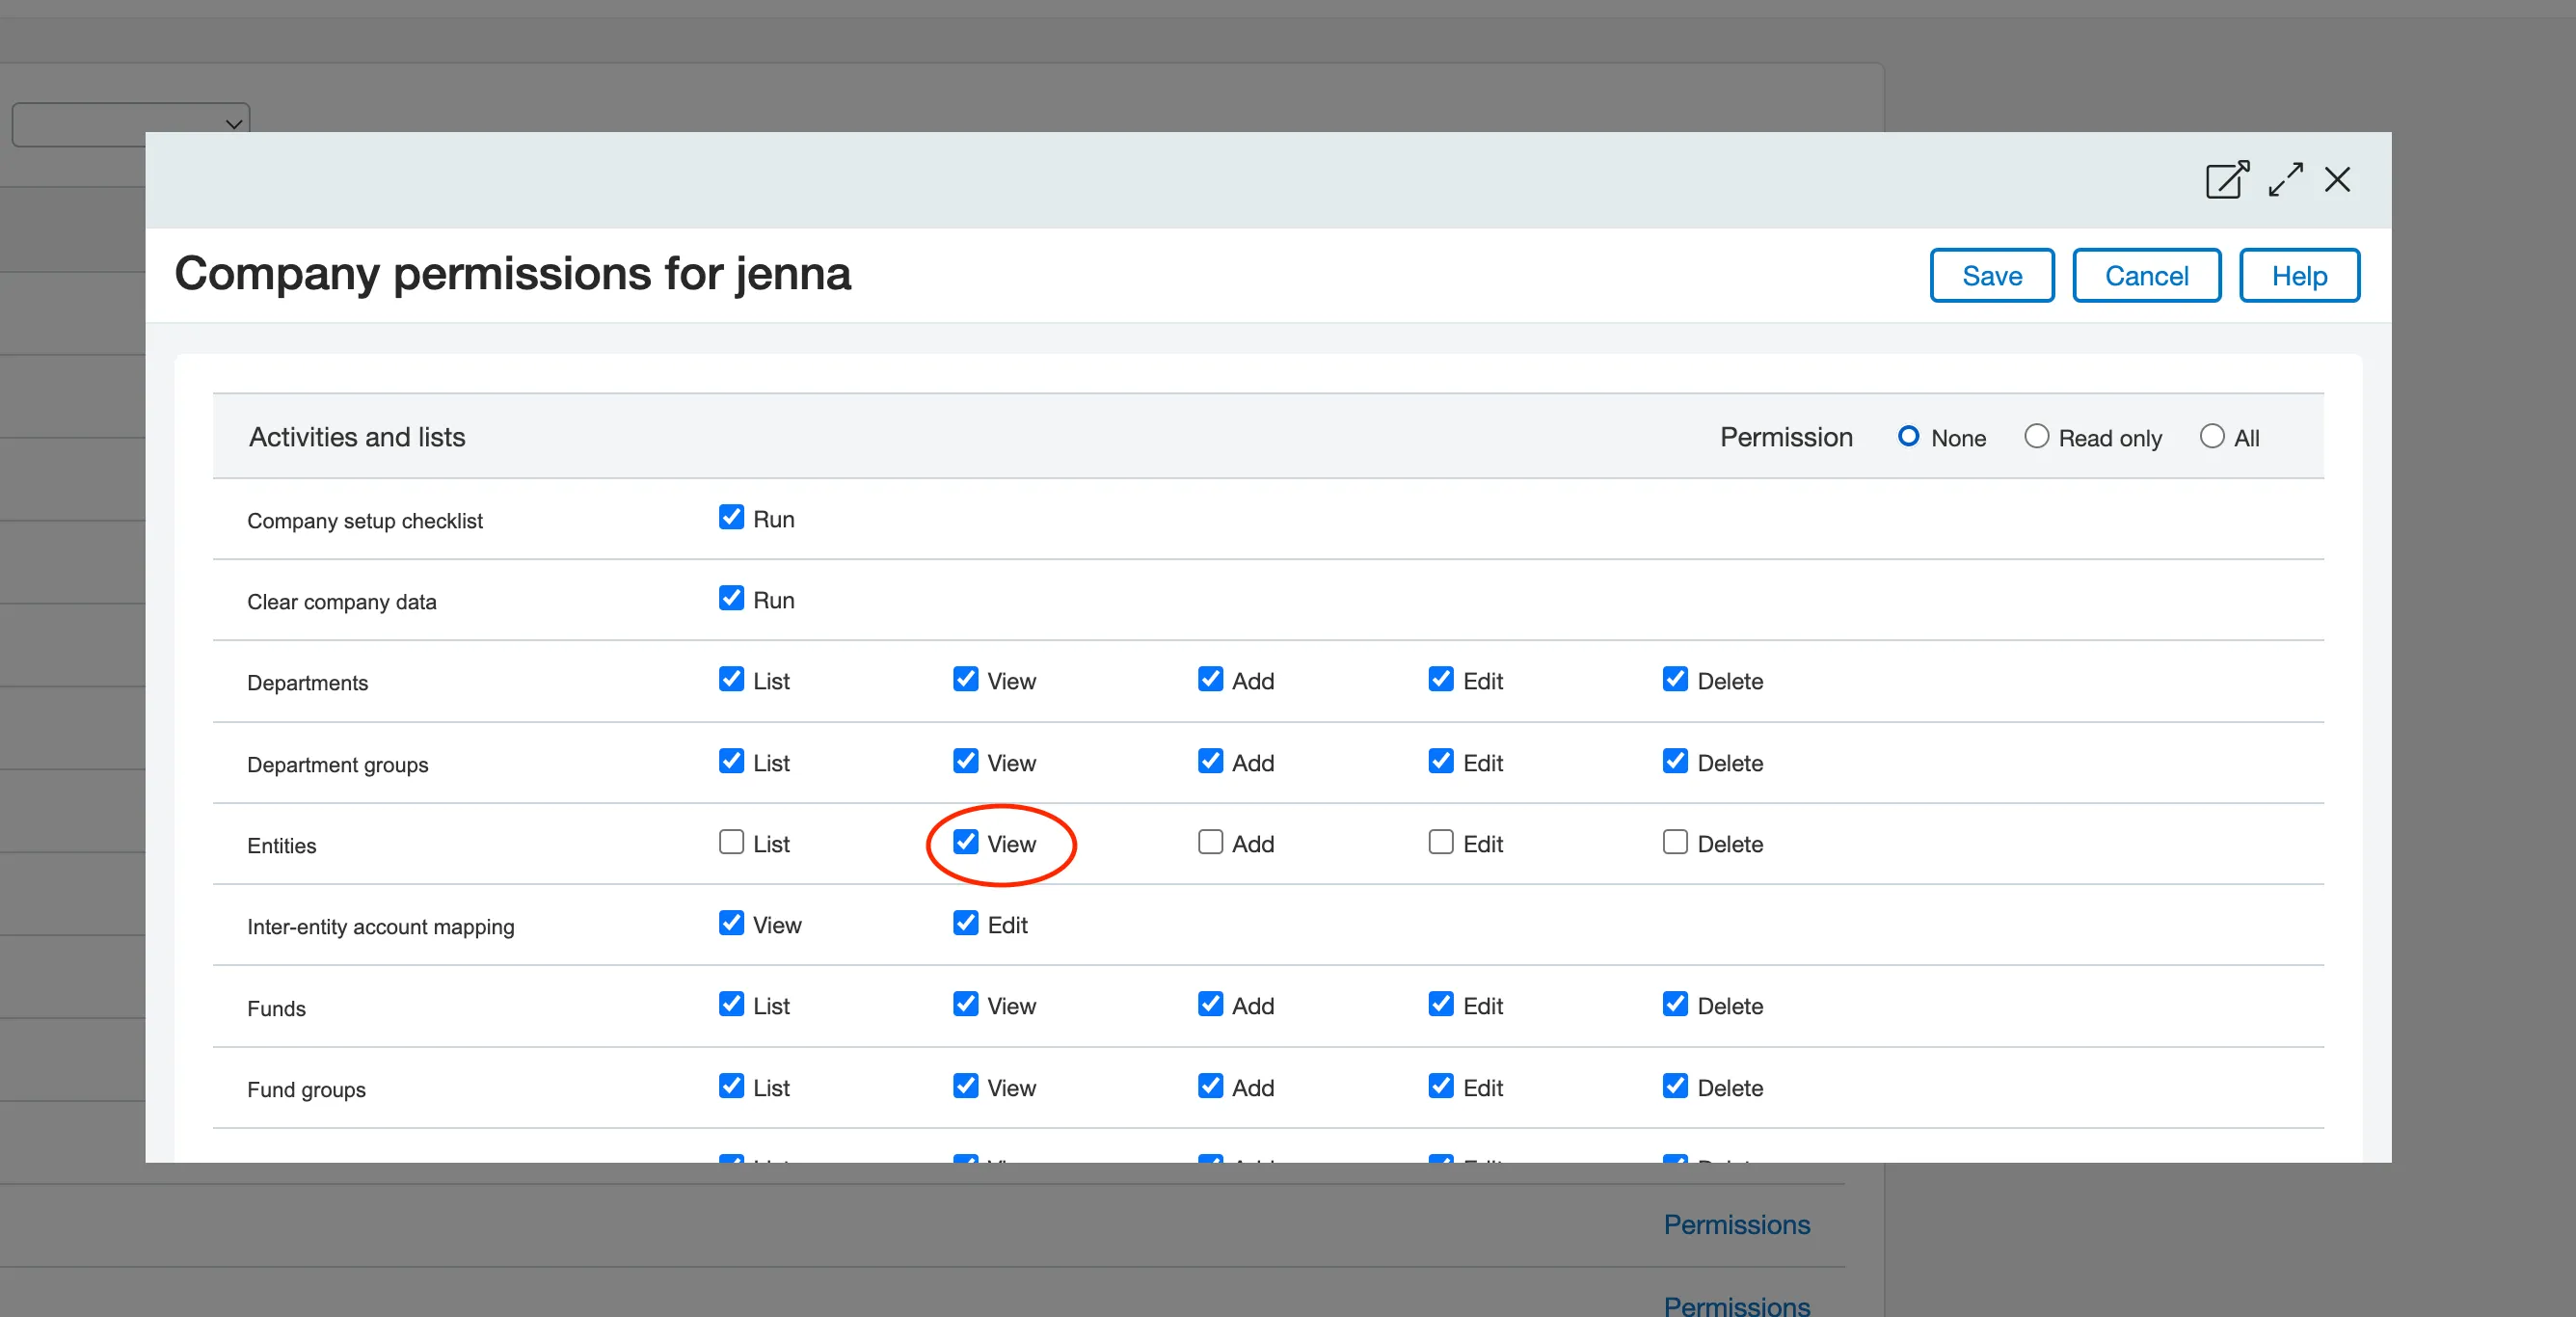
If you would like to make grouped bill payments, please ensure you have the Merge payment requests checkbox is selected on the Vendor record. This can be done by navigating to the Vendor record and selecting the Payment Information tab.
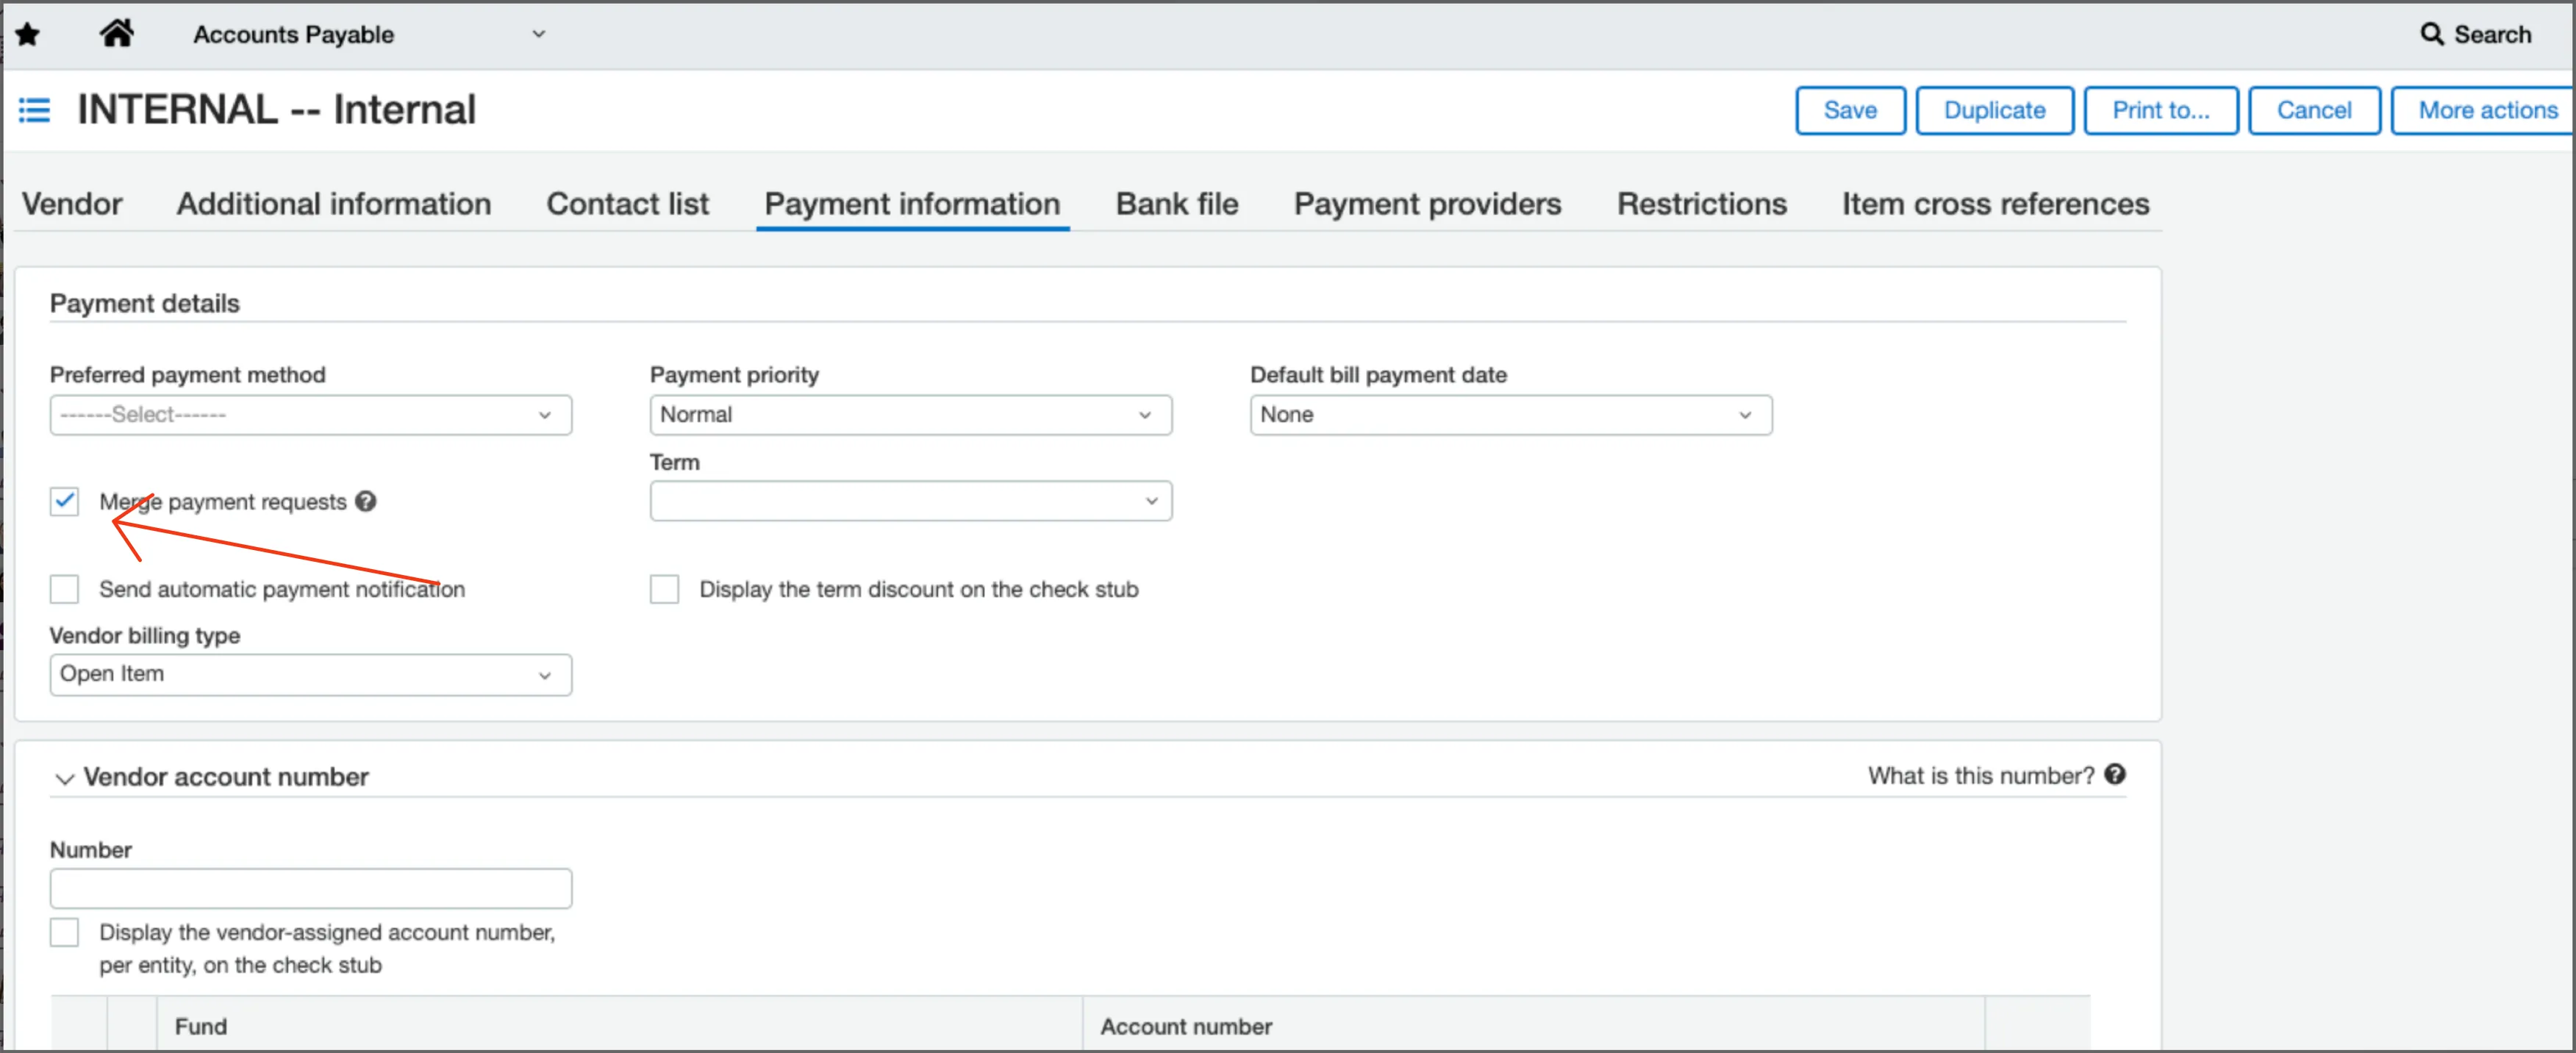
Once that is enabled, you are able to group bills together when paying. On the Pay Page, simply select all the bills you wish to pay and hit 'Pay'.
The Confirmation Payment window appears. You can select the Source Account and verify the number of bills vs. payments. Hit 'Confirm' to send the payment(s).
With Grouped Payments enabled for a Vendor you are paying more than one bill to, the number of payments will always be less than the number of bills.
After clicking "Confirm", your payment will begin transmitting. Next, navigate to the History page to see the Payment Status.