Beneficiary Name
When submitting check payments, it is crucial that the Vendor's name is accurate. Our plugin typically uses the default Vendor Record to generate the beneficiary's name on the issued check, which can lead to inaccuracies.
To address this, our plugin supports NetSuite's built-in Print on Check As field. This feature allows you to override the default Vendor name and specify exactly what you want printed on the check.
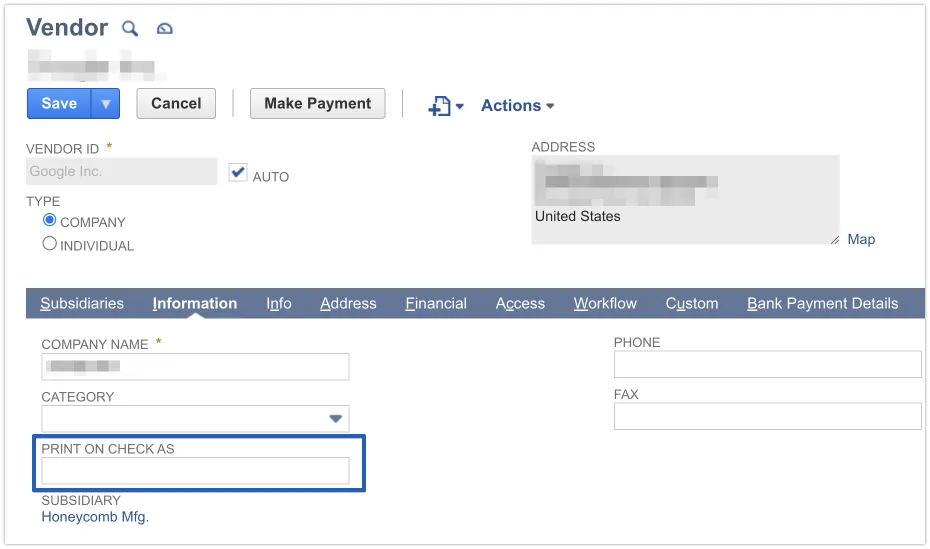
Since this field is hidden by default in NetSuite, you will need an administrator's assistance to set it up.
Enable Print on Check As
If you want to use this functionality, follow the steps below to enable the field.
Customize Form for Vendor Record
First, navigate to a Vendor Record and click Edit.
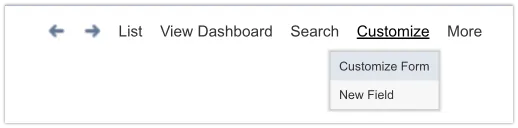
Next, on the top right, go to Customize -> Customize Form.
Show Print on Check As
Navigate to Fields -> Information and find the Print on Check As field.
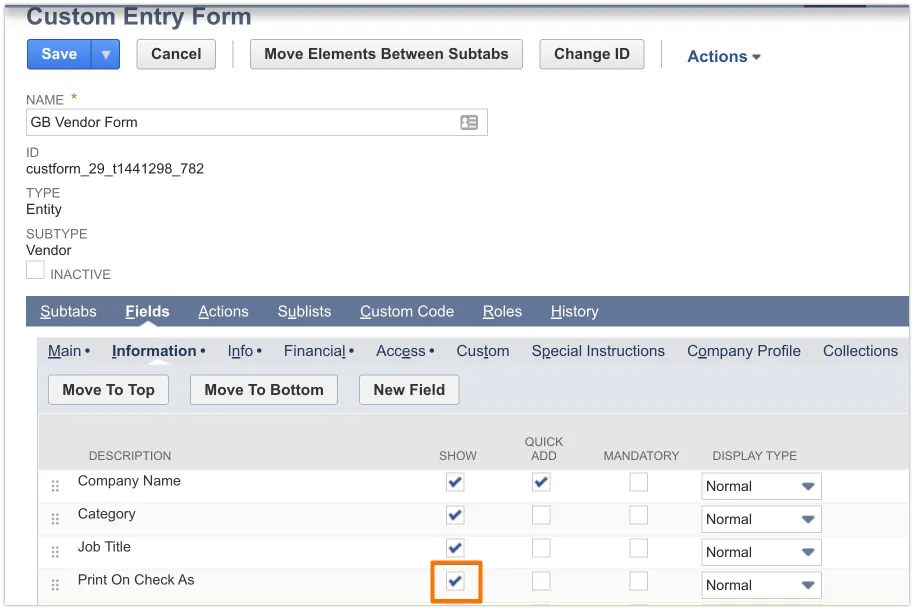
Select the Show box.
Save the form and navigate back to the Vendor Record.
Check for the Field
Under the Information tab, you will find the Print on Check As field available.
When populated, this field will replace the vendor's name for all payments.