Viewing Entity Bank Details (NetSuite)
View the Vendor or Employee bank detail records in the Entity Bank Details (EBD) bundle on the Overview page. Additionally, you can view or export all the changes taken on the Entity Bank Details bundle in the History page.
Overview Page
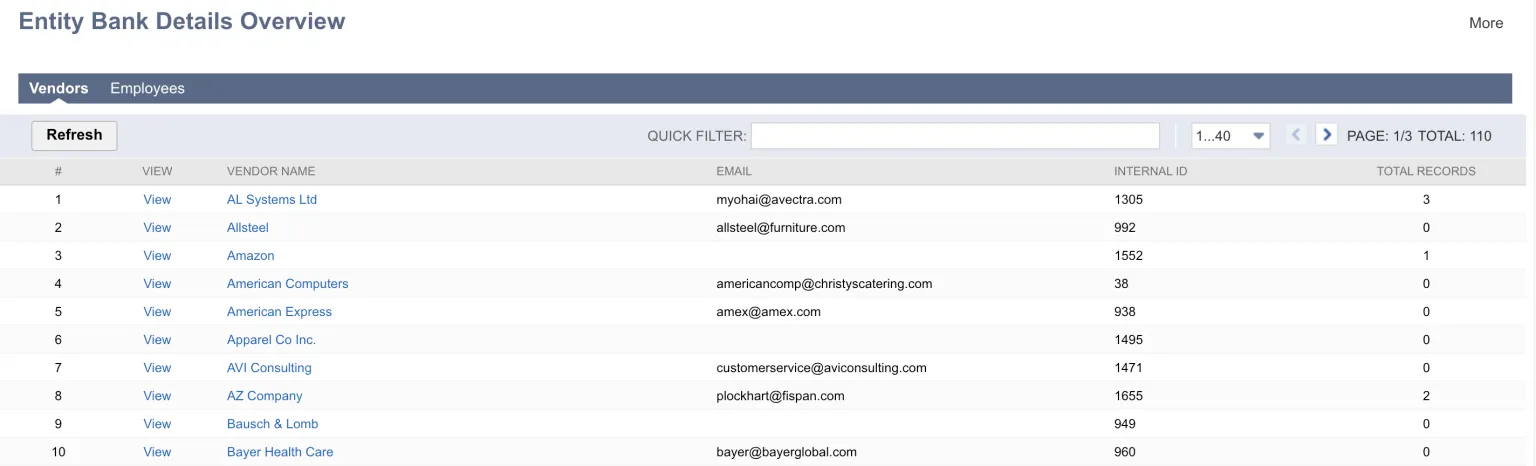
The Overview page is your central hub for all vendor and employee bank detail records stored in the EBD bundle. To see a list of all vendors or employees on your NetSuite account, simply navigate between the Vendors and Employees tabs. The page will default to the Vendors tab when you first open it.
For both Vendor and Employee tabs, the page displays all vendors/employees on this NetSuite company with the following columns:
- # (ID assigned by EBD)
- View (Links to vendor or employee record)
- Vendor or Employee Name
- Email (Primary email on vendor or employee record)
- Internal ID (Native NetSuite’s vendor or employee ID)
- Total Records (Number of EBD records stored by this vendor or employee)
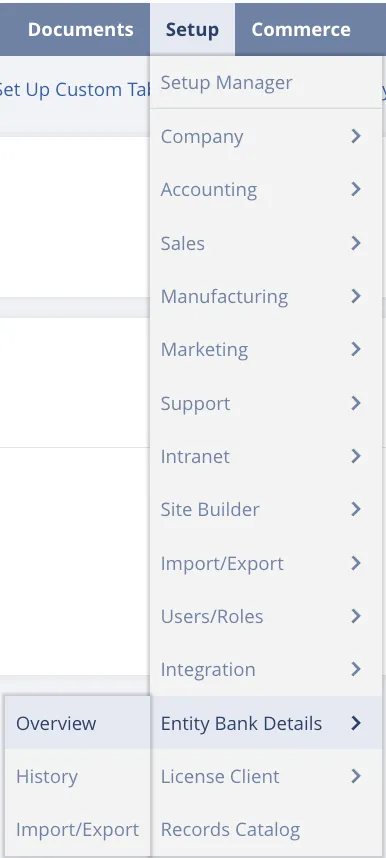
Navigate to the Overview Page
Go to Setup -> Entity Bank Details -> Overview
View Vendor Bank Details
Click into Vendors to view an overview of Vendor Bank Details.
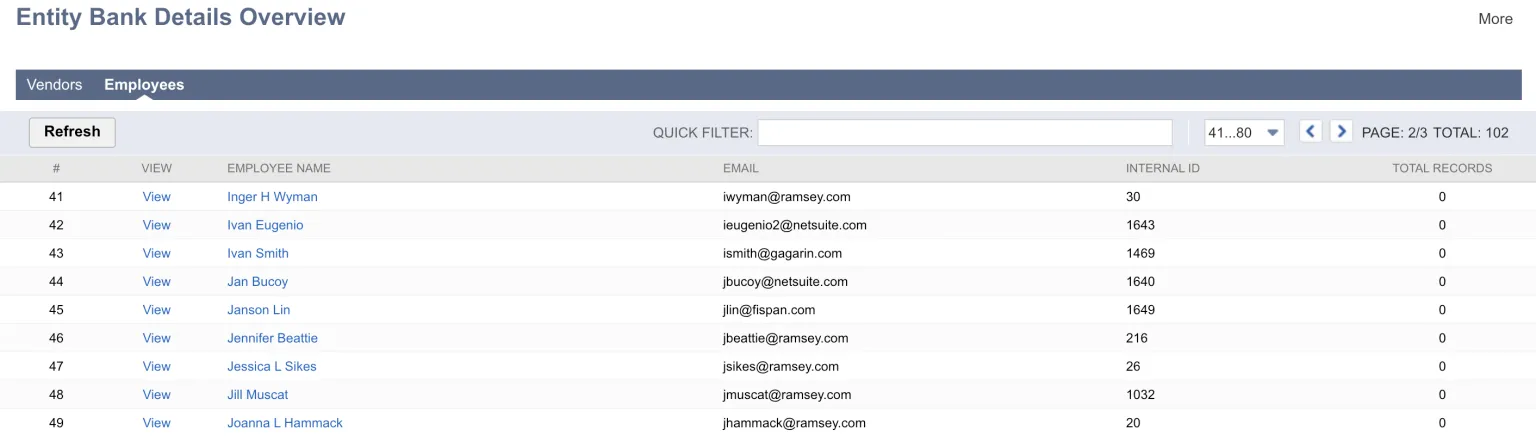
View Employee Bank Details
Click into Employees to view an overview of Vendor Bank Details.
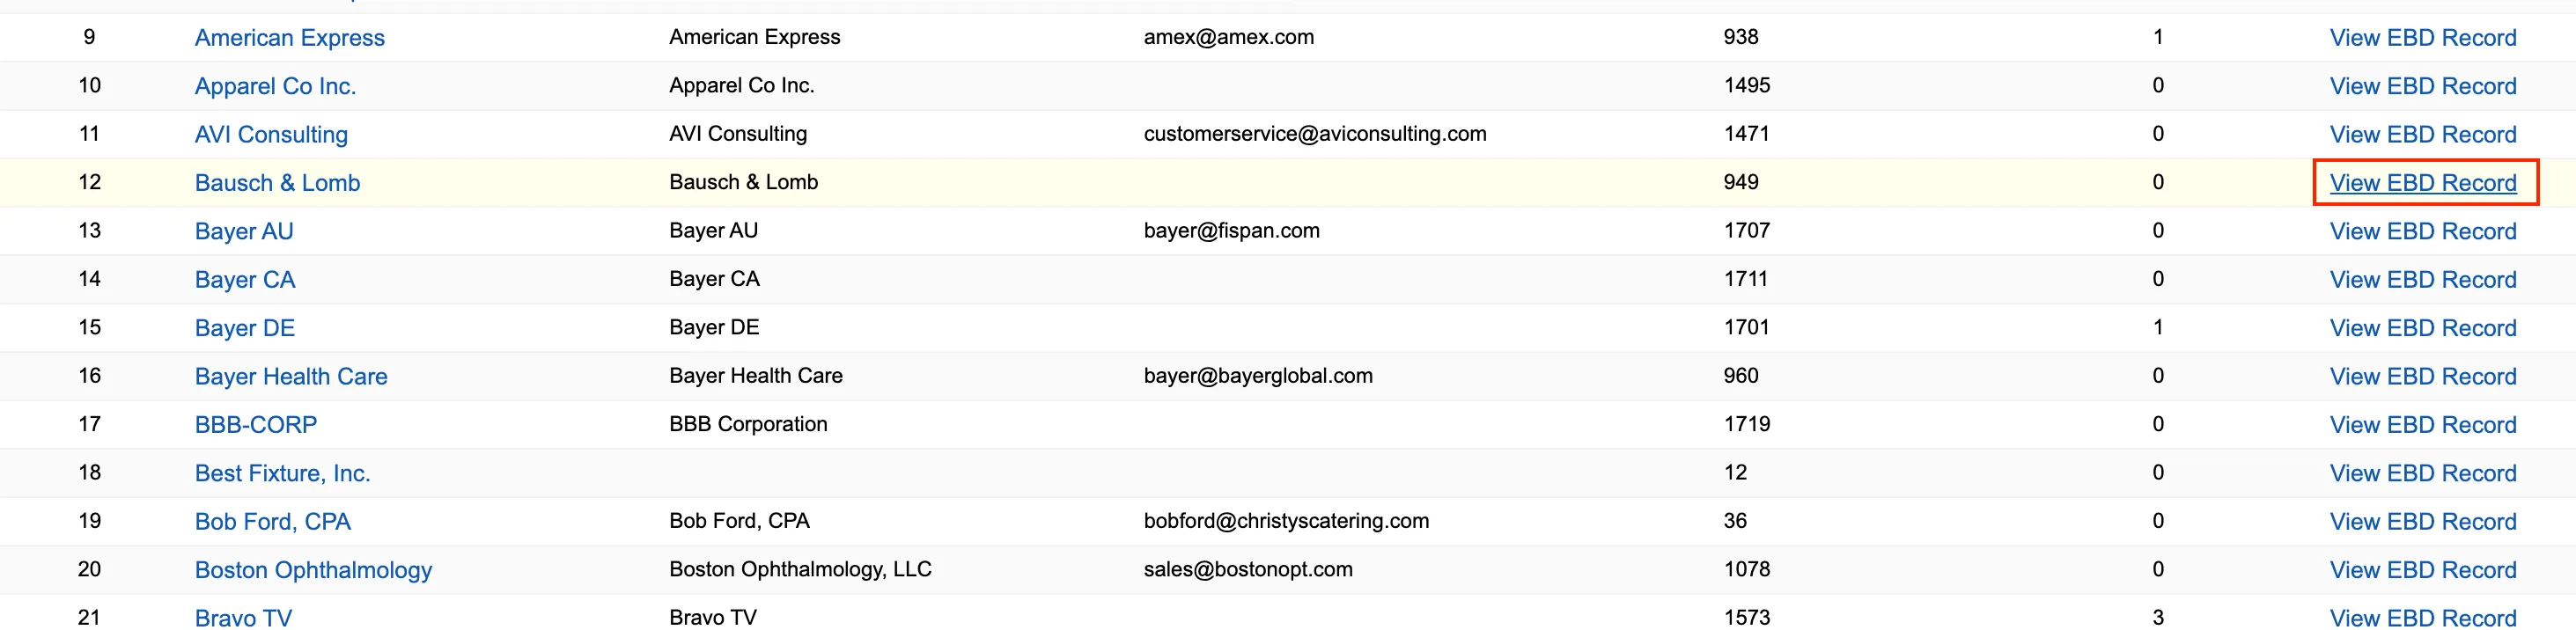
Adding Vendor Bank Account Information
From the Vendor tab in the Overview page, you will be able to view and edit a Vendor's bank account information.
Select Vendor
Click on a Vendor you would like to add information for.
Add Vendor Bank Details
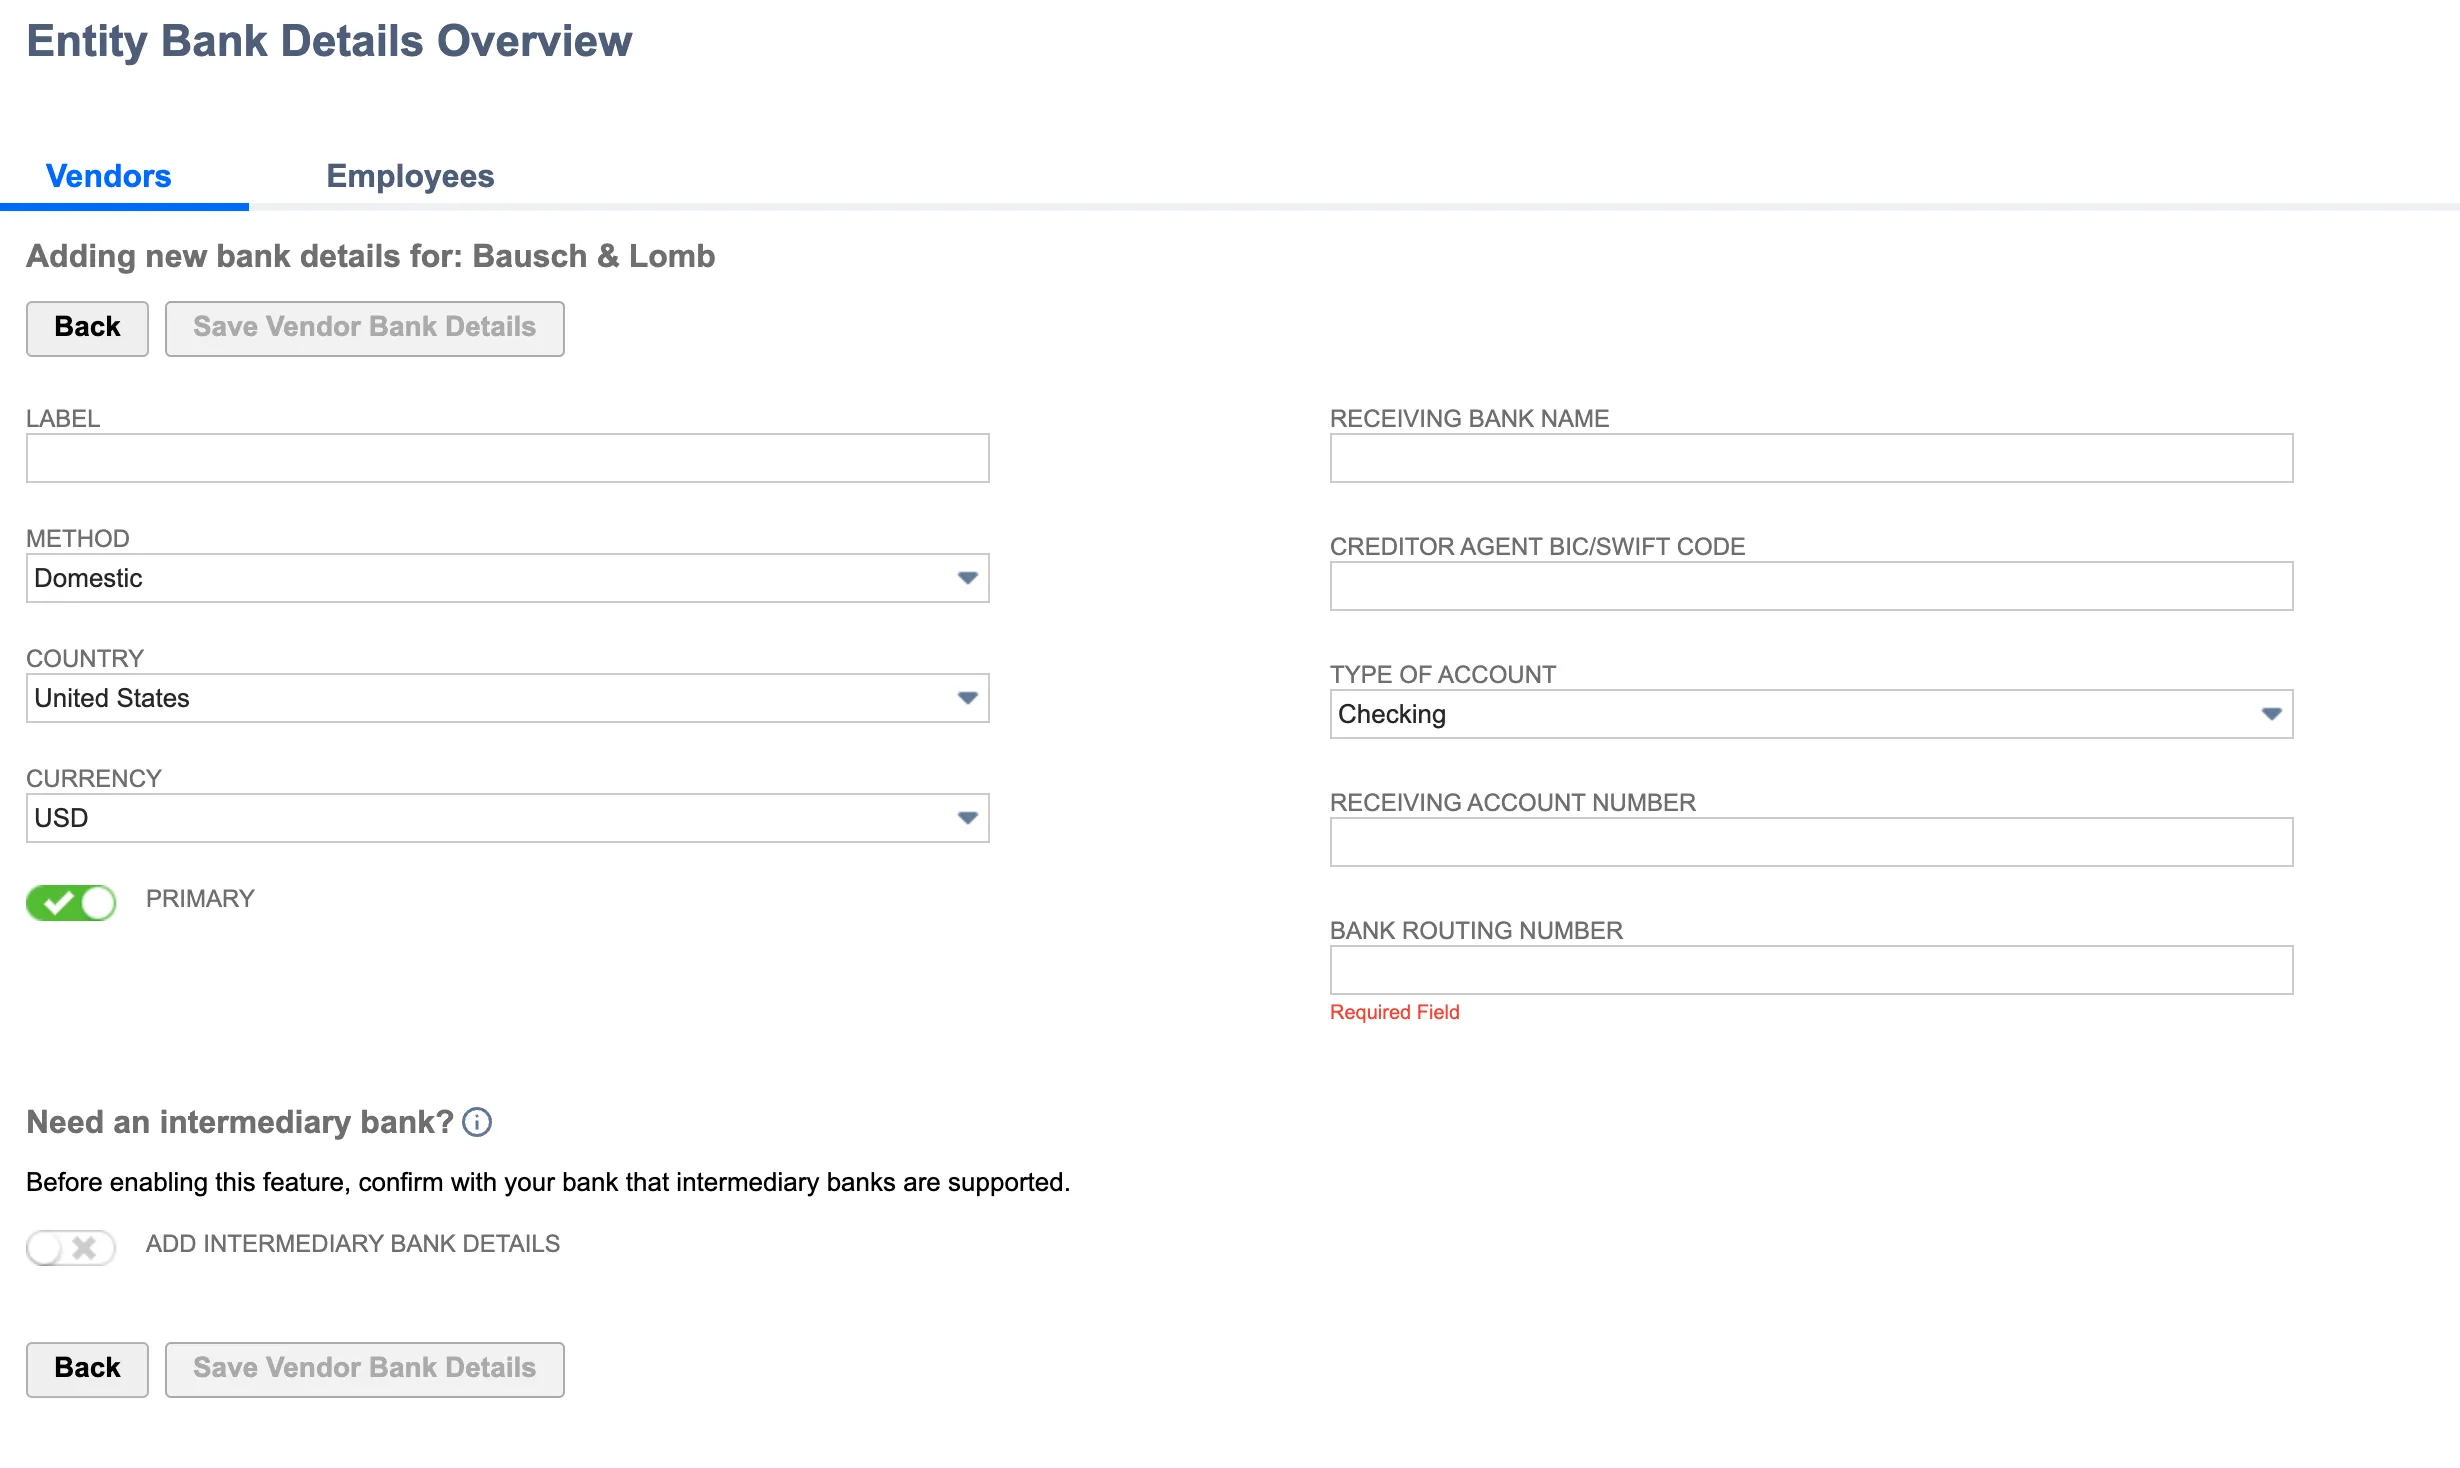
You can fill in the required fields for your desired payment rail. By default, the payment method is set to Domestic and the United States.
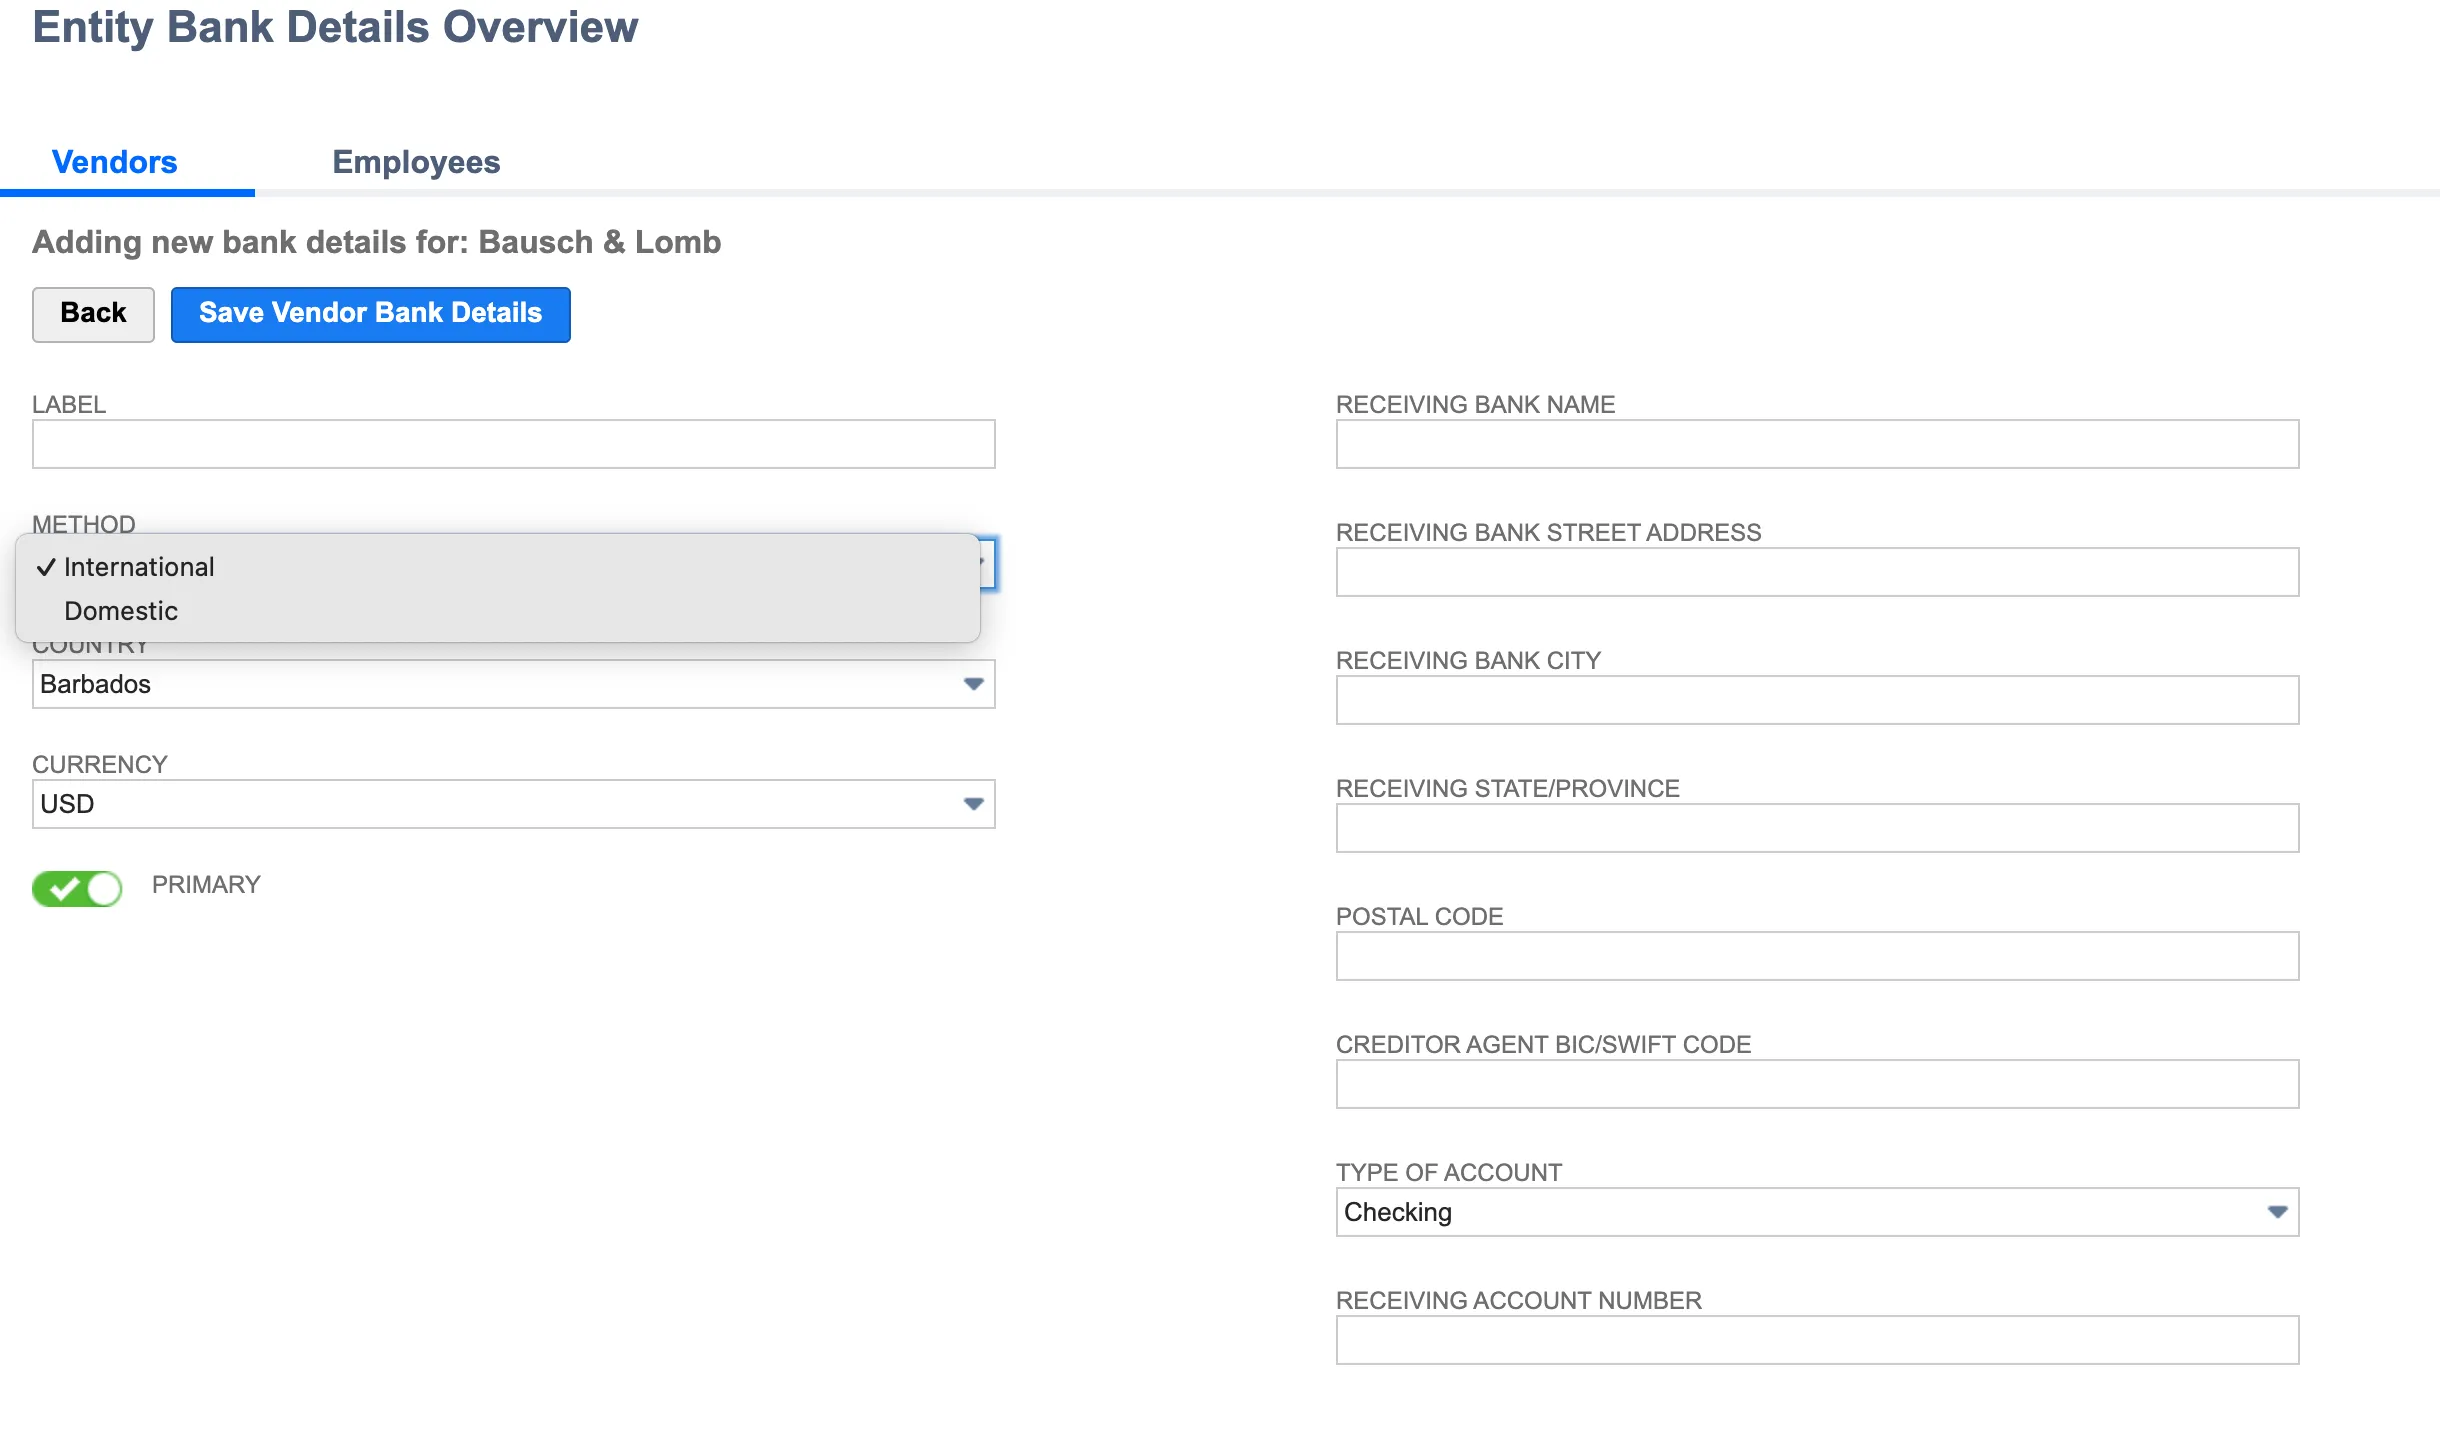
For international payments, change the Method to International.
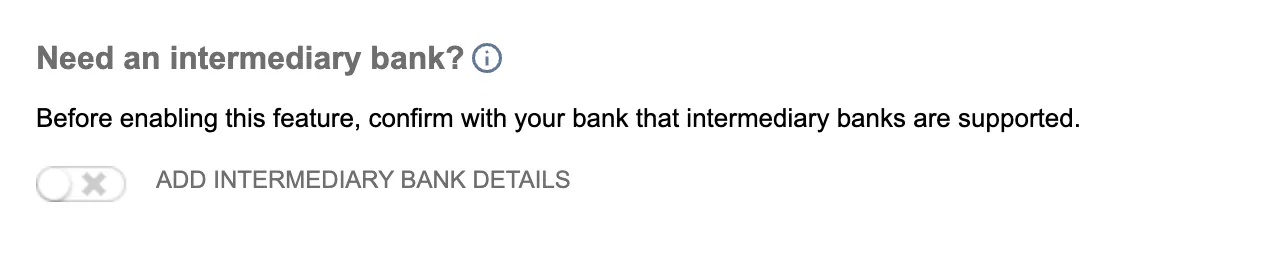
To include information for an intermediary bank, simply toggle on Intermediary Bank Information. An intermediary bank is used for international payments to countries where your bank doesn't have a direct relationship.
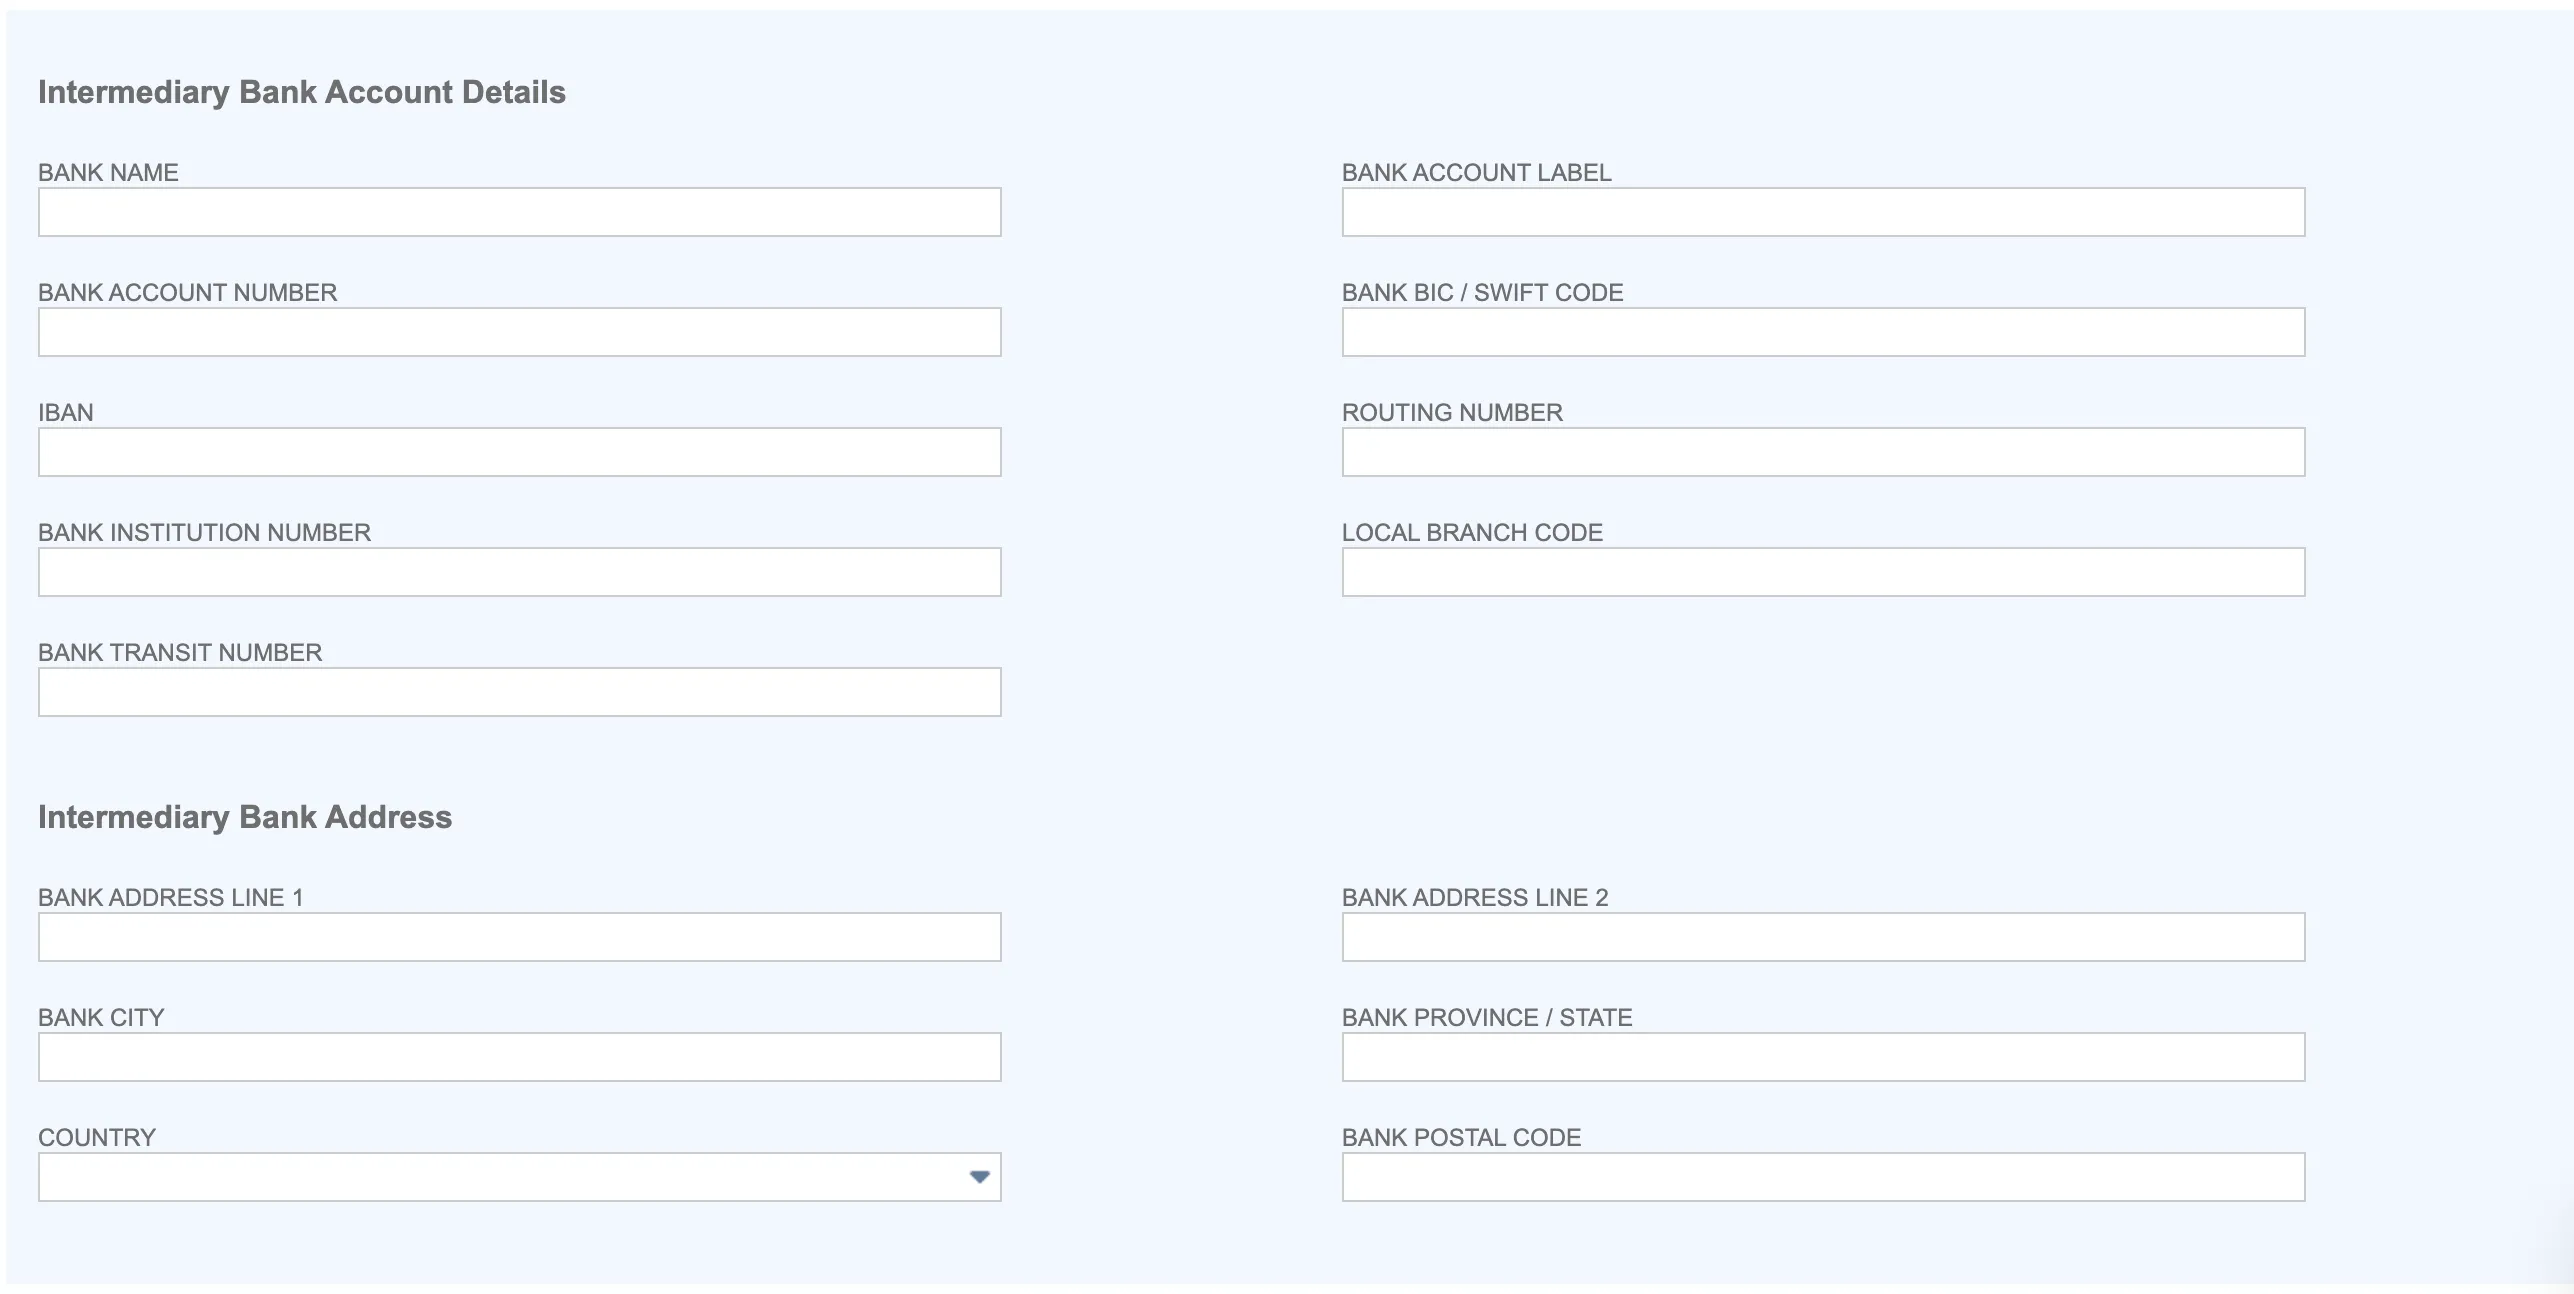
Once enabled, you can now add Intermediary Bank Account information.
After you have added all required information, please click Save Vendor Bank Details.
History Page
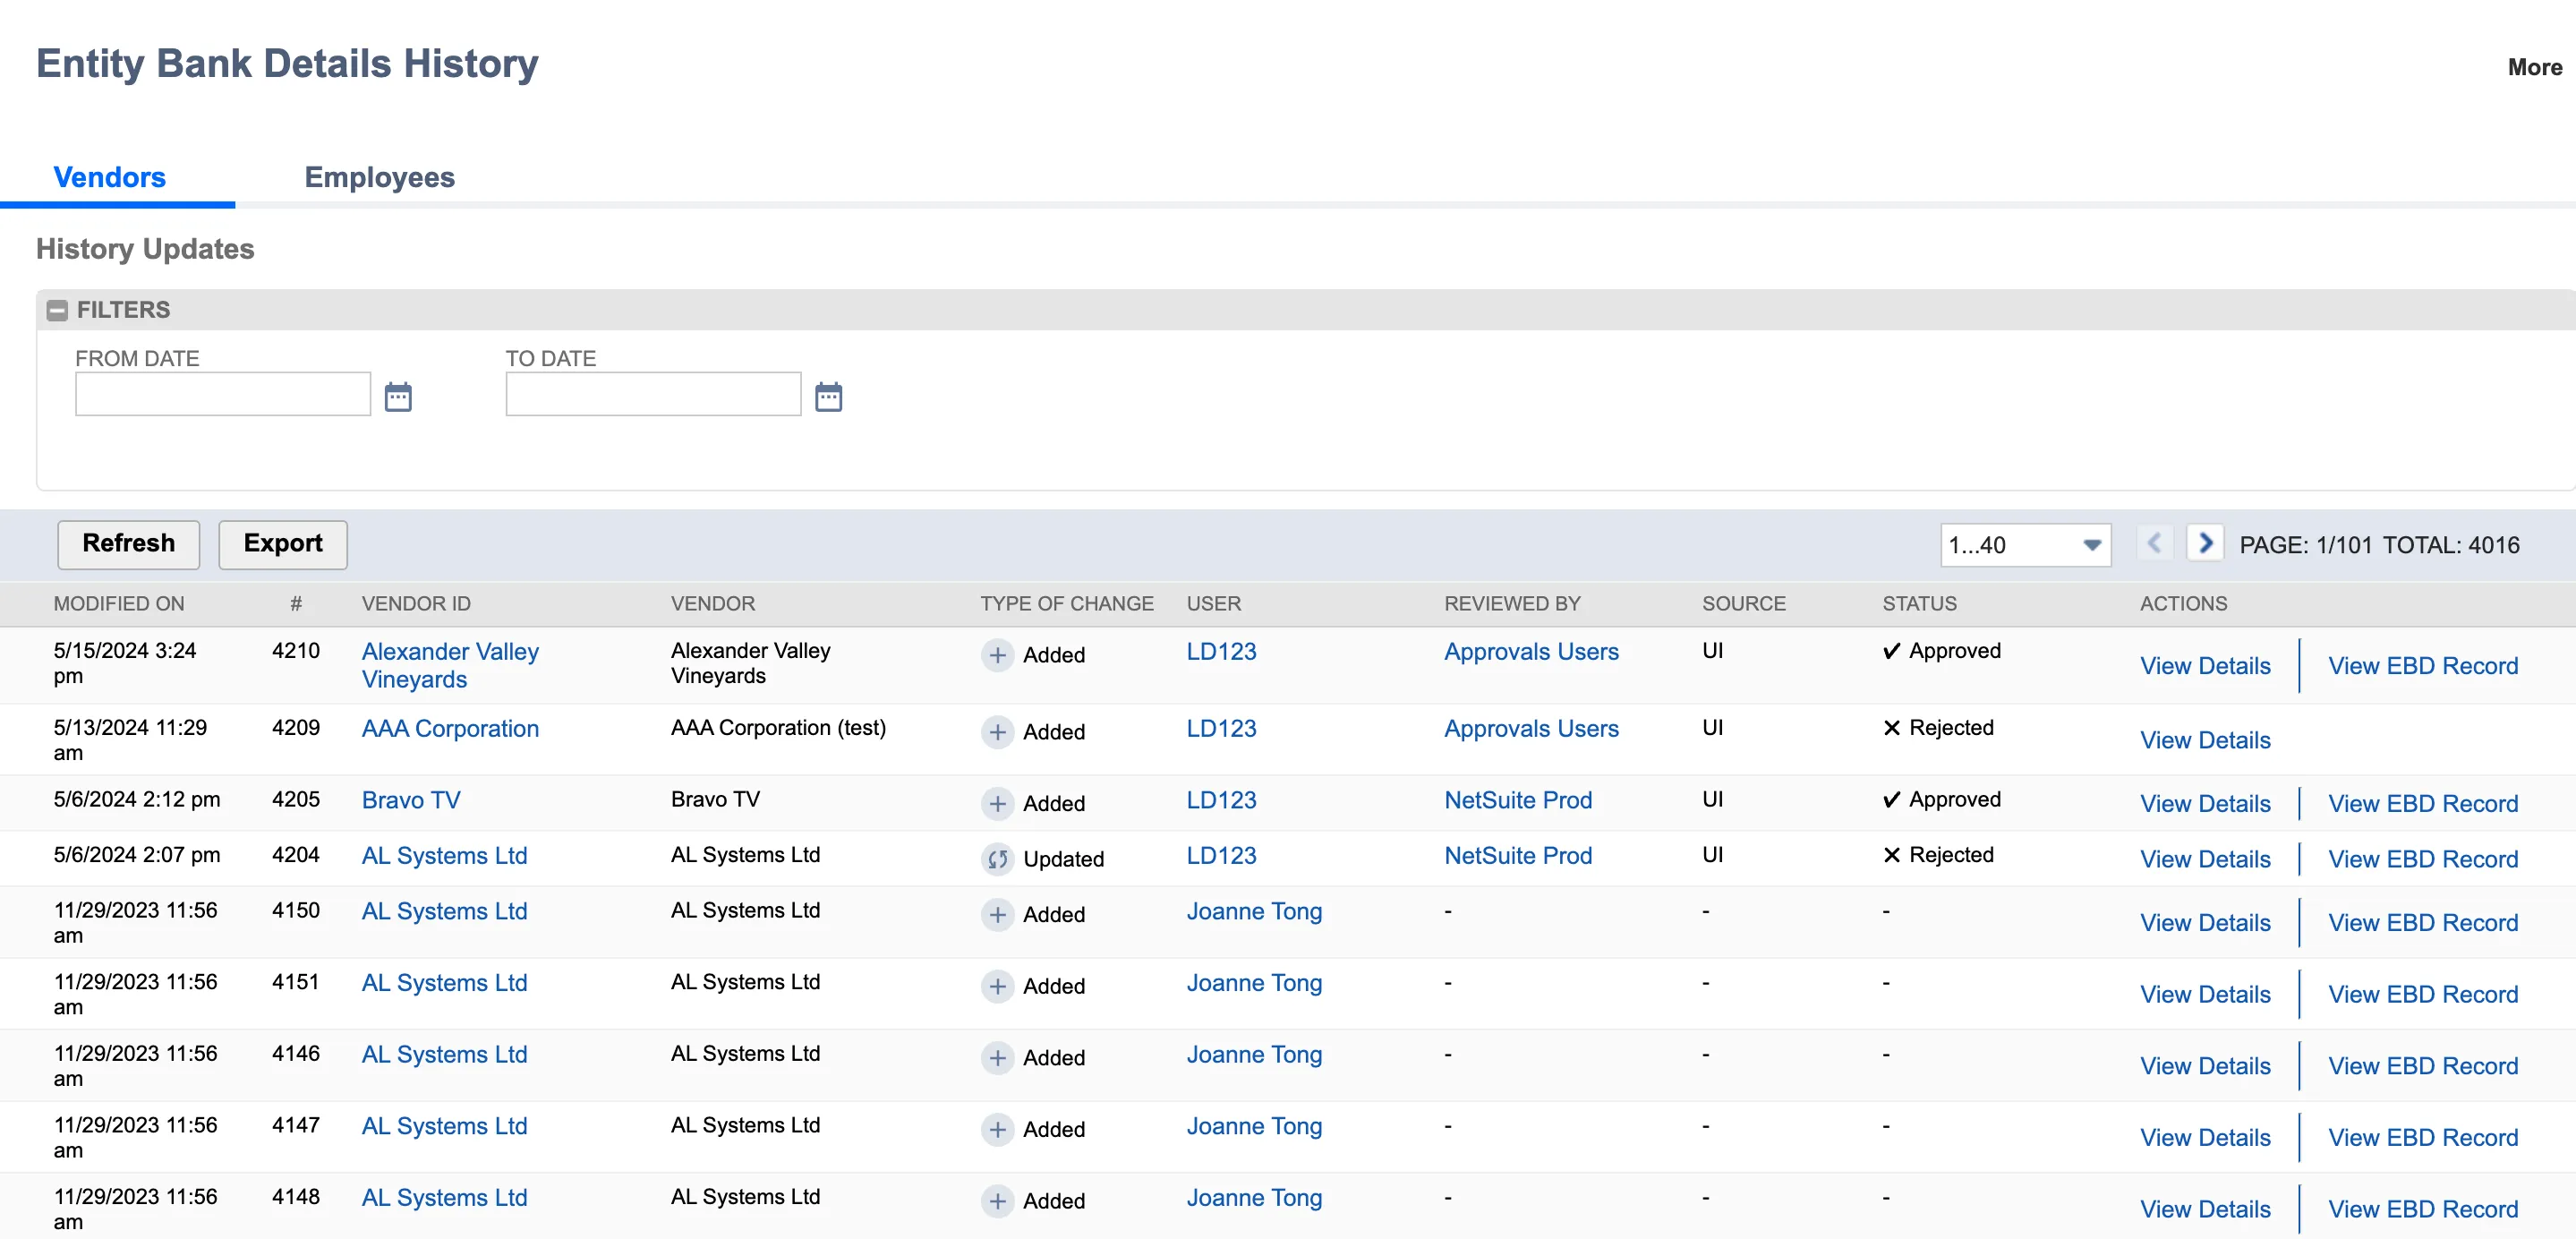
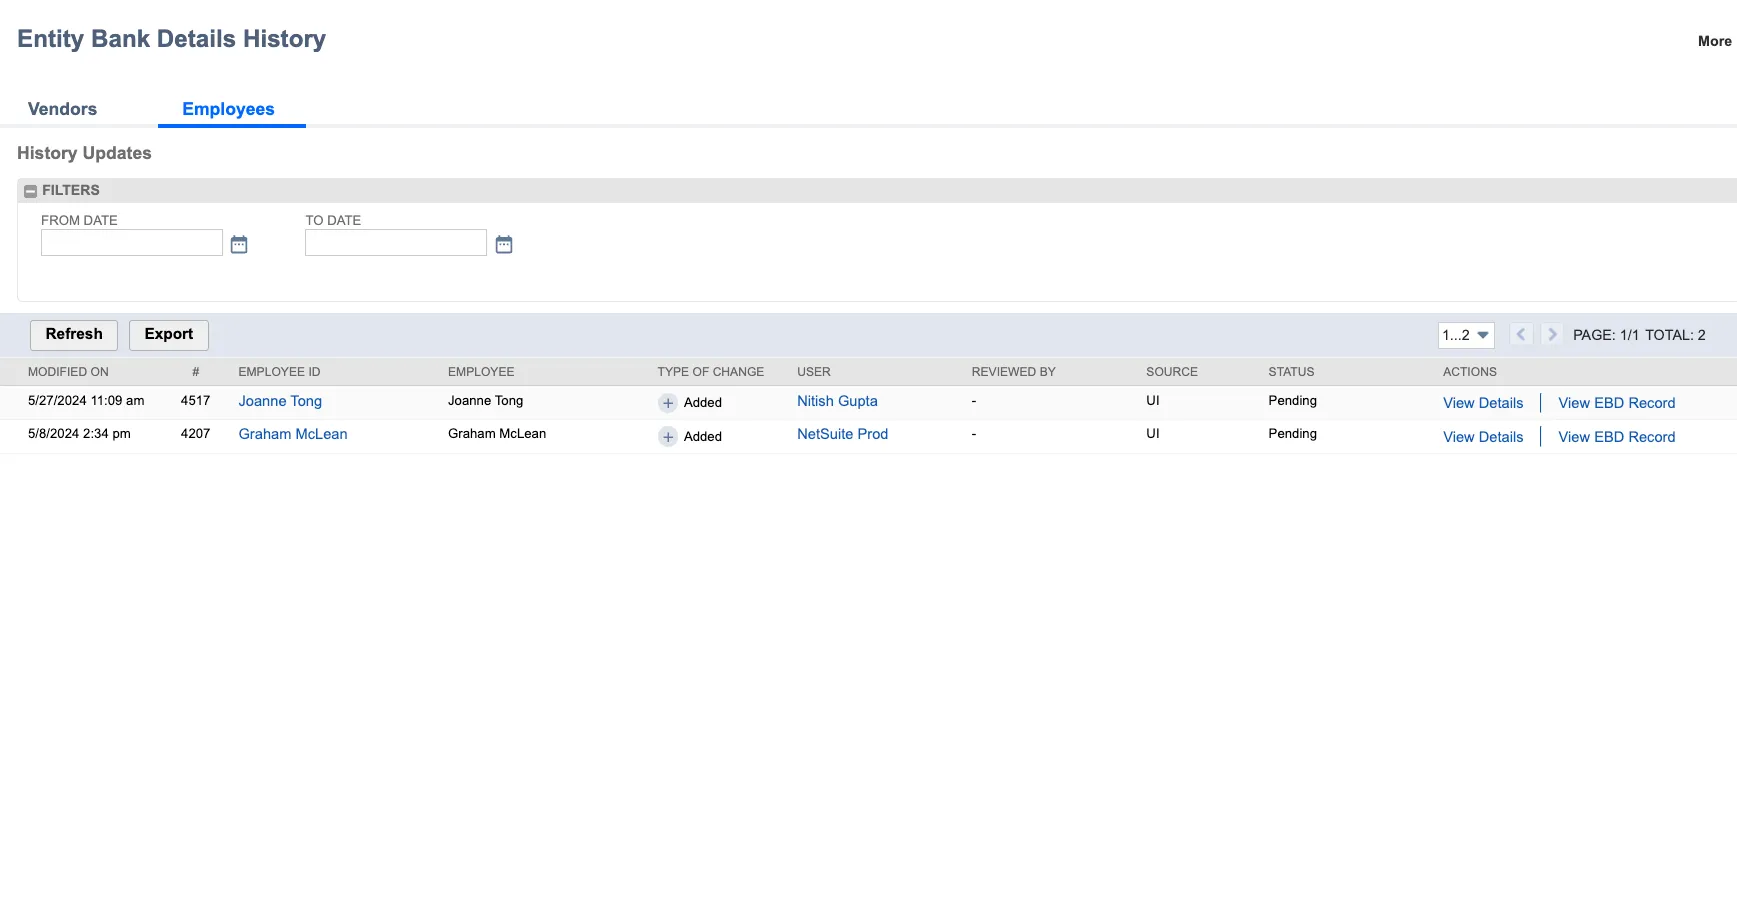
The History page shows a table of all actions taken on the EBD bundle for every vendor and employee. It allows you to filter logs by date and export them based on a defined date range. By default, the page displays vendor history, but you can switch to the Employees tab to see updates to employee records.
The table contains the following columns:
- Modified
- # (ID assigned by EBD, refer to Overview page)
- Vendor
- Type of Change (Added, Updated, or Deleted)
- User
- Reviewed By
- Source (UI or Import)
- Status (Approved or Rejected)
- Actions
Navigate to the History Page
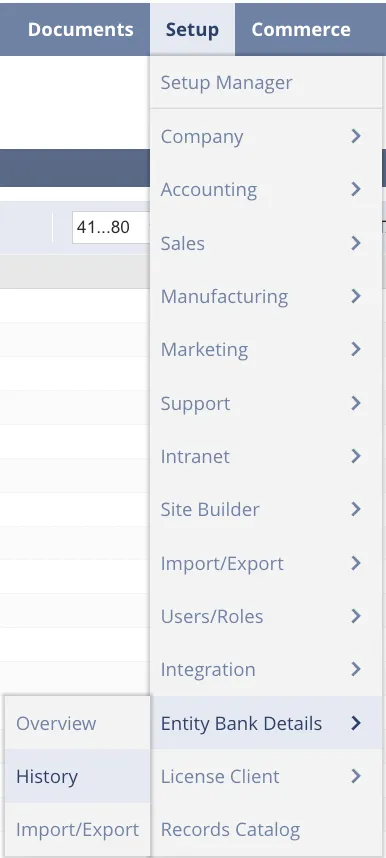
Go to Setup → Entity Bank Details → History
View Vendor History
Click into Vendors to view all history logs for changes made to Vendors' Bank Details.
View Employee History
Click into Employees to view all history logs for changes made to Employees' Bank Details.
View Changes
Click View Details on any of the logs to see the changes in detail.
Columns for Attribute, Before Changes, and After Changes appear in the View Details pop-up for both vendors and employees.
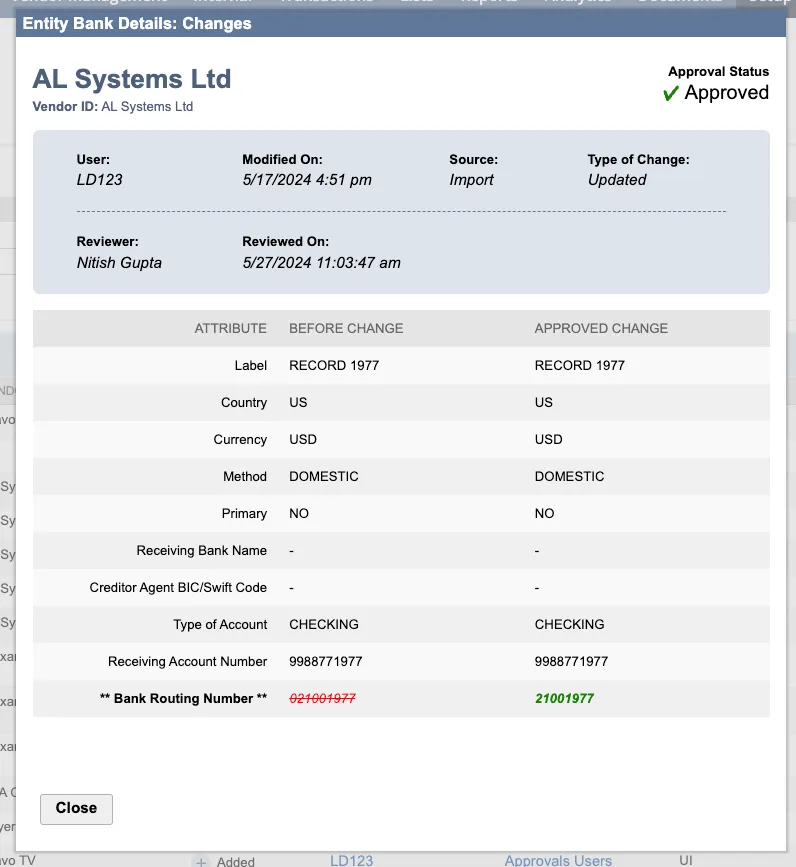
Text in red with a strikethrough under Before Changes shows the field's previous value, while text in green under After Changes shows the new value. The specific fields displayed depend on the Country, Currency, and Method defined, as well as the type of change made to the EBD record.
Exporting History Logs
Users are also able to export history logs on the EBD History page for audit purposes.
IMPORTANT: All Entity Bank Details for both Vendors and Employees, alongside all History logs, are stored in your NetSuite environment. To prevent potential data loss, such as from uninstalling the bundle, make sure you regularly export your Entity Bank Detail records and History logs.
Navigate to the History Page
Go to Setup → Entity Bank Details → History
Export History Logs
Select the Export button to trigger a CSV download.
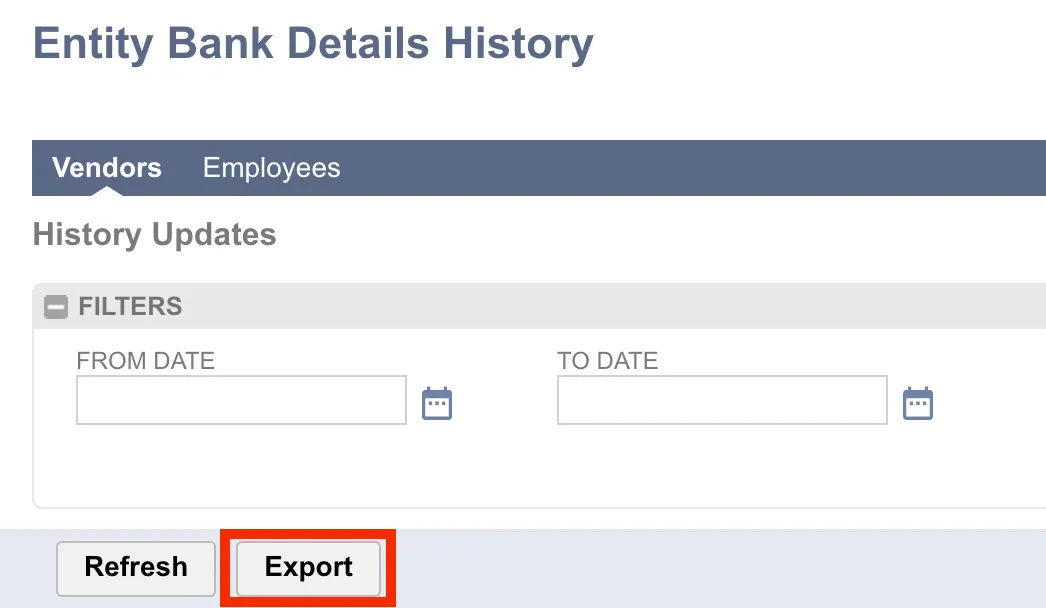
The CSV export feature will only export logs that fall within the defined date range in the date filter. If no date range is filtered, the export will pull all logs from when EBD was first installed.
History CSV Export Columns
The exported History CSV file includes the following columns:
- Log ID: The unique ID for the history log entry.
- EBD ID: The ID of the Entity Bank Details record.
- Modified On: The date and time the change was made.
- Vendor ID: The ID of the vendor associated with the change.
- Vendor: The name of the vendor.
- Type of Change: The action that was taken (Updated, Added, or Deleted).
- User: The name of the user who initiated the change.
- User ID: The user ID of the person who initiated the change.
- Reviewed By: The name of the user who approved or rejected the change.
- Reviewed On: The time the change was approved or rejected.
- Status: The final status of the change (Approved or Rejected).
- Previous Entry: The state of the record before the change. This column is empty if a new record was added. Intermediary bank account information is also included.
- Proposed Entry: The proposed change. If the entry was approved, this is the change that was accepted. If the entry was rejected, this is the change that was proposed. Intermediary bank account information is also included.
- Reason for Rejection: The reason the change was rejected. This column is empty if the record was approved.
NOTE: These columns will appear in the report whether or not Vendor Payment Approvals are enabled.