Account Transfers (NetSuite)
Forget the hassle of toggling between your bank portal and your ERP or accounting software for a simple book transfer. With J.P. Morgan Pay, you can initiate transfers between your company’s accounts directly from within your financial management software.
Book Transfers Requirements
Book Transfers (Account Transfers) are subject to the following limitations:
Currency and Location
Transfers are only eligible in USD between bank accounts located in the United States.
Account Setup
Both bank accounts must be at the same financial institution and must be linked via the installation wizard.
Journal Entry Fields
Mandatory fields on your NetSuite Journal Entry forms must not exceed the following list:
- Date
- Currency
- Exchange Rate
- Subsidiary
- Account
Additional Mandatory Fields
Any additional mandatory fields beyond those listed above will prevent the bank plugin from creating and saving journal entries for funds transfers.
IMPORTANT: Users on bundle version 2022.23 and older must grant access to non-admin roles for the following RESTlets:
- customdeploy_J.P. Morgan_transfer_r
- customdeploy_J.P. Morgan_transfer_chart_r
These RESTlets can be located by navigating to Customization -> Scripting -> Script Deployments.
Once here, set the TYPE filter to RESTlet, search the page for transfer as seen in the RESTlets above, click Edit, and select the appropriate roles to apply to the RESTlet within the Audience section of the page. Users on bundle version 2023.1.0 and newer do not need to complete this step, as the RESTlet is applied to all roles by default. Please update to the latest version.
Overview
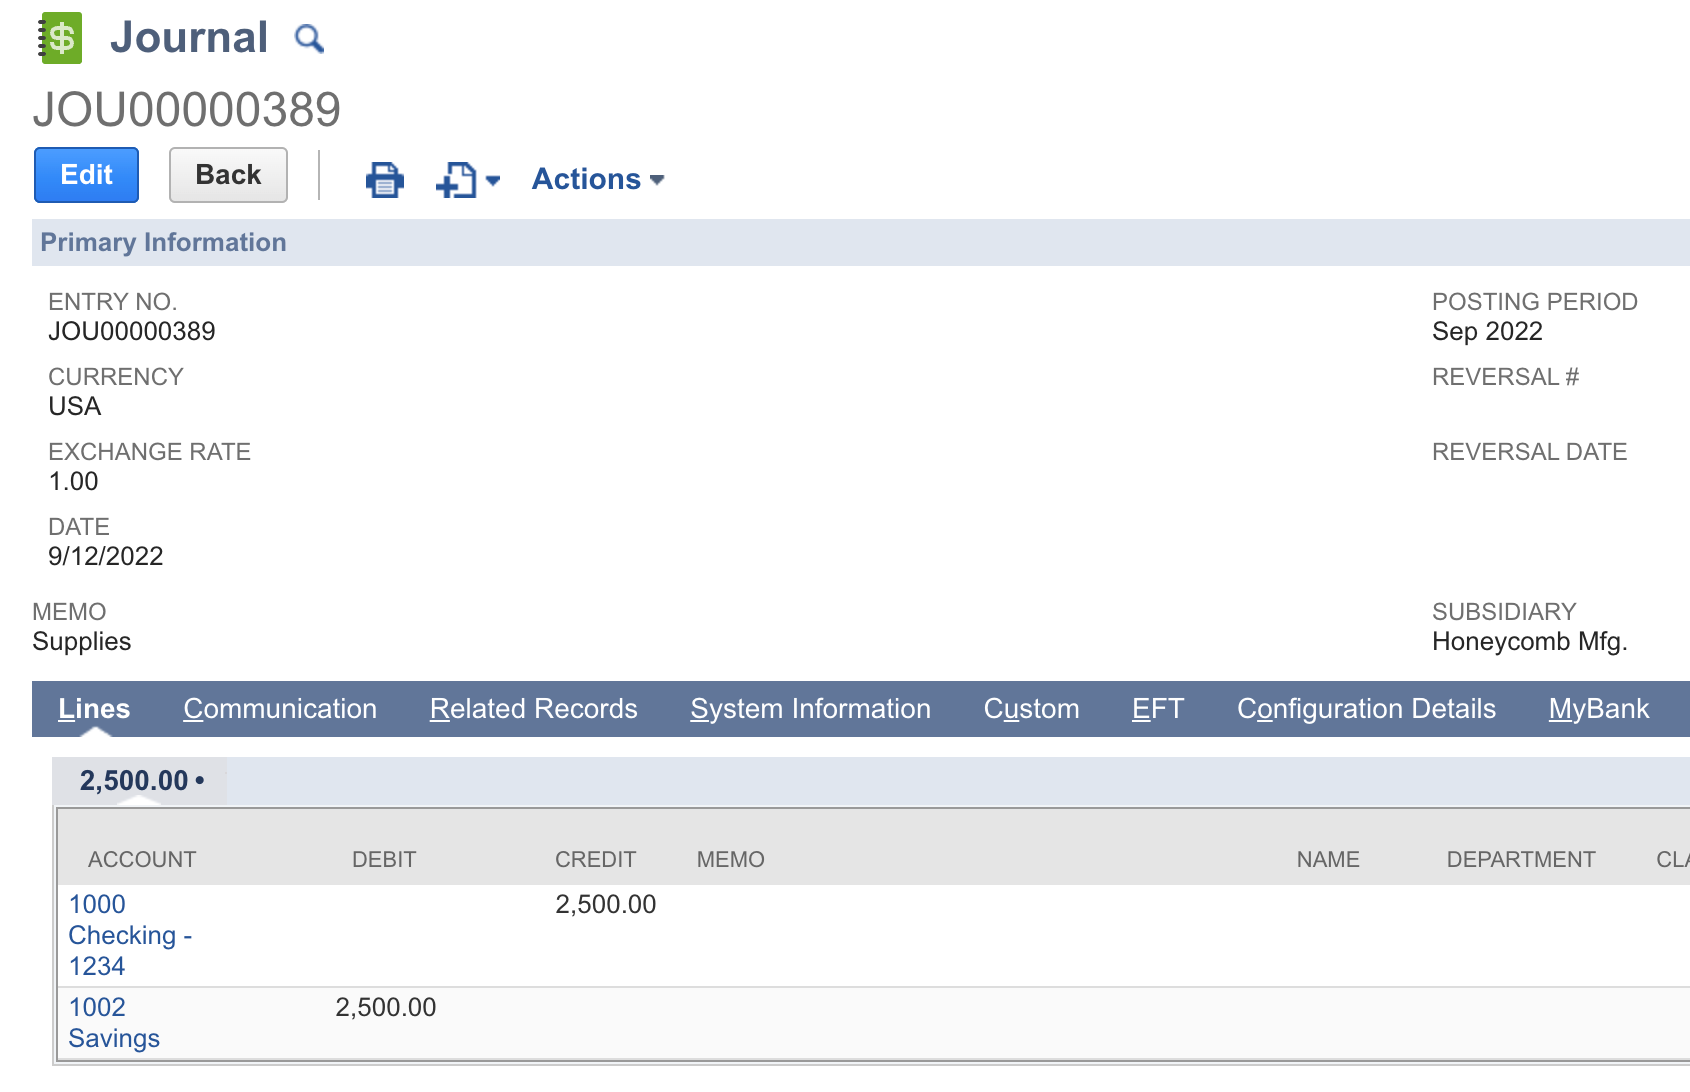
The Book Transfer (Account Transfer) feature allows users to transfer funds between their bank accounts, whether it is an intercompany or an intracompany transfer. The Book Transfers create journal entries and reflect them in the General Ledger.
The Book Transfers product does not support the use of Accounts Receivable and Accounts Payable account types as a balancing account.
Intracompany Transfers
To initiate transfers between bank accounts under the same subsidiary, follow these steps.
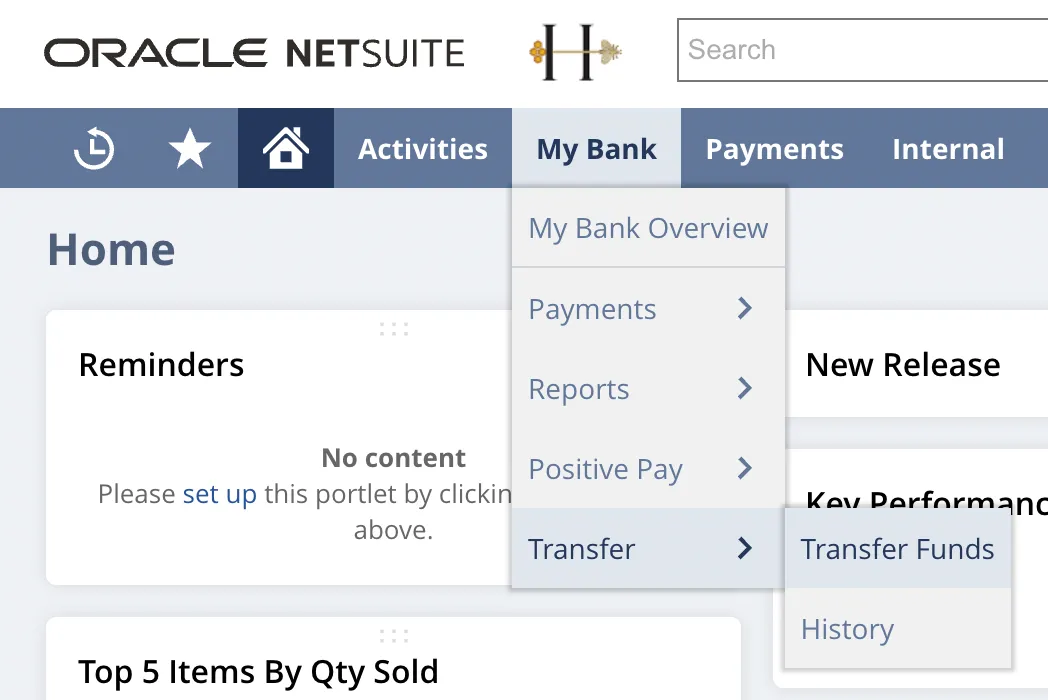
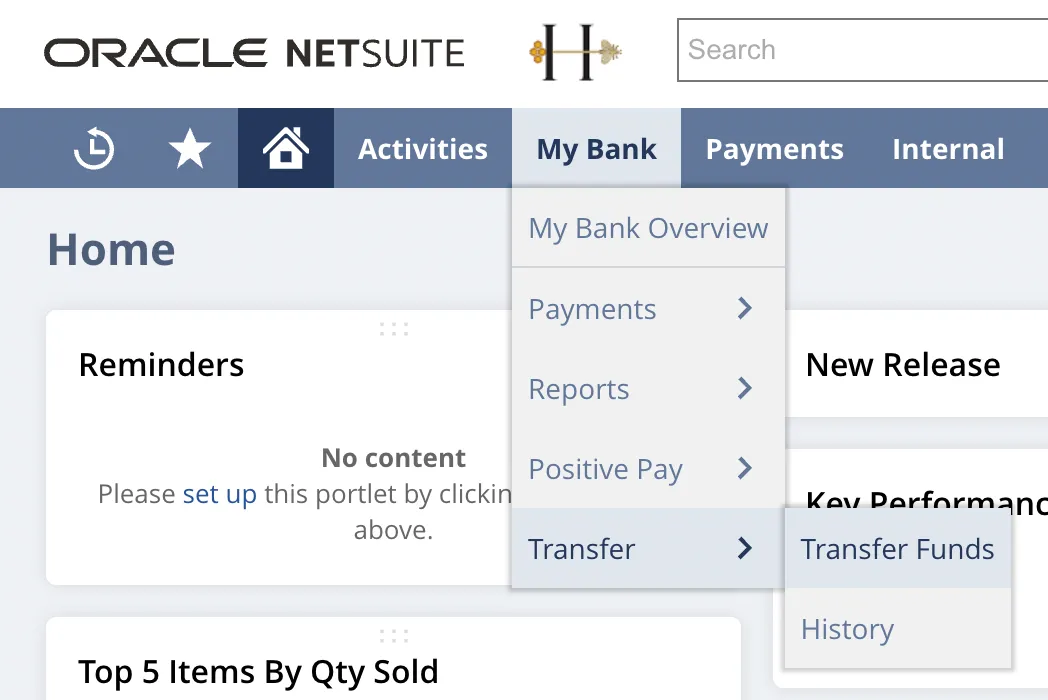
Go to Transfer Funds
Go to Your Bank → Transfer → Transfer Funds.
Initiate a Transfer
Enter the following information:
- FROM (select a Source Bank Account)
- TO (select a Receiving Bank Account)
- Transfer Amount
- Memo (optional)
Then, select Transfer and Confirm the transfer details in the pop-up to initiate the transfer.
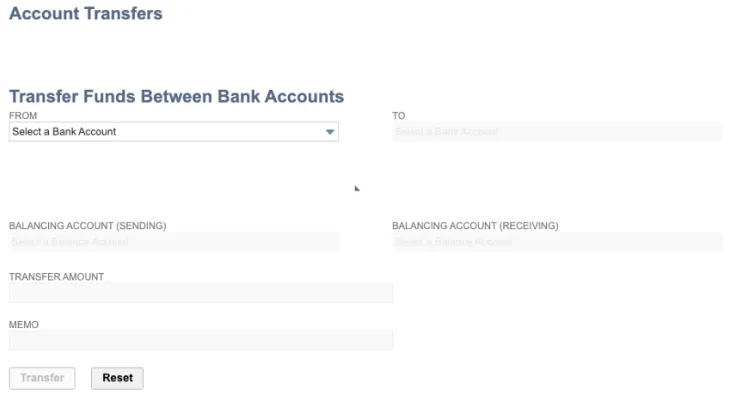
When selecting the source and destination accounts for the transfer, users can view the book and bank balances for each account to support their decision-making. Balancing accounts are only required for intercompany transfers.
Intercompany Transfers
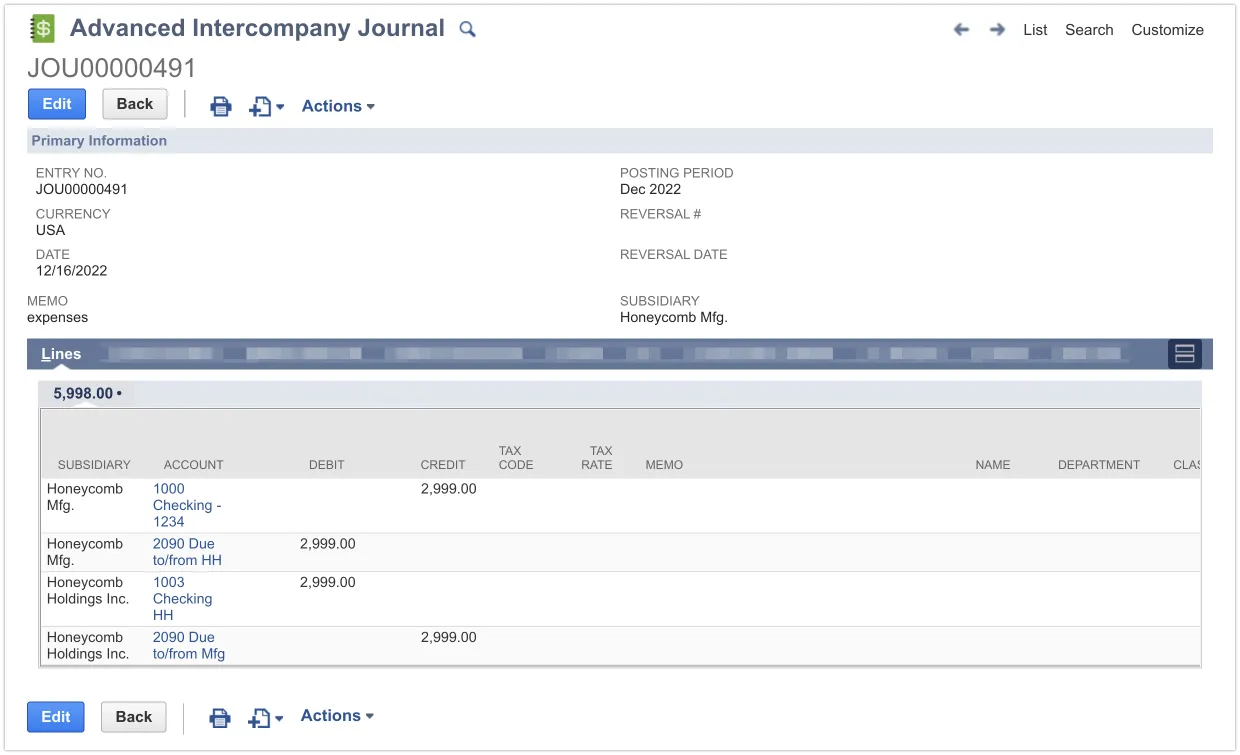
An Intercompany Transfer involves moving funds or assets between two separate entities that share common ownership. These transfers are typically completed in NetSuite using an Advanced Intercompany Journal Entry, which requires the user to specify the source and destination accounts along with any balancing accounts needed to ensure the entries are balanced on both entities' books.
From an accounting perspective, the final journal entry consists of four parts:
- Two parts for the SOURCE entity:
- a CREDIT from the source bank account.
- a DEBIT to a balancing account, such as a "Due from" asset account.
- Two parts for the DESTINATION entity:
- A DEBIT for the receiving bank account.
- A CREDIT to a balancing account, such as a "Due to" liability account.
The NetSuite plugin can automatically detect when a transfer is an intercompany transfer based on the subsidiaries of the accounts involved and propose the necessary balancing accounts for you.
To initiate transfers between bank accounts under different subsidiaries, follow these steps.
Go to Transfer Funds
Go to Your Bank → Transfer → Transfer Funds.
Initiate a Transfer
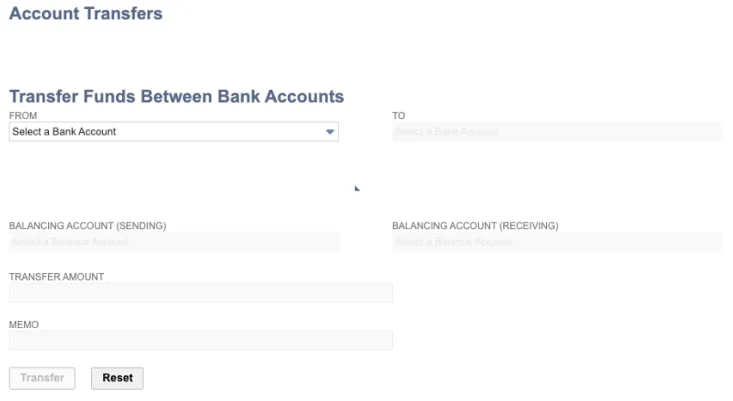
Enter the following information:
- FROM (select a Source Bank Account)
- TO (select a Receiving Bank Account)
- Select the Sending Balancing Account and Receiving Balancing Account
- Transfer Amount
- Memo (optional)
Then, select Transfer and Confirm the transfer details in the pop-up to initiate the transfer.
Transfer History
The plugin allows you to easily access the Transfer history by following these steps.
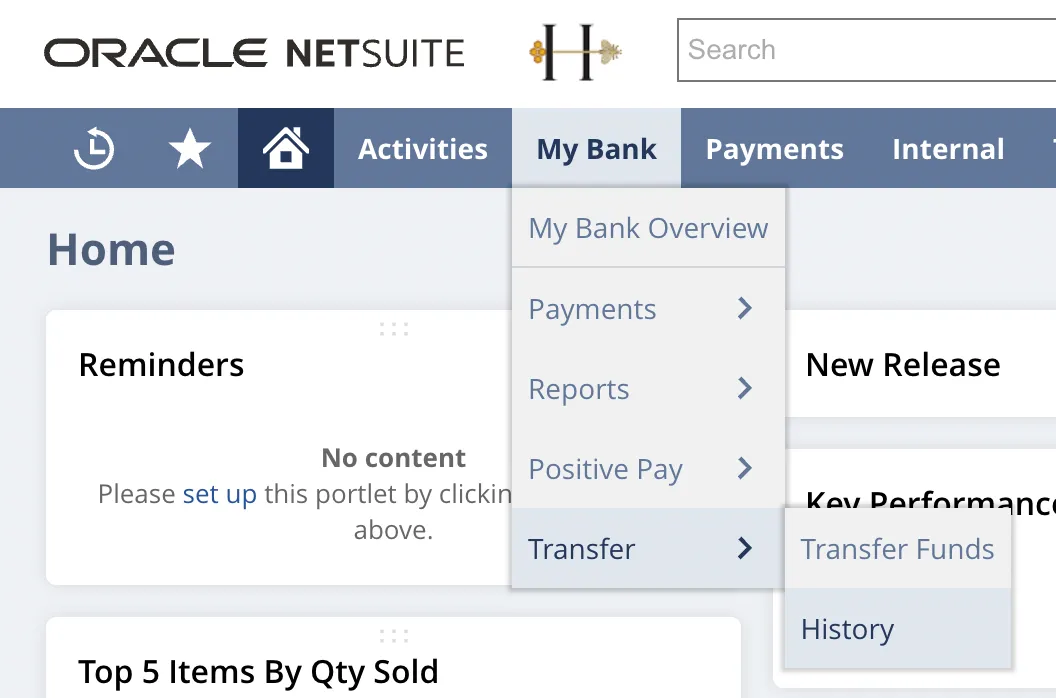
Go to History
Go to Your Bank → Transfer → History
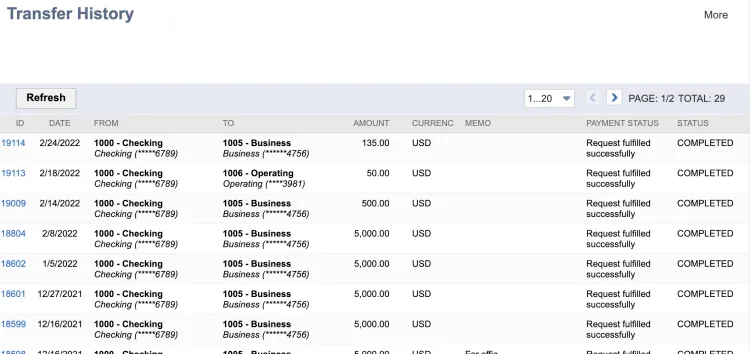
Here you can view the past transfers and their status: Completed or Failed
View Transfer Details
Click an ID number to view the transfer details. This action takes you to the History page, which links to the corresponding Journal Entry record:
- A Journal Entry is recorded for basic transfers.
- An Advanced Intercompany Journal Entry is created for intercompany transfers.