Mapping Bank Accounts (Intacct)
Once the HSBC Integrator installation and setup are completed, you are still able to map any new bank accounts that are added to the plugin.
Navigate to Accounts
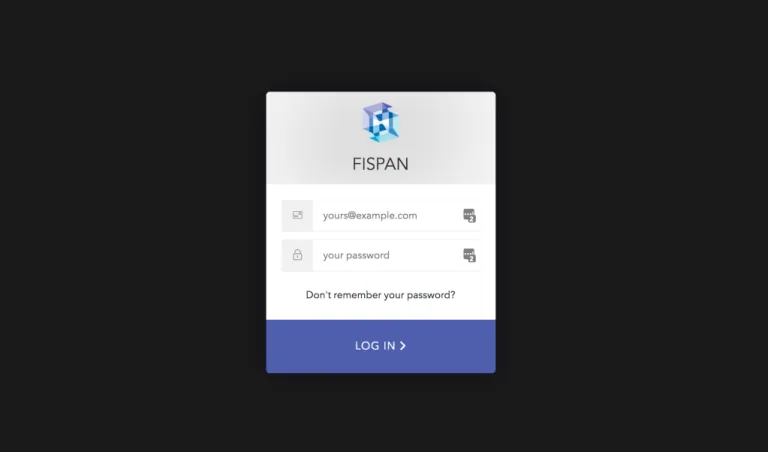
Log in to HSBC Integrator Portal
Head to the Production Portal or the Sandbox Portal you used to register for an account with the HSBC Integrator when you installed the plugin.

Log in to the portal with the email and password you used to register.
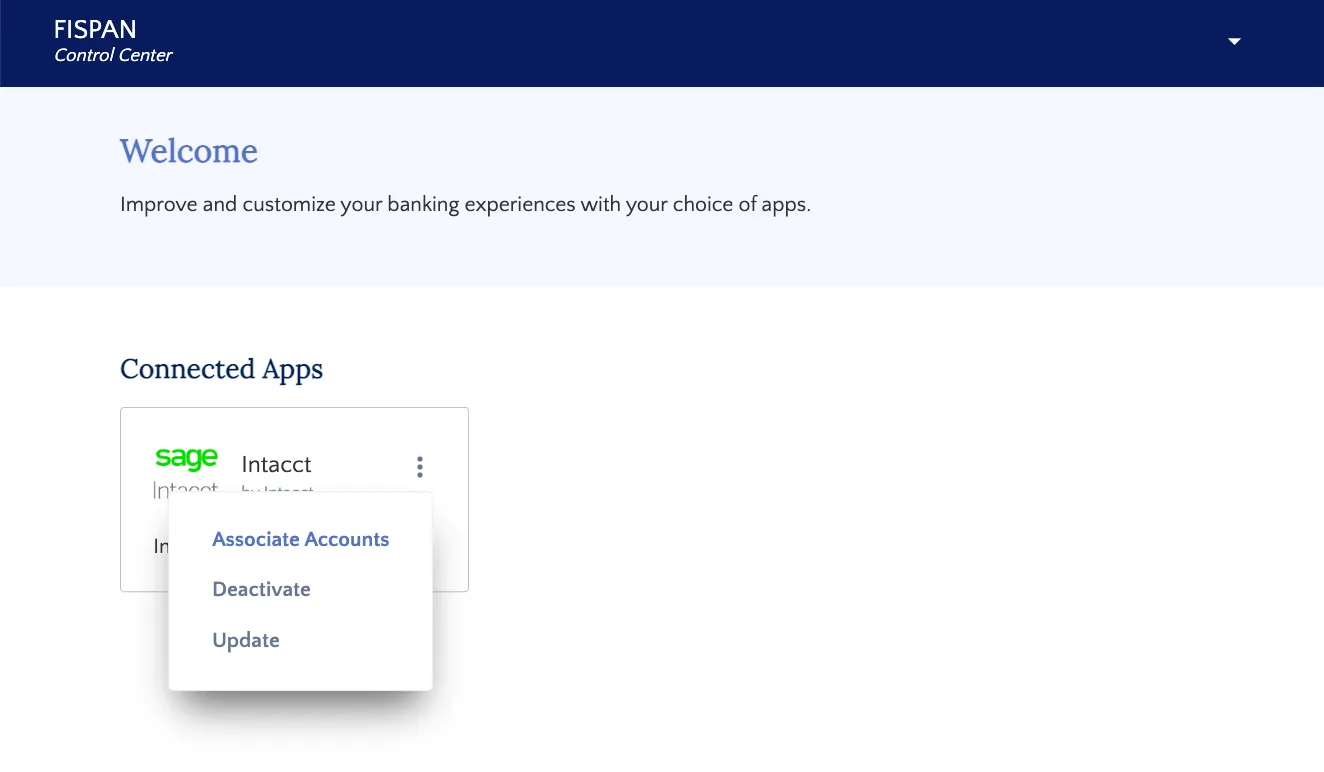
Go to Accounts
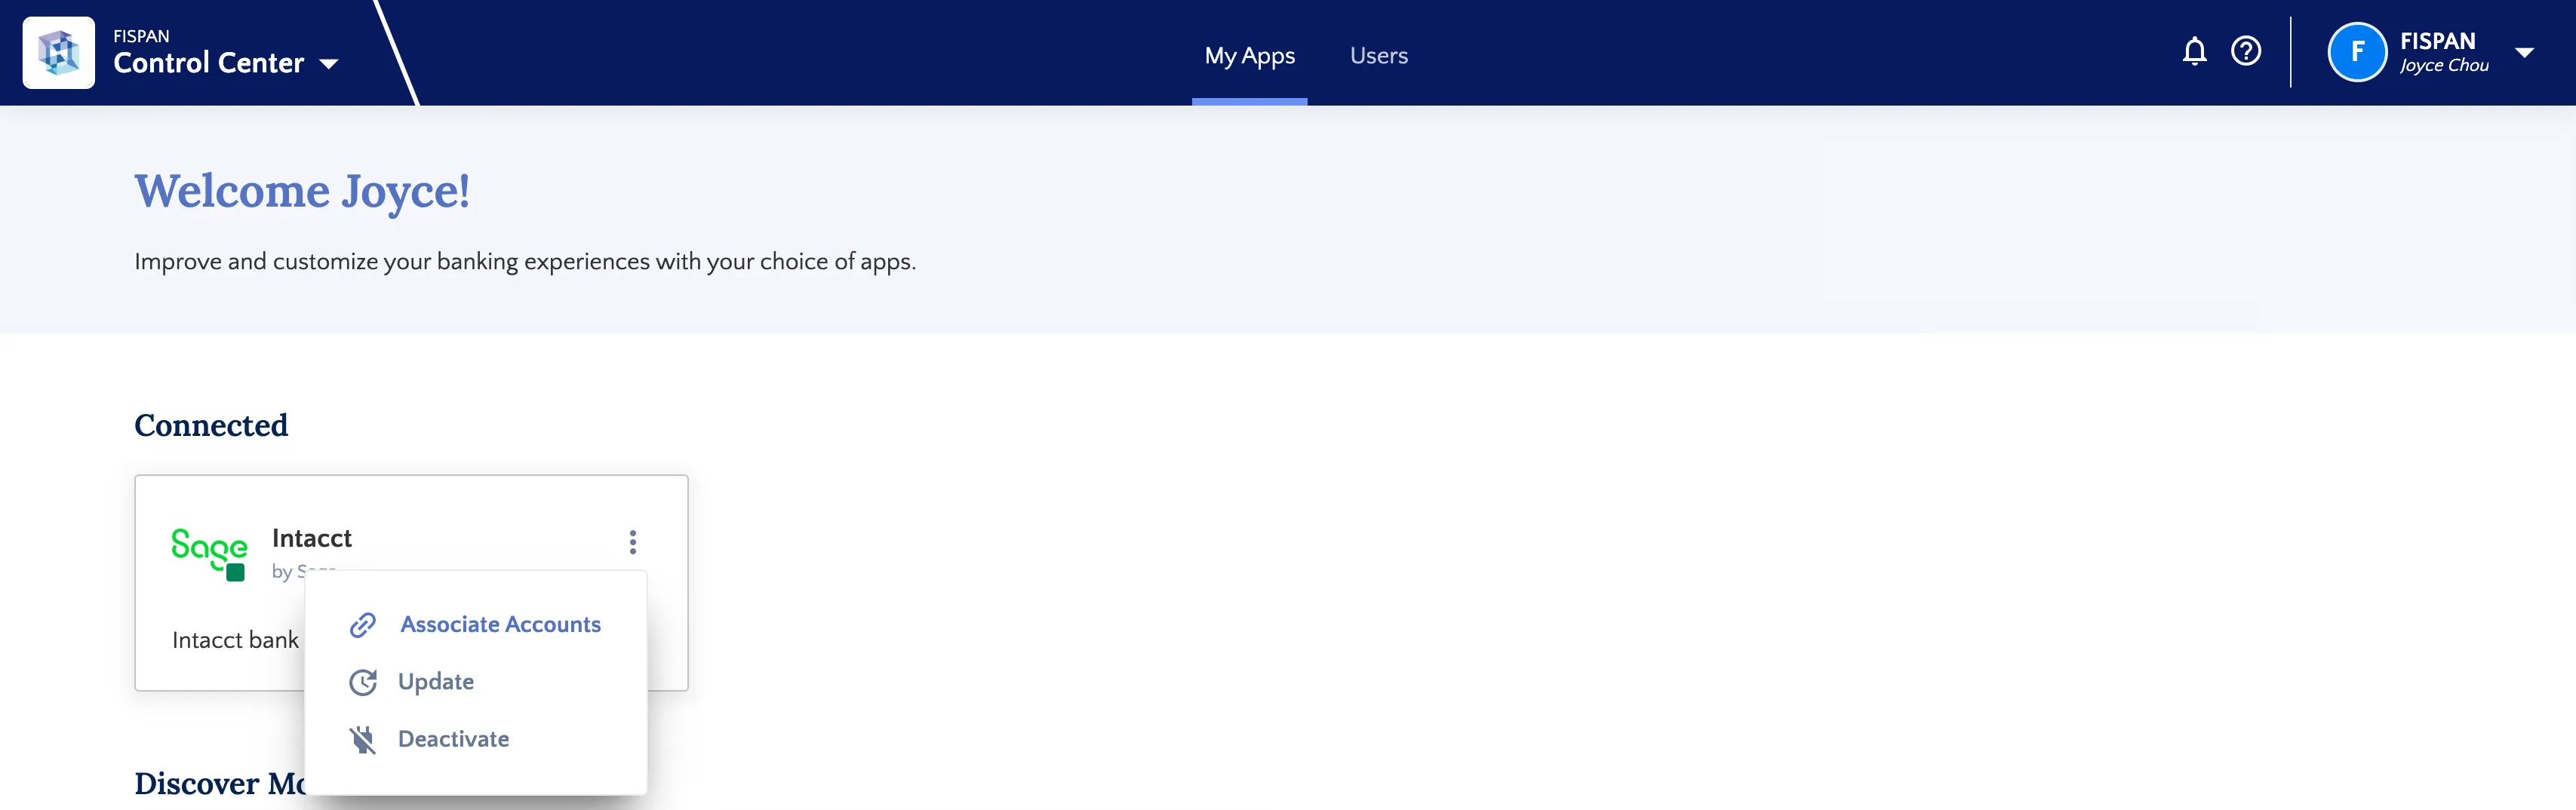
Select Associate Accounts and map the accounts you would like to map.
Matching Accounts
The next step in the installation wizard is to match your ERP Accounts to the corresponding Bank Accounts.
Match Accounts
Drag an ERP Account from the left column and drop it onto the desired Bank Account.
Continue until all accounts are matched.
Select Default Account
To select your preferred default account, hover over the desired source account and click the star icon. This sets the default selection in the source account dropdown (you can change it anytime in the Account Matching screen here).
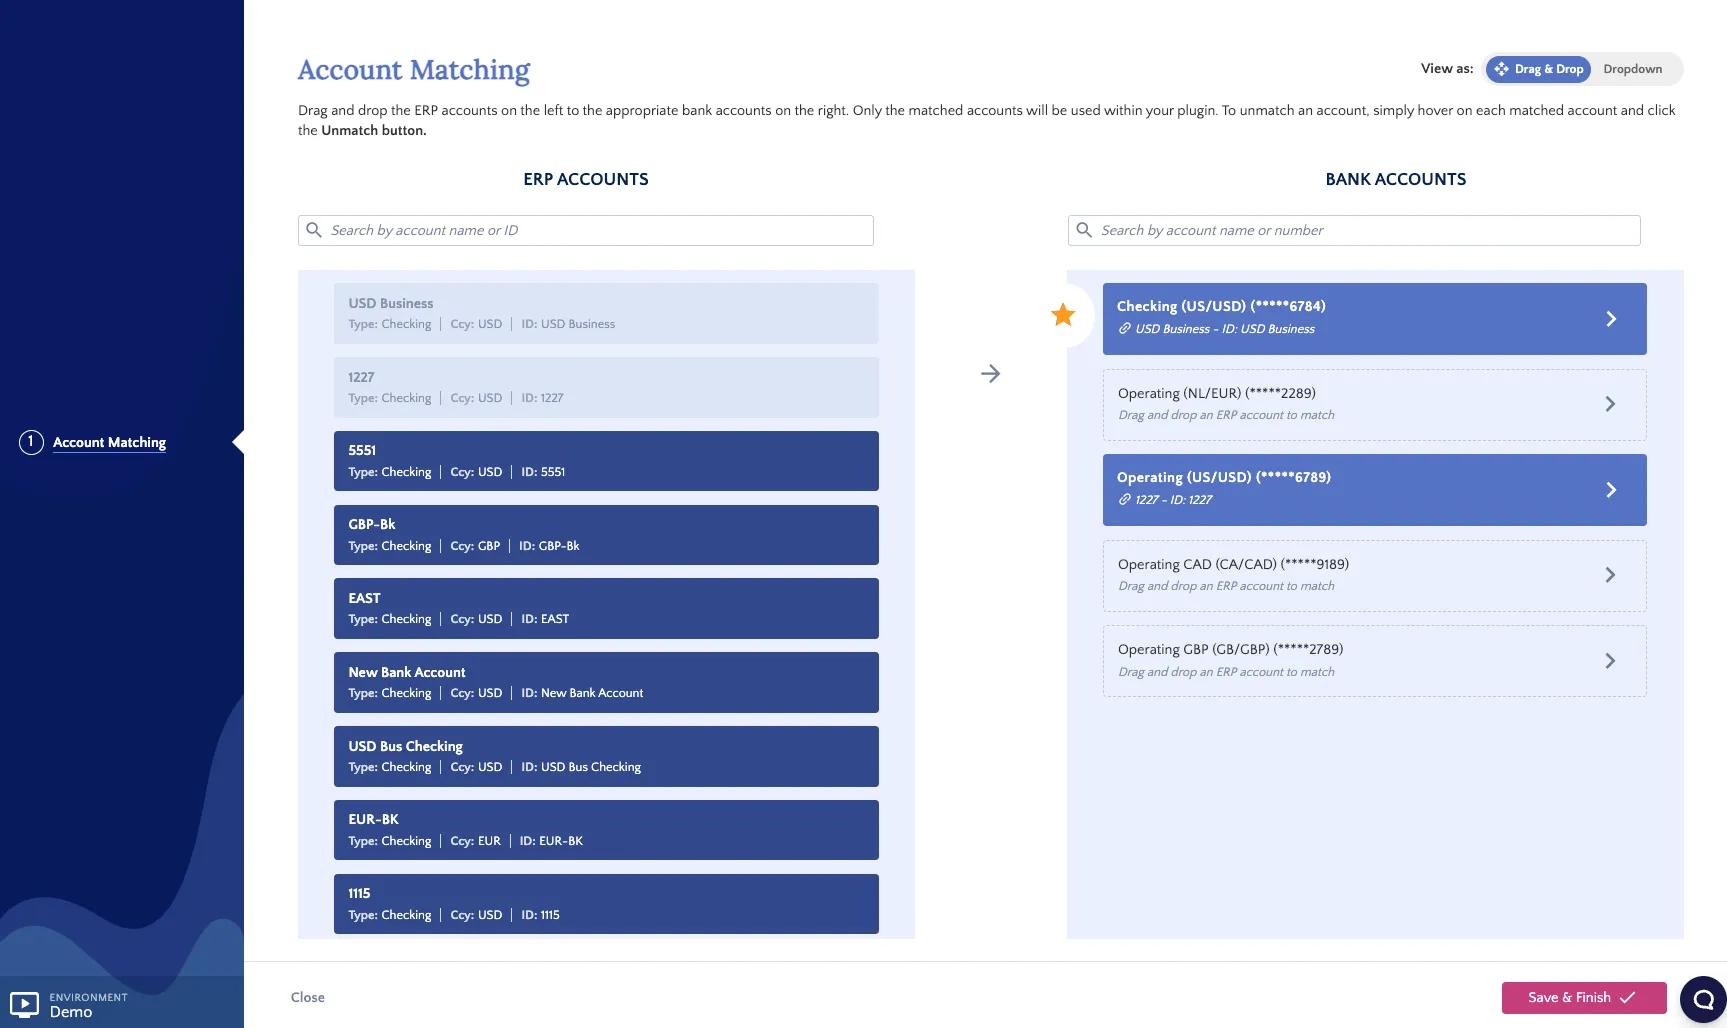
Once you've successfully matched your accounts, click Next Step.
NOTE: When installing the plugin in Sandbox, the Bank Account ending in 1133 is used for testing purposes ONLY. This account is not linked to any of your live accounts with your bank.
When installing in Production, the Bank Accounts listed will reflect your accounts set up for use with the plugin.
Map Additional Accounts or Change Existing Mapping
To map any additional accounts or alter an existing mapping, you would need to go to sys.fispan.live and log in.
Once logged in, you can click on the three dots on the top right of the Sage Intacct® tile and click on Associate Accounts. This will open the Account Matching screen, where you can map any additional accounts or alter the existing mapping.